

Event sessions and sub-sessions
Administrators can create event sessions and sub-sessions in the Admin Panel. Sessions and sub-sessions indicate specific activities within an event. Sessions and sub-sessions can be free to add for all event attendees, or they can require additional registration for access.
Creating an event session
To create an event session:
-
Go to Events > Events.
-
Find the desired event, then click the View button to open it.
-
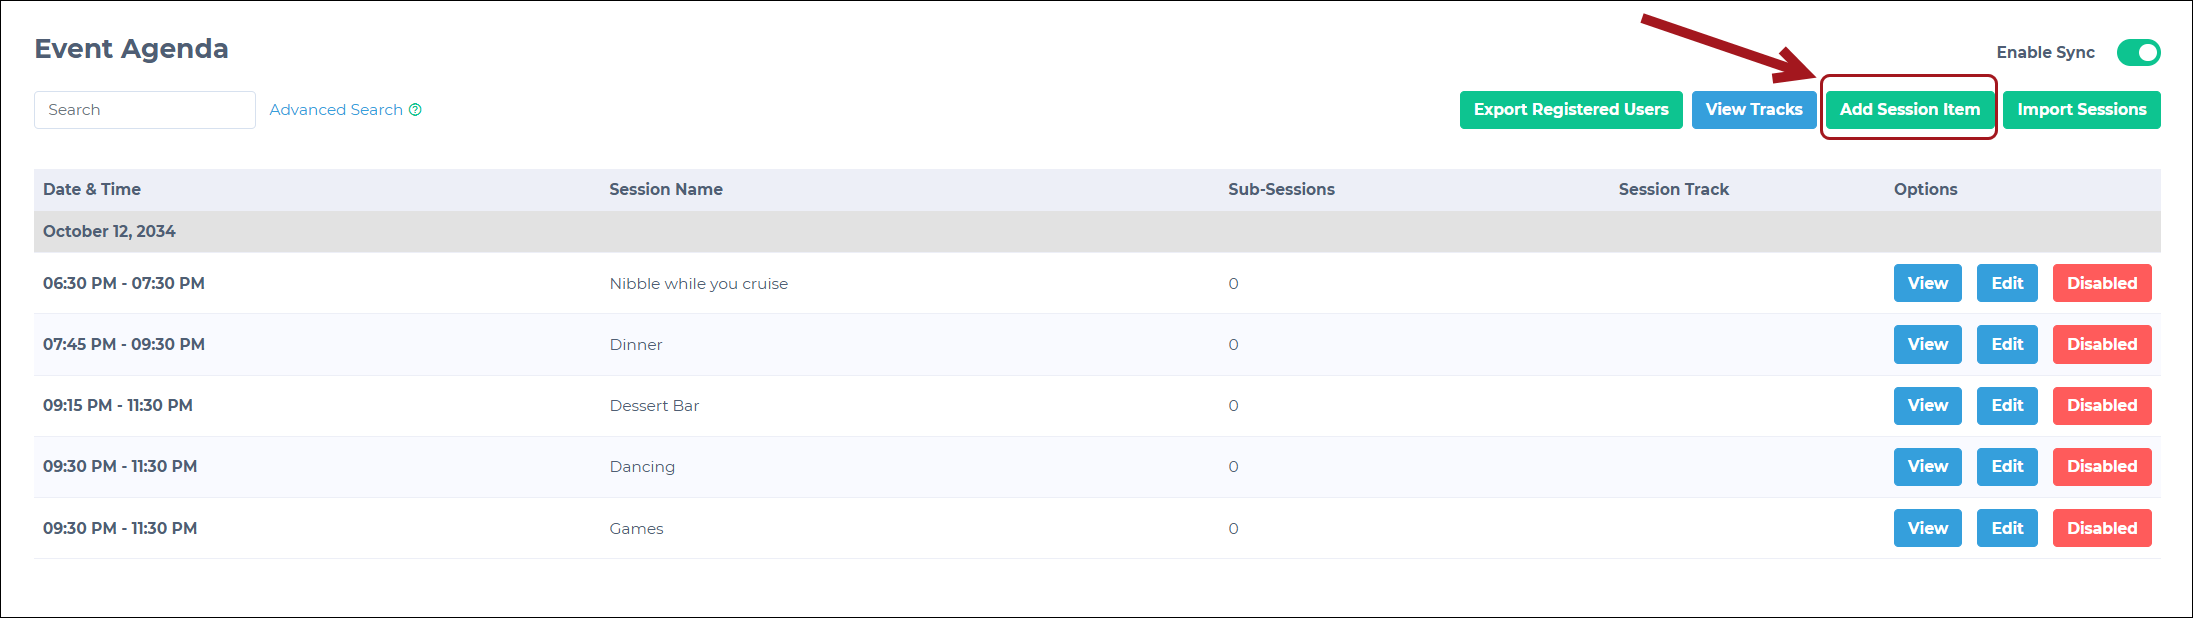
Scroll to the Event Agenda section.
-
Click Add Session Item.
-
Enter the following information:
| Information | Description |
|---|---|
| Event Agenda Text (required) | The name of the event session. This is visible to attendees. |
| Session Description | Descriptive text about the session. This is visible to attendees. |
| Session Location | Indicates where the session takes place. |
| URL | Specifies a URL related to the session. For example, a meeting URL. |
| URL Title | Descriptive text for the URL (for example, "Join the Meeting"). |
| Status | Indicates the session's status once saved:
|
| Session Date & Time (required) | Specifies the session date and time. This must be within the main event's date and specified times. |
| Agenda Sort | Specifies the order of this session item in the list when multiple agendas are on the same day. A value of 0 puts the session at the top. |
| Track | Color-code session items with different color indicators, if enabled. If no color tracks have been created yet, a prompt to create a new one appears. Multiple track indicators can be added. |
- Enable the following options as required:
- Session registration: Checking this box ensures attendees must register independently for the session. Once enabled, specify whether to use Internal or External registration and indicate seat limitations, where applicable. If External, provide the external registration URL.
For more information, see Event/session registration. - Session Restriction: Only appears after checking Session Registration. If there is a restriction on the session, enable this option, then provide the restriction message. This message is displayed to users in the app.
- Sponsored: Enable to indicate a sponsored session. Once checked, provide the sponsor's information in the Sponsored By field.
- Session registration: Checking this box ensures attendees must register independently for the session. Once enabled, specify whether to use Internal or External registration and indicate seat limitations, where applicable. If External, provide the external registration URL.
- Click Save.
Creating a sub-session
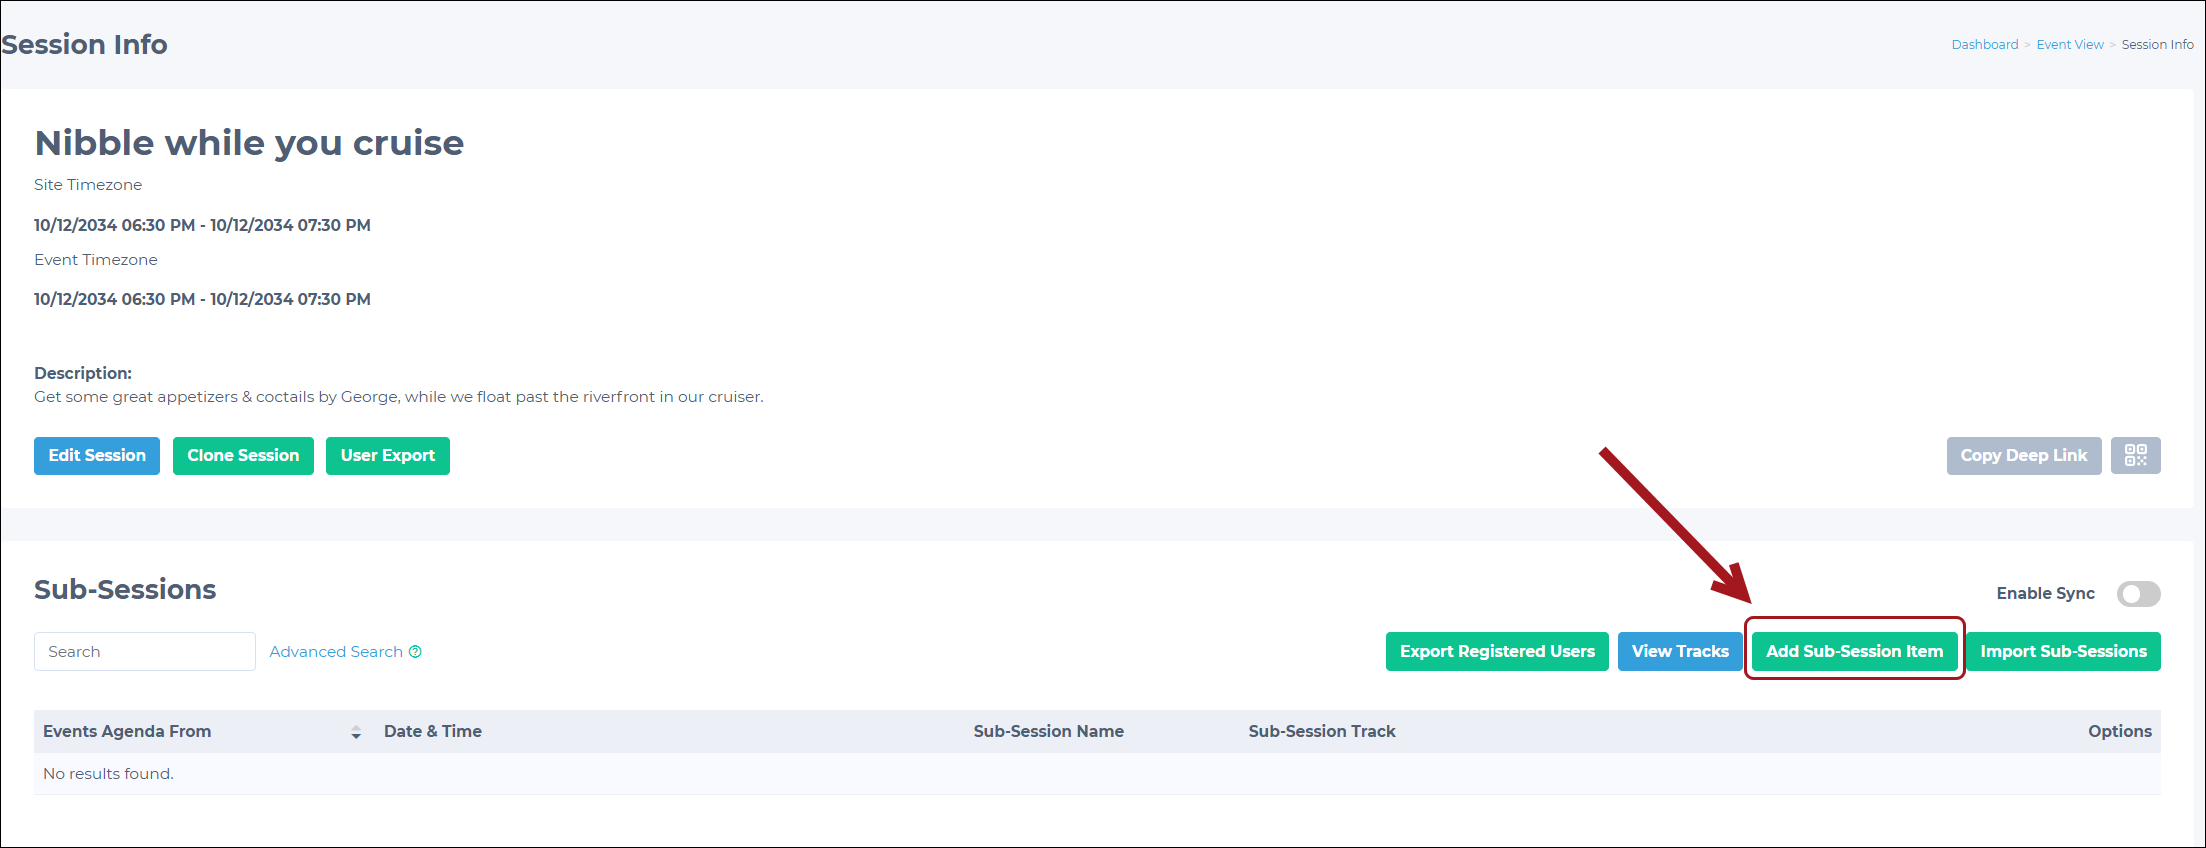
On the Event Info page, scroll to Event Agenda and click the View button on the session for which you want to create a sub-session.
On the Session Info page:
-
Scroll to the Sub-Sessions section, then click the Add Sub-Session Item button.
-
Fill in the required details. This is similar to the Event session details.
-
Click Save.
Managing event sessions and sub-sessions
Admins can view, edit, and enrich event sessions and sub-sessions.
To manage any event session or sub-session, go to the desired item from the event menu.
Viewing event sessions and sub-sessions
Click the View button to open the session or sub-session information screen. This view displays the following information about the session or sub-session:
- Name
- Description
- Date and time
- Management buttons (for example, edit and clone)
- Action buttons
- Feedback type
- Speakers
- Registered users
- Scheduler info.
Editing event sessions and sub-sessions
To edit an event session or sub-session, go to the desired session or sub-session. On the session or sub-session info page, click the Edit Session or Edit Sub-Session button.
On the resulting page, edit the event session details.
Enriching event sessions and sub-sessions
Event sessions and sub-sessions can be enriched by adding action buttons, feedback items, speakers, or users.
| Session and Sub-Session Items | Implementation Guides |
|---|---|
| Actions | Live Events and Event Actions |
| Feedback | Feedback section |
| Speakers | Speakers |
| Registered Users | Event/session registration |
Exporting registered users
Admins can export users registered for event sessions to a CSV file.
Admins can choose to:
- Export users registered to all event sessions and sub-sessions: The CSV file indicates which sessions and sub-sessions each user is registered to.
- Export users registered to specific sessions or sub-sessions: The CSV file only indicates users for a chosen session or sub-session.
To export users, go to the desired session or sub-session. Then, go to the Registered Users section and click the Export to CSV button.
Updated 3 months ago