

Live Events and Event Actions
IMPORTANTLive Event is not enabled by default. To enable and configure Live Event, contact your Client Account Manager.
Live Events provides a structured, modern way for users to access and engage with event-related content directly within the app, while giving organizers more flexible tools for configuration, engagement, and monetization.
With Live Events, users can:
- View event schedules, sessions, and speaker details.
- Access important documents, links, maps, and resources.
- Interact through the Social Feed by posting, liking, and commenting.
- Customize their experience by adding sessions to their personal schedule.
- Engage with advertisements (Ads) placed inside the event experience.
- Use the QR Hub card for quick access to key actions or resources.
- Schedule and manage 1:1 Meetings directly from the event.
Configuring Event Actions
Event Actions give users quick access to:
- Links (URL)
- Email addresses
- Phone numbers
- Lists of files
- Lists of links
- Deep links (to other areas of the app)
- Event maps
Admins can configure up to five Event Actions per event.
Creating and managing Event Actions
To create and manage event actions:
- In the Admin Panel, go to Events > Events.
- Find the required event in the list and click View.
- Scroll down to the Additional Info section.
-
Click Add Action Button.
-
Fill in the following fields:

- Action Type
Choose what the action will do:- Link Address – opens a URL in the browser or in‑app.
- Email Address – opens the default email client with a predefined address.
- Phone Number – initiates a phone call.
- List of Files – opens a list of files related to the event.
- List of Links – shows multiple links.
- Deep Link – navigates to a specific screen inside the app.
- Map – links to the event map. For more information, see Map Builder.
- Action Name
The action name is shown to users. - Action Status
Set the action as Active or Disabled. - Position in the List (1–5)
Determines the order of actions when displayed.
- Depending on the selected Action Type, additional fields may appear:
- Link Address
Requires a Link Address field to enter the URL. - Email Address
Requires an Email Address field. - Phone Number
Requires a Phone Number field. - List of Files
After saving the action, a new screen opens for adding target files. - List of Links
After saving the action, a new screen opens for adding target links. - Deep Link
Provide the required deep link target according to the app’s navigation schema.
- Click Save.
Configuring Live Event 3.0 (action buttons)
Once enabled, admins can configure action buttons for each event. These action buttons show up in a new Live Event 3.0 tab in the app. In this case, the main Events tab is moved to the More section of the app.
Live Event 3.0 buttons guide users to key features and content defined by administrators.
Configuring action buttons
- In the Admin Panel, go to Events > Events.
- Find the event and click View.
- Scroll down to the Live Event section.
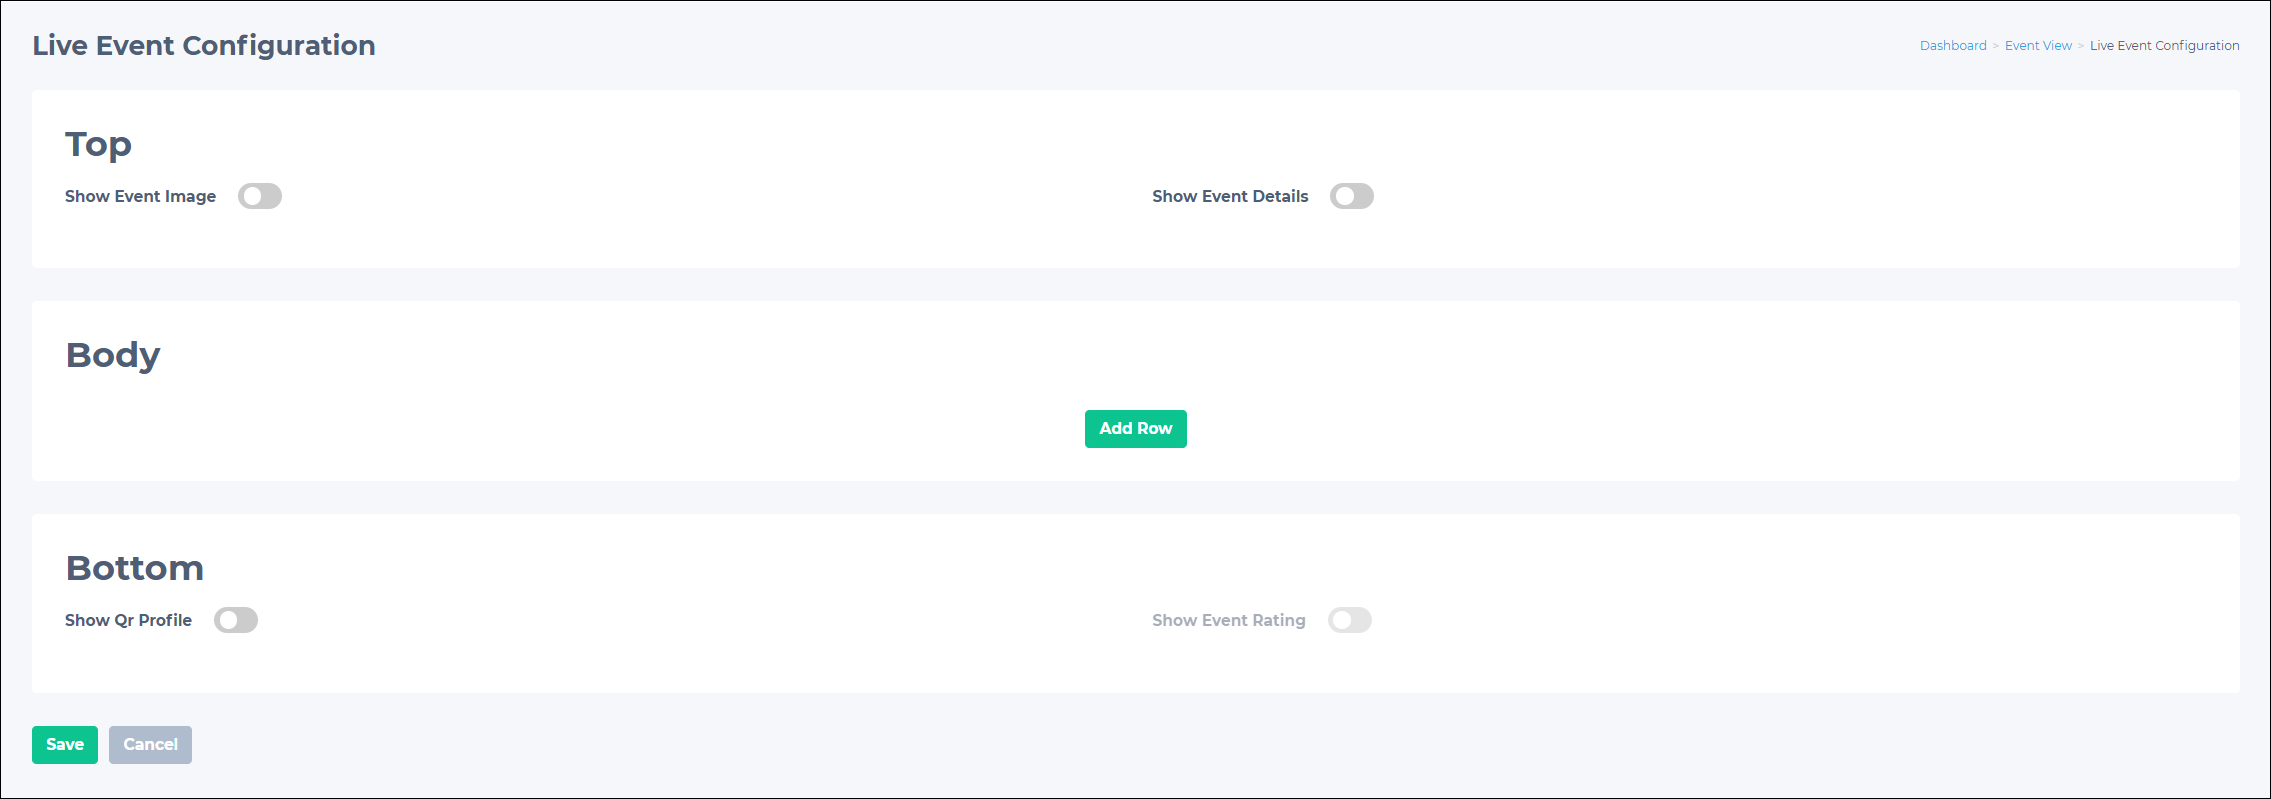
- Click Live Event Configuration.
- Define the top row on the live event configuration page by toggling the necessary option:
- Show Event Image: Shows the associated event image in the live event section.
- Show Event Details: Shows the event duration (date and time).
- Click Add Row to create a new action button.
- For each row (button), provide the following:
- Click Save to apply the configuration.
Configuring ads in Live Events 3.0
Live Events 3.0 supports advertisements (Ads) that can be displayed within the Live Event interface.
Ads in Live Events 3.0 are typically displayed in the top section. Ads can be used to promote sponsors, partners, or specific campaigns using static or rich media formats.
To configure ads to show up in Live Events 3.0, see Placement presets.
Using the QR Hub card in Live Events 3.0
QR Hub Card is a dedicated card inside the Live Event 3.0 section that shows a QR code and associated content or actions.
If enabled, app users can quickly access their event-based QR card. Event staff can scan the QR code on this page to start a quick check-in or registration flow. Users can also expand the card to access the QR card scanner. That way, users can scan other users' contact cards to network more easily.
For more information, refer to What is QR Hub?
Restricting access to Live Events 3.0
NOTEEvent restrictions only apply when enabled on an account. To confirm, contact your Client Account Manager.
Live Events 3.0 is available only to users with access to the underlying event.
Typically, admins can restrict event access by membership or by groups. How restricted events appear in the app can also be controlled (for example, fully hidden or visible but locked).
Updated 3 months ago