

Map Builder
IMPORTANTMap Builder is not enabled by default. To enable Map Builder, contact your Client Account Manager.
The Map Builder feature allows admins to create detailed, interactive maps for events, making it easier for attendees to find exhibitor areas, access additional information, and interact with event spaces through the app.
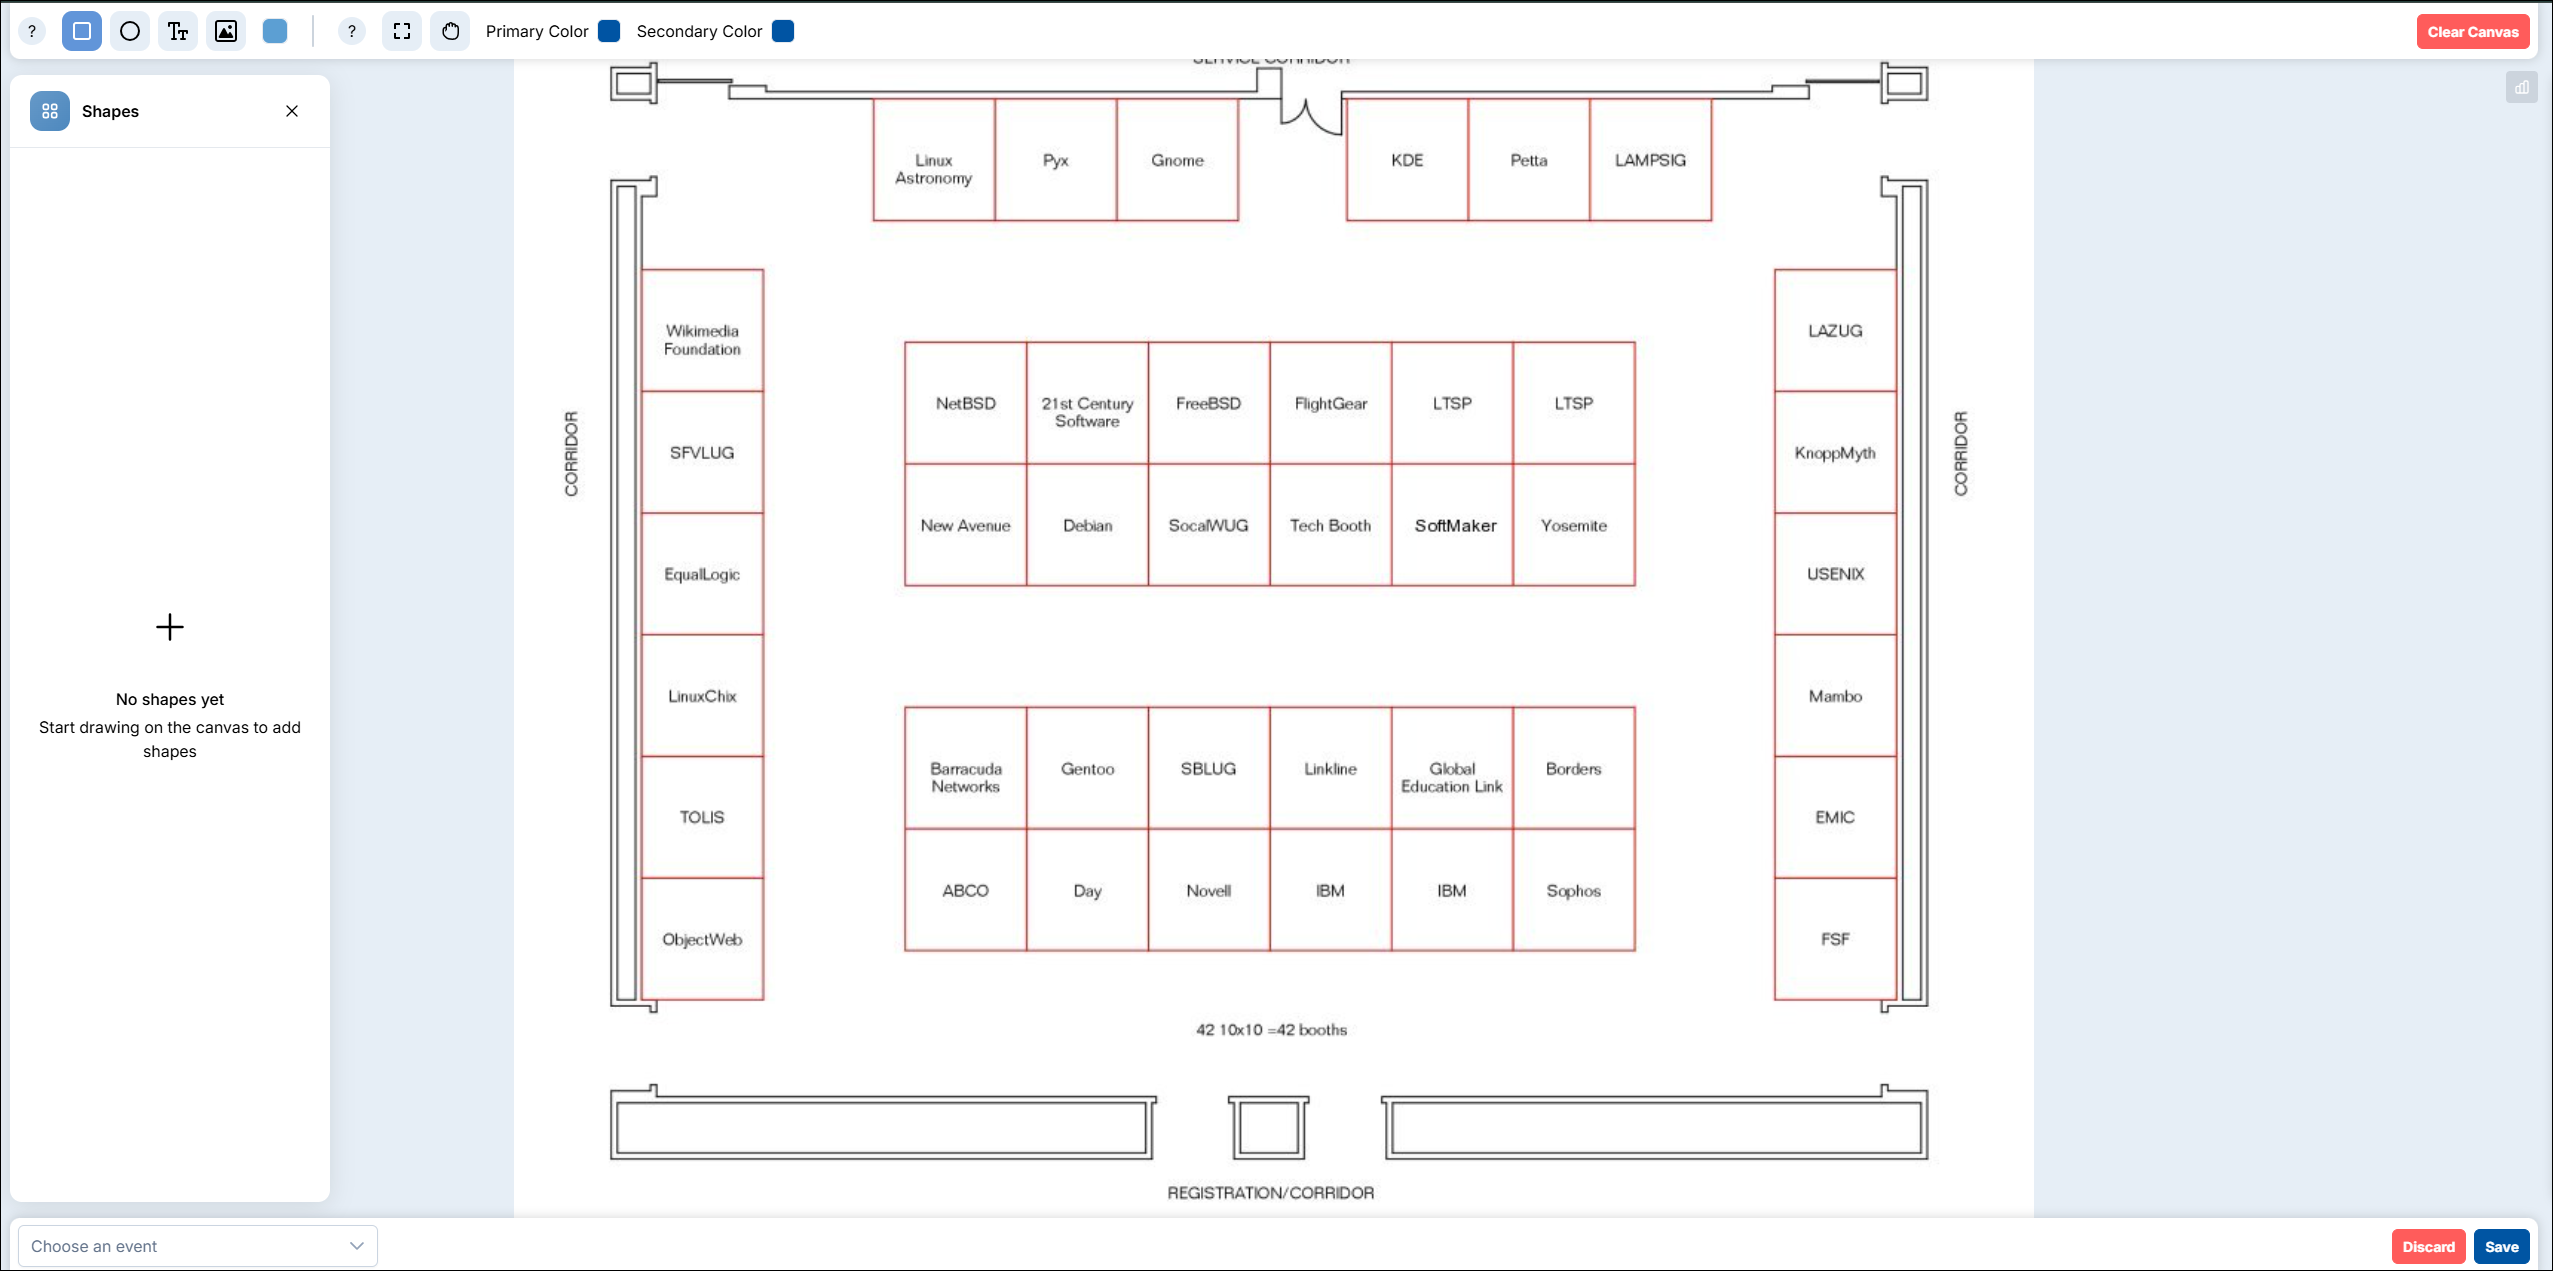
Creating a map
- In the Admin Panel, click Map Builder.
NOTEAdmins may need to log in to the Map Builder console using Clowder admin credentials. If the credentials do not work, contact your Client Account Manager.
- On the Layouts page, click the Create New Layout button.
- Select the desired event from the drop-down.
- Click Choose an Image to upload an image of the map. This image will serve as the base for the map, where areas for exhibitors can be drawn later.
- Click Save.
- Add a Layout Name to identify the map.
- Click Create. This saves the map.
Adding elements to the map
On the toolbar, admins can insert the following elements to customize maps:
- Shapes: Rectangles and circles
- Text
- Images (for example, logos or icons)
To add an element:
-
Click on the desired option from the toolbar.

-
Highlight the desired area on the map by clicking and dragging.
-
After placing the element, customize it using the editing panel.
Using the editing panel
The editing panel allows admins to customize the selected elements (shapes, text, and images) on your map. The options include:
| Editing panel item | Description | Notes |
|---|---|---|
| GENERAL | ||
| Name | Assigns or edits the element's name. | |
| Width and Height | Adjusts the dimensions of the element. | Values are in pixels. |
| Position X and Position Y | Defines the exact coordinates of the element on the map. | Position X is for horizontal position, and Position Y is for vertical position. |
| Rotation | Rotates the element to a specific angle. | Values are in degrees. |
| Layer Order | Determines which elements, when stacked, appear in front of the others. | Two options are available:
|
| Clone | Replicates the element. |
|
| IMAGE AND SHAPES | ||
| Scale X and Scale Y | Defines a horizontal (X) and vertical (Y) scale for the element. | |
| Force 1:1 Ratio | Resizes the element into a square frame. | |
| Fill Color | Selects the element's main color scheme. | Enter RGB values for the desired color or use the color picker. |
| SHAPES | ||
| Stroke Width | Sets the border thickness around the shape. | Set the value to zero to remove all borders. |
| Stroke Color | Sets the border color around the shape. | Enter RGB values for the desired color or use the color picker. |
| IMAGE | ||
| Image Source | Selects the image to display within the placeholder. | Scroll to the bottom of the image editing panel to find Image Source. |
| TEXT | ||
| Text Color | Selects the text's main color scheme. | Enter RGB values for the desired color or use the color picker. |
| Content | Specifies content to appear in the text box. | |
| Font size | Specifies the text's font size | Settings do not apply globally. Font size must be set for individual text elements. |
| H Align | Sets the text's horizontal alignment within the text box. | Options: Left, Center, Right |
| V Align | Sets the text's vertical alignment within the textbox. | Options: Top, Middle, Bottom |
Saving the map
After creating the map, click the Save button. The following options are available:
- Preview: Shows what the map looks like.
- Save: Saves progress on the map.
- Save & Close: Saves the map and exits the editing mode.
Admins can find, edit, preview, download, or delete maps on the Layouts page.
Adding a map to an event
To add a map to an event, admins must add a map action button to the app and enable the map feature.
To add the map action button in the app:
-
In the Admin Panel, go to Events > Events.
-
Find the event associated with the created map, then click the View button.
-
Click Add Action Button under Additional Info.

-
On the Add an Action Button page, modify the following settings:
- Action Type: Set to Map.
- Action Name: Specify a descriptive name for the map (for example, Event Map). Users can see this name in the app.
- Action Status: Set to Active.
- Position: For apps with multiple action buttons, specify where the map should appear. 1 appears at the top; 5 appears last.
-
Click the Save button.
Enabling a map on an event
Once a map is added to an event, do the following to enable the map to show in the app:
-
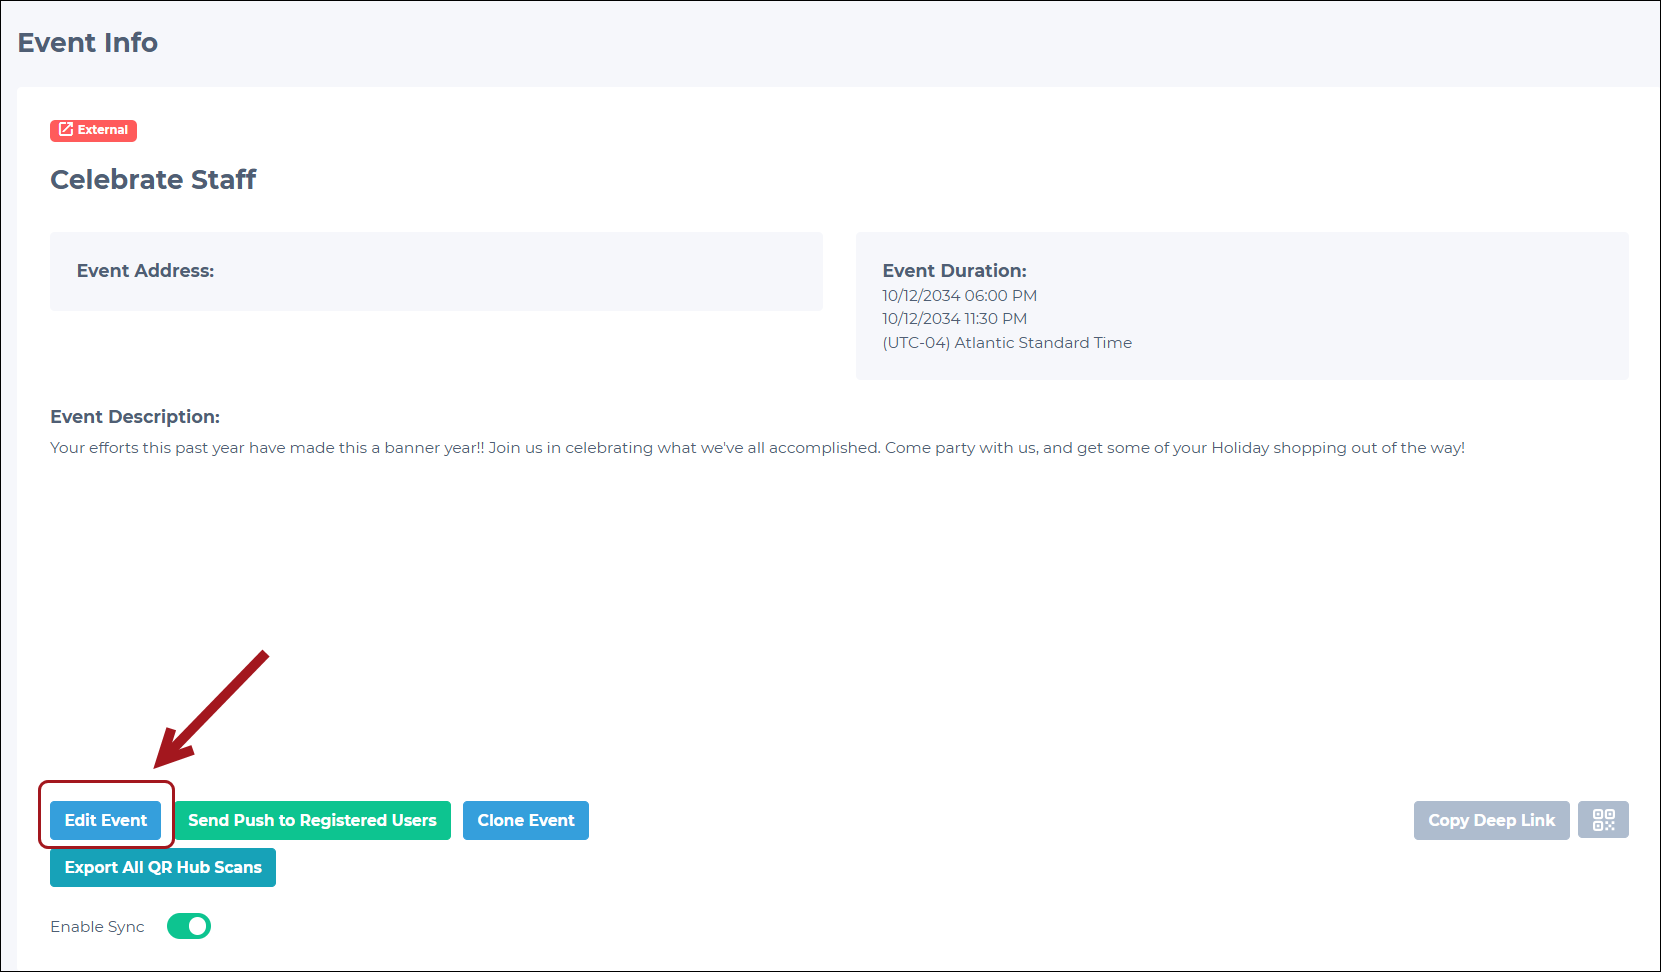
On the desired Event Info page, click Edit Event.
-
On the right panel, scroll to Event Map Type.
-
From the drop-down, select Map Builder.
-
Click Save to apply the changes.
The map displays in the app under the Additional Info section for the target event.
Updated 3 months ago