

Exhibitor booths
The Exhibitor Booths feature helps administrators manage exhibitors and their booths while providing users with tools to interact with exhibitors during events.
Admins can create and reuse exhibitor entries, assign booth staff, and link exhibitors to event maps.
Users can bookmark exhibitors, add personal notes, visit websites, send emails, view contact details and booth staff details, leave ratings, and locate booths on event maps for a seamless experience.
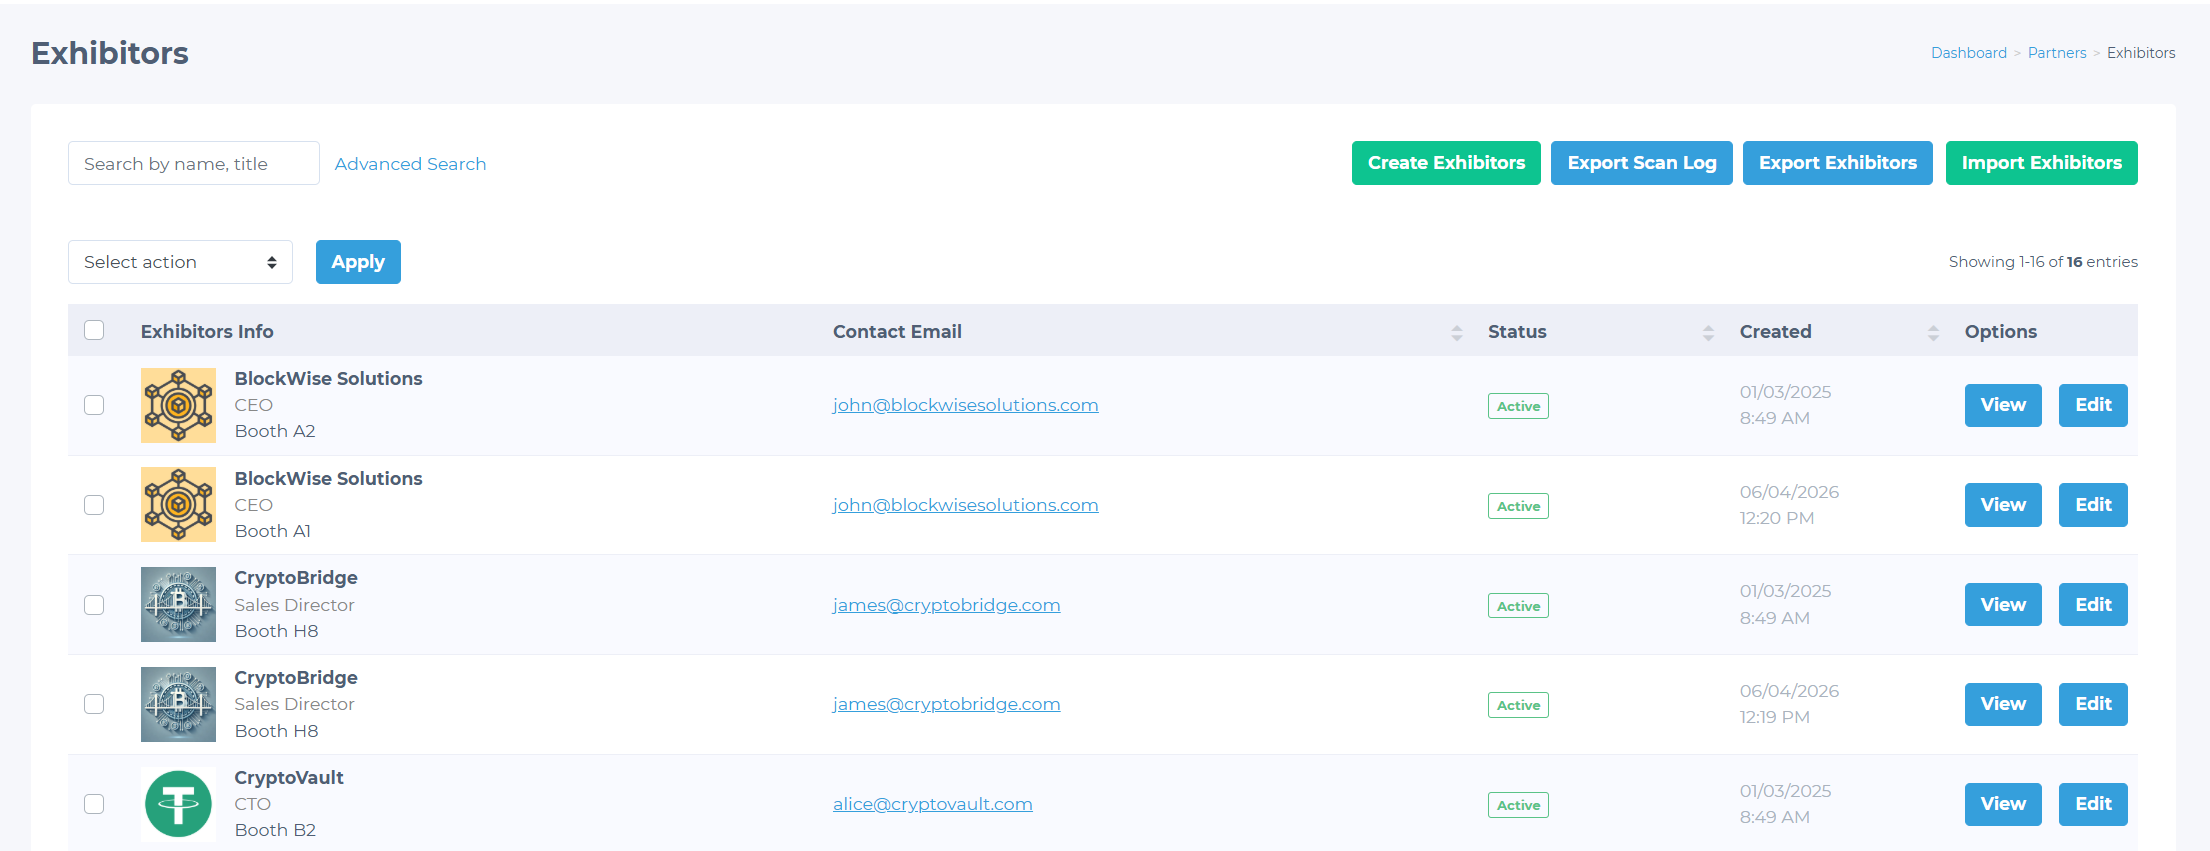
Creating an exhibitor booth
To create an Exhibitor Booth:
-
Go to Events > Exhibitors in the Admin Panel.
-
Click the Create Exhibitors button.
-
Fill out the required information on the Create Exhibitors page:
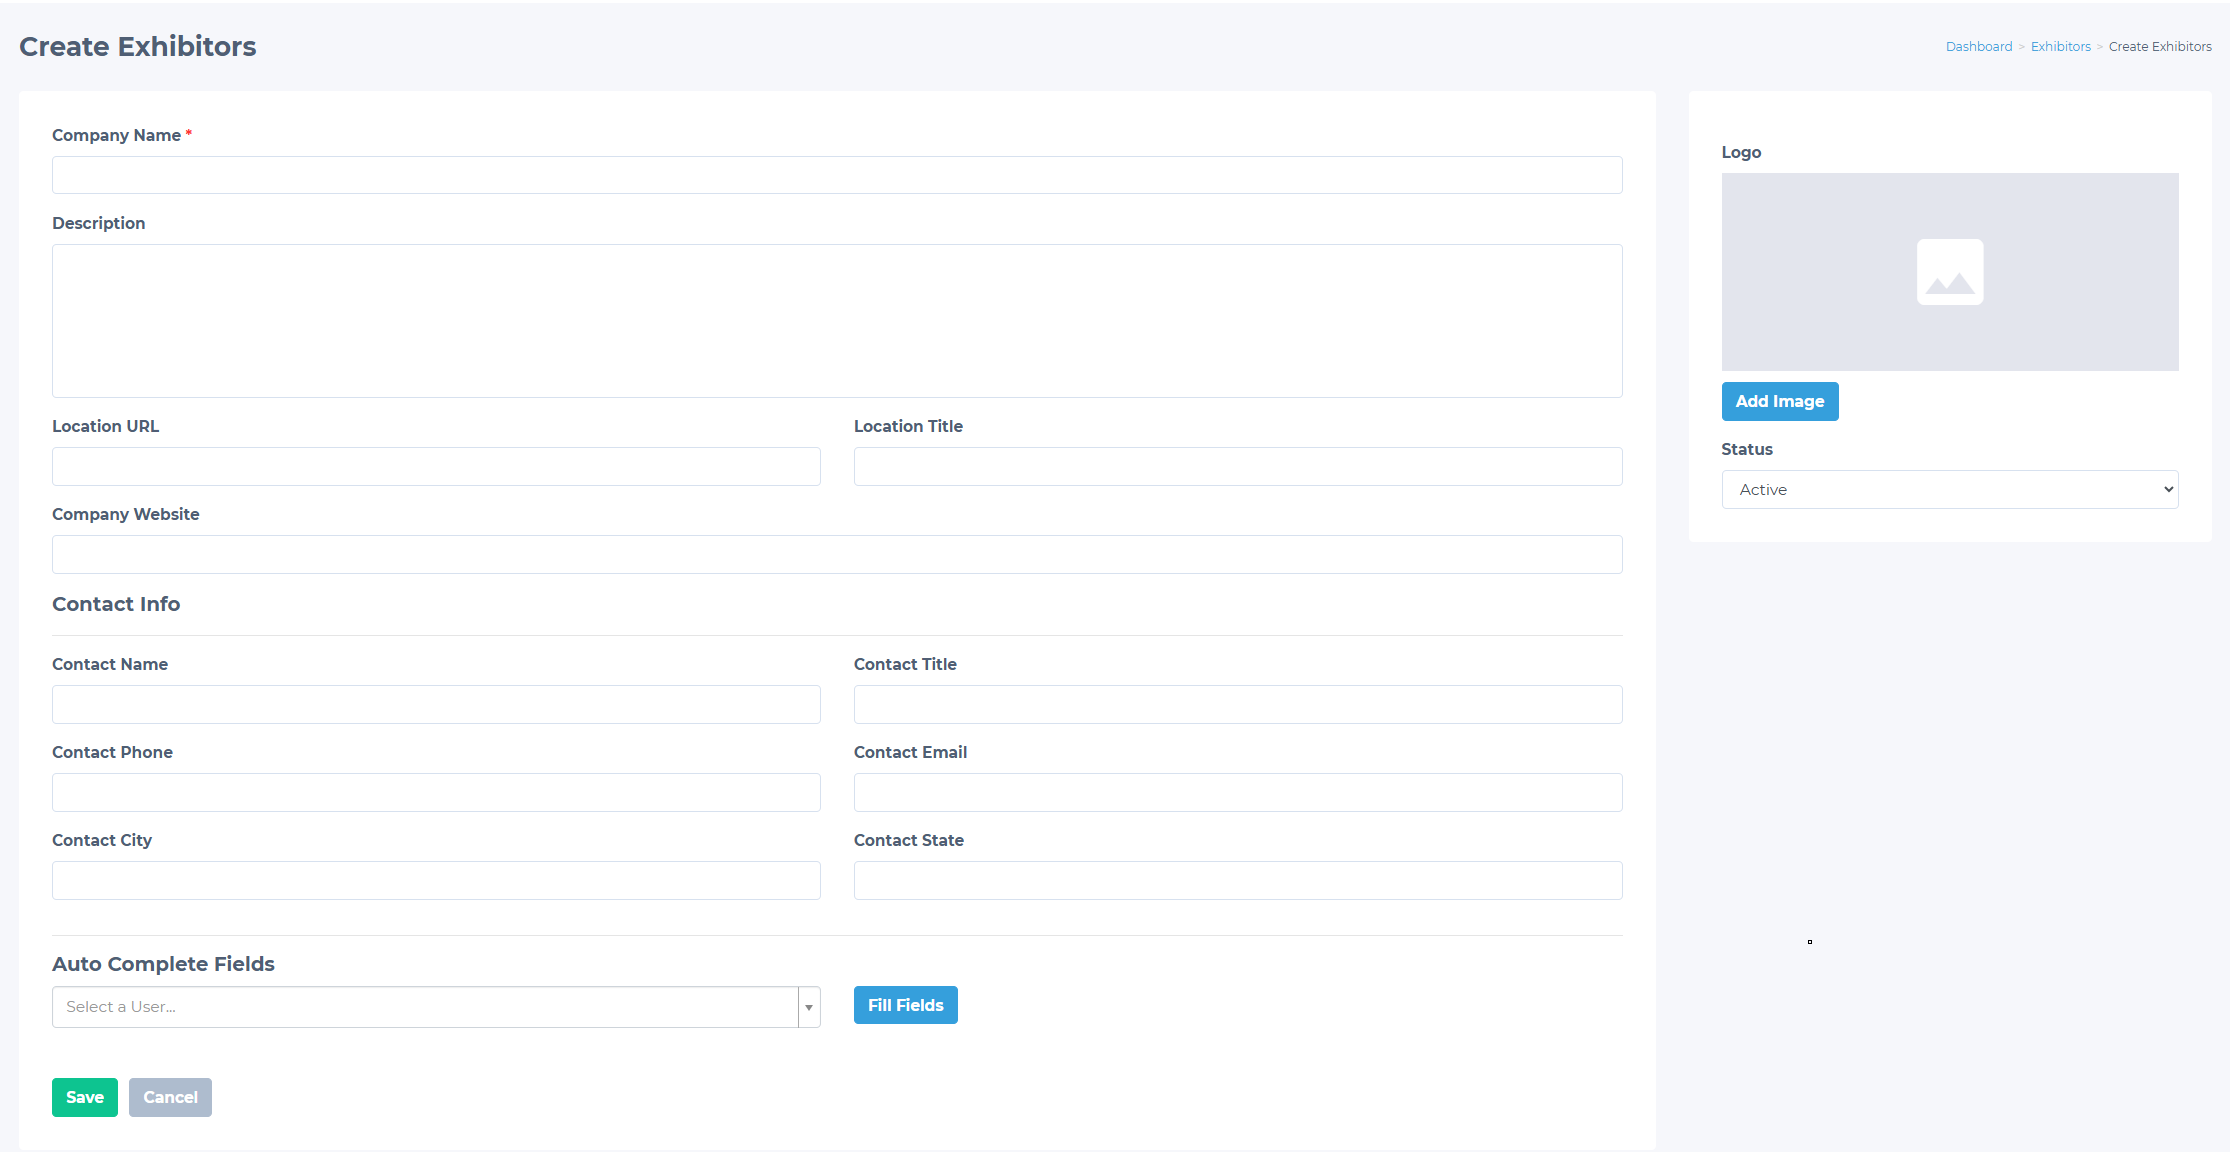
- Company Name (required): Enter the exhibitor's name.
- Logo: Upload the exhibitor's logo.
- Description: Add detailed information about the exhibitor.
- Location URL: Specify the link to the booth location.
- Location Title: Specify the booth location.
- Company Website: Enter the URL to the exhibitor's website.
- Contact Info: Provide details such as the contact name, title, email, phone number, city, and state.
TIPIf the Exhibitor contact already exists, use the Auto Complete Fields drop-down to prefill contact details.
- Click Save.
Admins can also import the exhibitor from a CSV file. To do so:
- Click the Import Exhibitors button on the Exhibitors page.
- Download the CSV Template.
- Fill out the template with exhibitor information.
- Drop the completed file or upload it by clicking in the designated area.
- Click Import to add the exhibitors.
Managing exhibitor booths
To manage an exhibitor booth:
- Go to Events > Exhibitors in the Admin Panel.
- Find the exhibitor in the list or use the search.
- Click the View button to open the exhibitor info page.
Uploading files
To attach necessary files:
-
Scroll to the {Exhibitor Name} Files section (for example, "Test Inc. Files").
-
Click the Add File button.

-
Drop or upload the necessary file.
NOTEFor more information on supported attachment types and sizes, see File upload requirements.
-
Click Save.
Managing event list
In the Event List section, view all events where this particular exhibitor is attached. The list displays event details, including the event name, location, status, date, and time. To see more information about a specific event, click the View button.
Adding booth staff
-
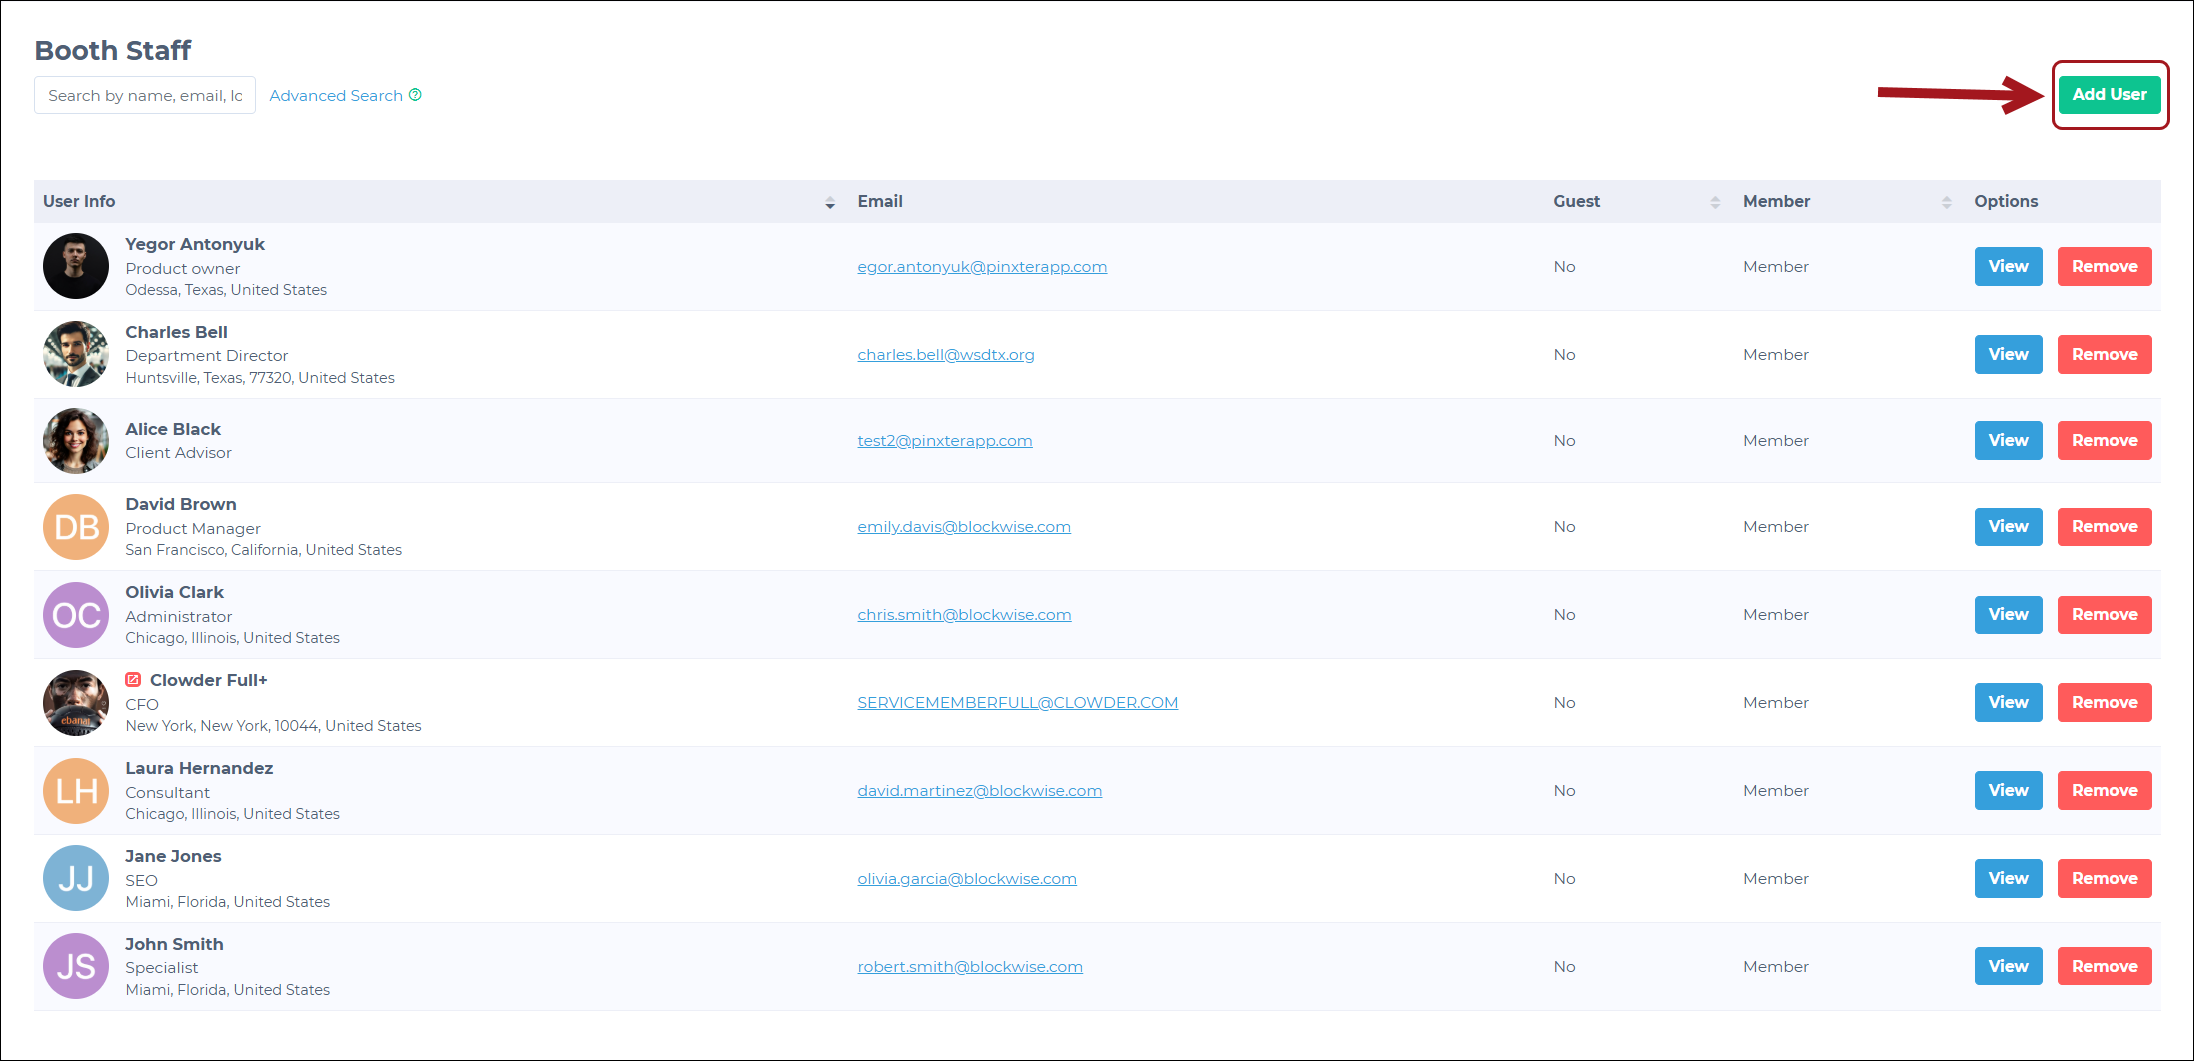
Scroll to the Booth Staff section.
-
Click the Add User button.
-
Search for the desired users on the Add Users page or select them from the list.
-
Select a single user or multiple users.
-
Click the Add Users button.
NOTEA user can belong to only one exhibitor booth. If an admin assigns a user to a booth, that user will be removed from any other booth they belonged to.
After adding booth staff to an exhibitor, the list of assigned users appears under the Booth Staff section on the exhibitor's details page. Admins can do the following:
- Click the View button next to a user's name to see detailed information about the user.
- Click the Remove button to remove a user from the booth staff list.
Editing an exhibitor booth
To edit information for an exhibitor:
- Go to Events > Exhibitors.
- Search for the desired exhibitor from the exhibitor list.
- Click the Edit button on the desired exhibitor.
- Make the desired changes to the exhibitor's details.
- Click Save to apply the updates.
Exporting exhibitors
To export exhibitors to a CSV file, go to the Exhibitors page, then click the Export Exhibitors button.
A CSV file containing the exhibitor data will download automatically.
Managing event exhibitors
To manage exhibitors for a specific event:
-
Go to Events > Events in the Admin Panel.
-
Find the necessary event in the list or use the search function.
-
Click the View button for the desired event.
-
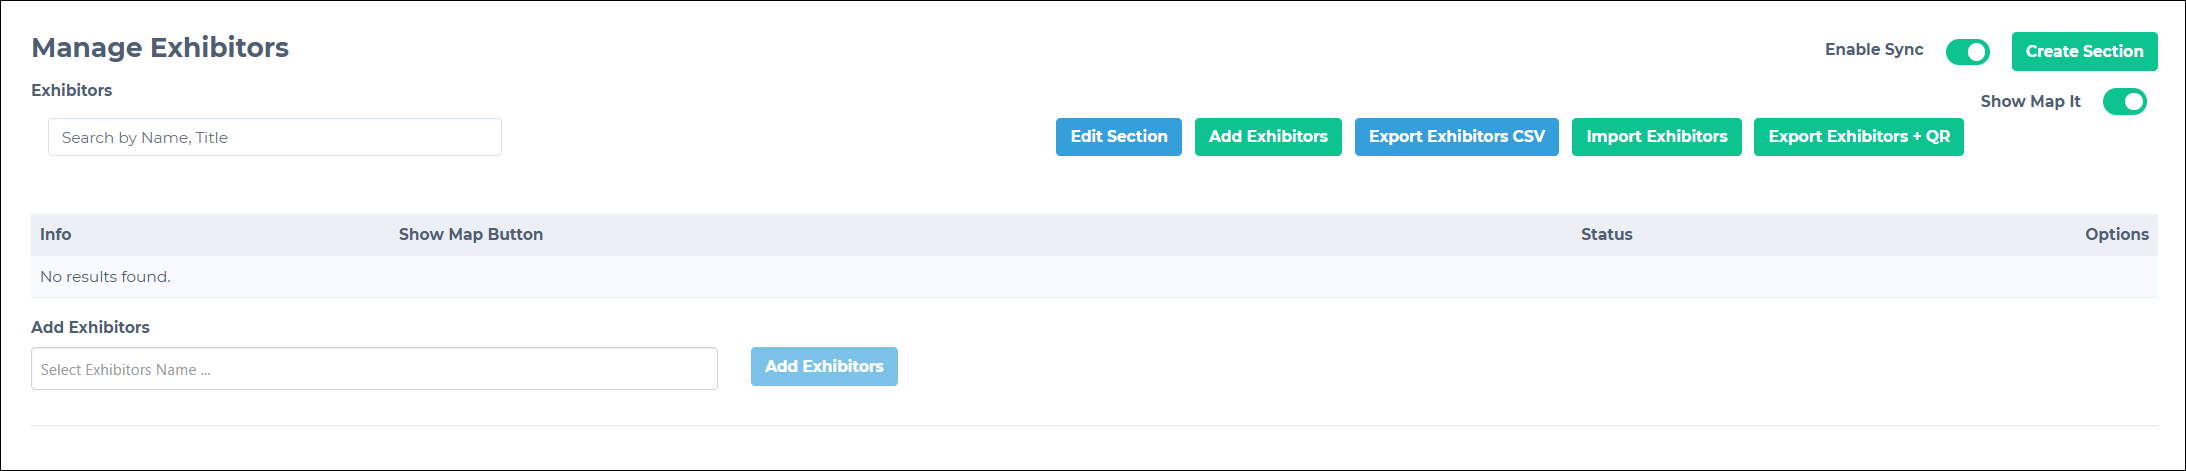
Scroll to the Manage Exhibitors section.
-
Manage exhibitors assigned to specific sections as desired.
Creating a new exhibitor section
Sections help organize exhibitors into groups, making it easier for users to navigate and find relevant information in the app. To create a new exhibitor section:
-
Click the Create Section button in the Manage Exhibitors section.
-
Provide the following details:
- Section Name (required): Enter the name for the new section.
- Group Weight: Specify the weight to determine the display order in the app (higher numbers appear first).
- User Order: Select the order for exhibitors within the section (A-Z or Z-A).
- Status: Set to Active to display the section or Deleted to remove it.
-
Click Save to create the section.
Editing a section
To edit section information:
- Find the desired section in Manage Exhibitors.
- Click the Edit Section button.
- Update the section details (for example, name, weight, user order).
- Click Save to apply the changes.
Adding exhibitors to a section
Admins can add exhibitors to a section in two ways:
Creating a new exhibitor:
- Click the Add New Exhibitors button within the section.
- Fill in the necessary details to create a new exhibitor directly.
Adding existing exhibitors:
- Scroll to the bottom of the section.
- Start typing the exhibitor name to add in the Add Exhibitors field.
- Choose the exhibitor from the list that appears. Admins can add multiple exhibitors this way.
- Once all the necessary exhibitors are selected, click the Add Exhibitors button to include them in the section.
Enabling the Sync toggle
Admins must enable the Enable Sync toggle when importing exhibitor data from an external resource. It ensures that the imported data is correctly mapped.
Exporting exhibitors for a specific section
To export exhibitors of a particular section into a CSV file:
- Go to the Manage Exhibitors section of the desired event.
- Find the specific section to export.
- Click the Export {Section Name} CSV button for that section. The CSV file containing the exhibitors for the selected section will download automatically.
Updated about 2 months ago