Displaying automated alerts
You can set up your website to display automated alerts that notify your users of important information. iMIS has several out-of-the-box alerts already set up for your organization to use, but you can create customized alerts if you are licensed appropriately. Alerts that you configure can contain customized wording and formatting, and you can select where they display and who can view the alerts on your website.
For example, you can create alerts that notify users when their membership expires within a specified amount of time OR notify staff when the contact they are currently viewing is not a member of your organization.
Each alert display can have Data sources, Conditions and an Alert. An alert display must define an Alert; Data sources and Conditions are optional.
There are two different versions of Process Automation available to you: Standard and Plus. Standard is available to you out-of-the-box. Plus requires additional licensing.
Standard
Standard Process Automation allows you to perform the following:
- Add, delete, or edit Data sources and Conditions.
- (Alert tab) Add or delete Data sources.
- Delete alerts from an alert set.
Plus
In addition to the Standard Process Automation functionality, PLUS Process Automation allows you to perform the following:
- Add new alerts.
- Modify the Name, Description, and Type.
- (Alert tab) Modify the Alert Message.
Some out-of-the-box tasks are system alerts that are enabled and included in system alert sets by default for all installs and upgrades.
Using out-of-the-box automated alerts
iMIS provides several out-of-the-box automated alert tasks and alert sets that are already set up for your organization to use and modify.
System alert tasks
Missing mobile phone alert
Creates an alert if the selected contact has no mobile phone number defined.

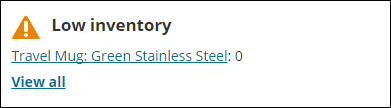
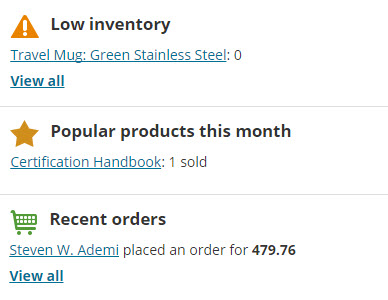
Staff low inventory alert
Creates an alert listing products which have low inventory.
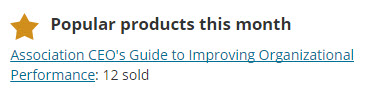
Staff popular products this month alert
Creates an alert listing the products with the highest quantity purchased this month.
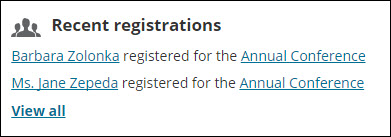
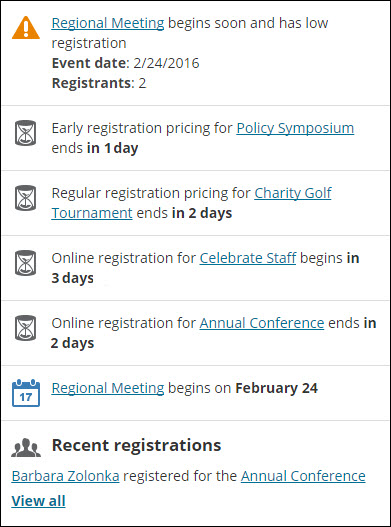
Staff recent event registrations alert
Creates an alert listing the 10 most recent event registrations.
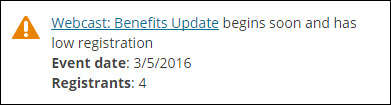
Staff low event registration alert
Creates an alert when an event starts soon and has low registration.
Staff regular pricing cutoff alert
Creates an alert when the regular registration pricing for an event will end within 7 days.

Staff early pricing cutoff alert
Creates an alert for the selected event when the early registration pricing will end within 7 days.

Staff online registration closes soon alert
Creates an alert when the online registration for an event closes within 7 days.

Staff online registration opens soon alert
Creates an alert when the online registration for an event opens within 7 days.

Staff upcoming event alert
Creates an alert for each event that begins within the next 15 days.

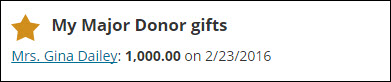
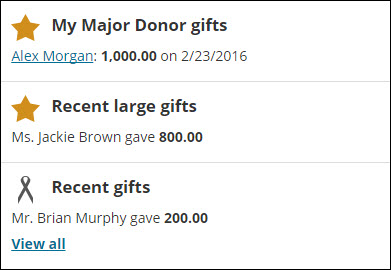
Staff major donor gifts alert
Creates an alert displaying recent gifts from the current user's major donor.
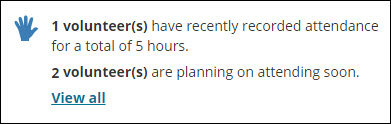
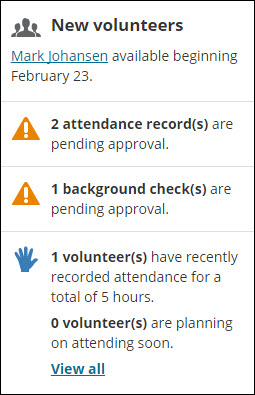
Staff volunteer history and upcoming summary
Displays a summary of the number of volunteers who recorded attendance for the last 7 days and volunteers who are planning on attending in the next 7 days.
Staff volunteer background checks pending approval
Creates an alert with a count of volunteer background checks needing approval.

Staff volunteer attendance pending approval
Creates an alert with a count of volunteer attendances needing approval.

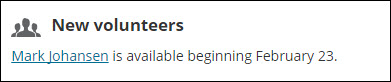
Staff new volunteers alert
Creates an alert listing new volunteers available within 7 days either direction.
Staff recent large gifts alert
Creates an alert listing recent gifts of 500.00 or more
Staff recent gifts alert
Creates an alert listing recent gifts under 500.00.
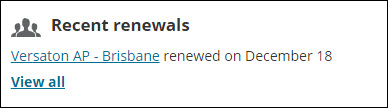
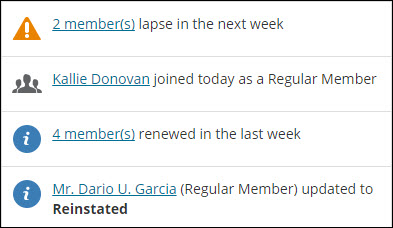
Staff recent renewals summary alert
Creates an alert with a count of members who have renewed in the past 7 days.

Staff new joins alert
Creates an alert for members who have joined today.

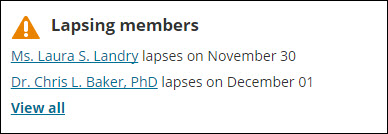
Staff lapsing members summary alert
Creates an alert with a count of members whose memberships expire within 7 days.

Staff new users alert
Creates an alert listing new users created in the last 7 days.
Staff dropped or reinstated members alert
Creates an alert for members who have been dropped or reinstated recently.

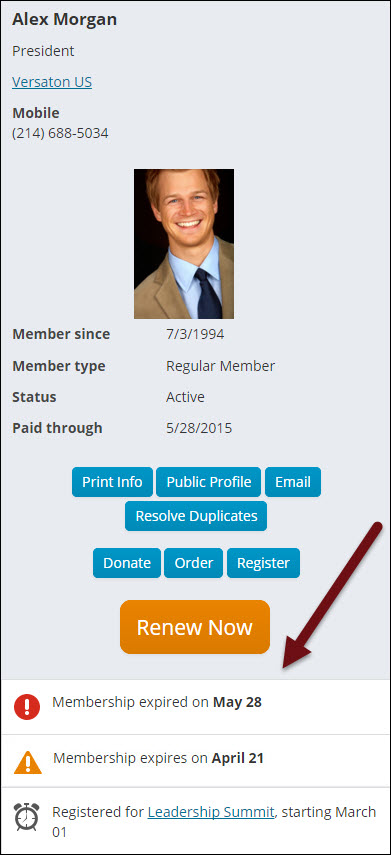
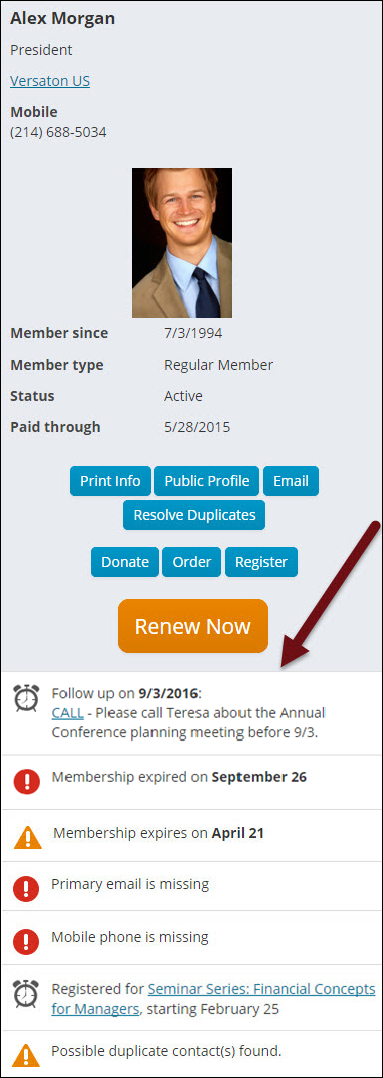
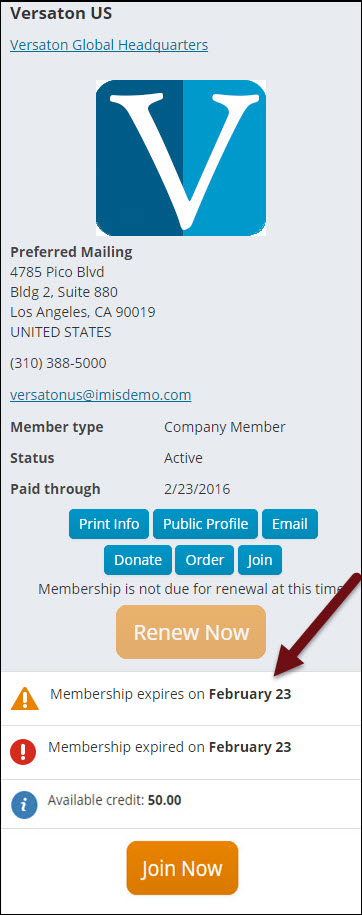
Expired membership alert
Displays an alert when the selected contact’s membership is expired.

Membership expires soon alert
Displays an alert when the selected contact’s membership will expire within 60 days.

Event reminder alert
Displays an alert when the selected contact is registered for an event occurring within 21 days.

Missing primary email alert
Displays an alert when the selected contact does not have a primary email entered.

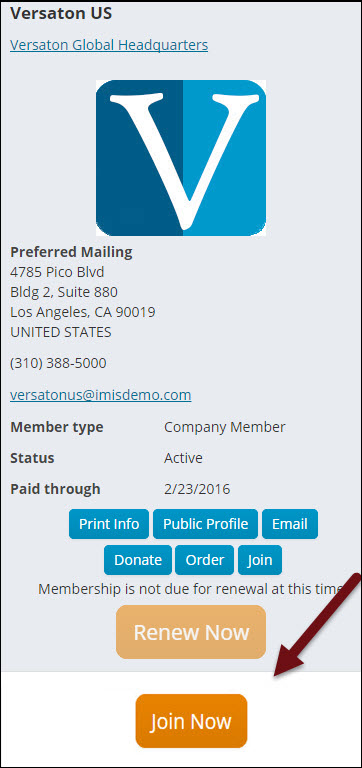
Company Join Alert
Creates an alert if the selected organization is not a member, prompting them to join.

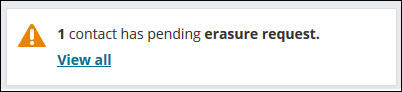
Duplicate Contact Alert
Displays an alert if your system found a possible duplicate contact record for that person.
📘 Note
This alert appears when you are licensed for Contact Merge - Plus. For more information, contact your AiSP or ASI Technical Support.

Follow up activity alert
Displays an alert when the selected contact has an activity follow up date in the next week which is assigned to the current user. The link in the alert navigates to the Activity Profile page. The alert no longer displays once the Follow Up Date field is blank.
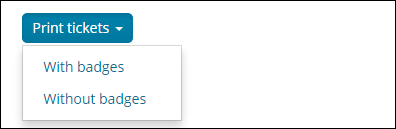
Staff specific event print tickets alert
Displays a button to allow staff to print tickets from an event's specific dashboard.
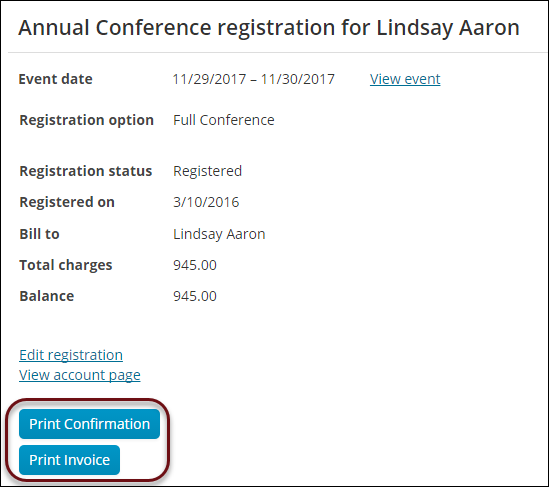
Event confirmation report alert
Displays a button to print the confirmation for an event registration. The confirmation send date is updated when the task is run.
Event invoice report alert
Displays a button to print the invoice for an event registration.
Event waitlist count
Displays the number of registrants waitlisted for each function of the selected event.

Waitlist for function title
Used to display page title for a function waitlist.

Sample alert tasks
Other out-of-the-box tasks are sample alerts, designed for you to use as examples. These tasks are enabled for installs and upgrades, but since they are not included in a system alert set, they do not automatically display. These sample alert tasks include:
Staff recent renewals list alert
Creates an alert listing the members who have renewed in the past 7 days.
Staff lapsing members list alert
Creates an alert listing members whose memberships expire within 7 days.
Staff new contacts alert
Creates an alert listing new contacts created in the last 7 days.

VIP alert
Displays an alert when the selected contact is a VIP, such as committee members with a position of Chair or President or members of the Board of Directors.


System alert sets
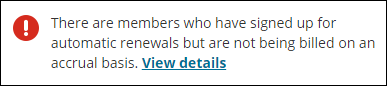
Automatic membership renewals
Used to display alerts to staff regarding cash-based enrollments in automatic membership renewal.
Commerce Dashboard
Alerts that appear on the Commerce dashboard in the Staff site.
Community Dashboard
Alerts that appear on the Community dashboard in the Staff site.
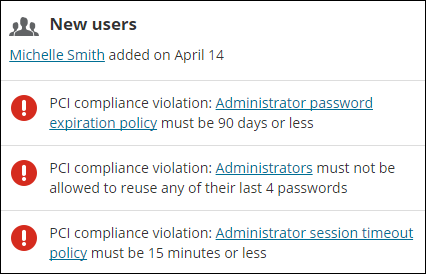
📘 Note
The PCI compliance violation alerts will only display for system administrators when the Authentication settings are not configured to PCI compliance standards. Remove the PCI alerts from the Community Dashboard alert set to hide the alerts.
Event registration details alerts
Alerts that appear on the event registration details page.
Events Dashboard
Alerts that appear on the Events dashboard in the Staff site.
Fundraising Dashboard
Alerts that appear on the Fundraising dashboard in the Staff site.
Join alert
This set includes alerts that display to Company Administrators on the organization home page.
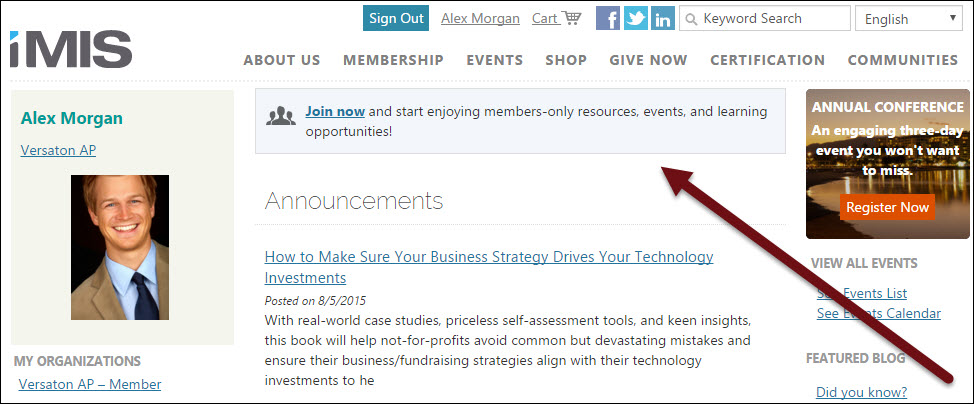
Member alerts
This set includes alerts that display to public users on the home page and their account page.
Membership Dashboard
Alerts that appear on the Membership dashboard in the Staff site.
Organization administrator alerts
Alerts that display to organization administrators on the organization's account page.

Quick Start Member alerts
This set includes sample alerts for Quick Start Sites.
Staff account page alerts
This set includes alerts that display to staff users on the staff account pages for contacts.
Staff organization account page alerts
Alerts that appear on the organization account page which staff users see.
Volunteer Dashboard
Alerts that appear on the Volunteers dashboard in the Staff site.
Waitlist for selected function
Displays title for the selected function's waitlist.
Enabled out-of-the box alert tasks that are included in an alert set by default will automatically display to website users after an install or upgrade. The system staff account page, member account page, and member website home page already contain Alert Display content items configured to use the system alert sets.
Disabling and editing out-of-the-box alerts
After installing or upgrading iMIS, you should review the system alerts tasks to confirm that you do want these alerts to display to users.
You need to review the system alert tasks to ensure that they are configured appropriately for your organization. If you do not want a system alert task to generate an alert, you need to disable the task or remove it from all alert sets.
- From the Staff site, go to RiSE > Process automation.
- Select the Tasks tab.
- Open and review the alert tasks:
- If you do not want to use a system task, deselect Enabled.
- Confirm that the task uses an appropriate Conditions data source. The task only runs when the data source returns records.
- Confirm that the Alert is configured appropriately. Without the purchase of the PLUS license some modifications will not be permitted.
- Review the query data sources used as conditions in the enabled tasks. Select the Data sources tab to add or modify a query data source:
- Click Add data source:
- Enter a Data source name. It is recommended that you choose a name that indicates the type of records returned by the data source.
- Select an existing query or click Create source query to add a new query.
- If you select an existing query, the $/Common/Tasks/Queries folder opens by default.
- If you choose to add a new query, you are taken to the Intelligent Query Architect where you can define a new query.
- Modify an existing data source displayed in the Alert Message. If you have not purchased the PLUS license, complete the following for alert messages that contain a data source:
- Remove the defined data source from the Data sources, Conditions, and Alert tabs.
- Create a new data source with the exact same Data source name as the data source defined in the Alert Message.
- Review the data source to validate that the columns are exactly same as the data source defined in the Alert Message.
- Add the new data source to the Data sources on the Alert tab.
- Click Add data source:
- Save your changes.
- Go to RiSE > Process automation.
- Select the Alert sets tab and confirm that the alert tasks are located in the appropriate alert set.
Creating new automated alerts [PLUS]
📘 Note
The following information is considered a PLUS feature and additional licensing is required. For more information, contact your AiSP or ASI Technical Support.
Creating data sources (queries) for your alert task
You can use queries as data sources in alert tasks. When the specified data sources return records in an alert task, the task generates the user alert. Alerts display only when the data sources return records.
You should create the query before creating the task.
- From the Staff site, go to RiSE > Intelligent Query Architect.
- Select New > Query.
- Click Advanced mode.
- (Summary tab) Enter a Name and Description of your query.
- (Sources tab) Add the sources for the query. You can add multiple sources. If you use multiple sources, specify the Relations between the sources.
- (Filters tab) Add filters to narrow your query results.
- (Display tab) Select columns that you want to be available to merge into the alert message. These fields will be available from the Insert field drop-down when you create an alert message.
- Save your query at $/Common/Tasks/Queries in the Document system.
- Run your query to confirm that it returns the appropriate records.
- (optional) If you only want the alert to display when a contact views their own record or on the record of the selected contact for staff users:
- Add the ContactKey property to the filters tab.
- Enter "@SelectedUser" as the property Value.
📘 Note
If you do not add the "@SelectedUser" dynamic filter to the query, the alert will display for all contacts. Be sure you are including the quotation marks. - (optional) (Security tab) Confirm that the appropriate security options for the query are selected. If a user does not have permission to run the query, they will not be able to view an alert generated by a task using the query as a data source. It is recommended that you do not limit access beyond authenticated users.
- Save the query.
📘 Note
Insert a URL parameter for an alert to only display for a selected event. For more information, see Adding dynamic filters to queries.
Creating alert tasks and sets
You can create a task that displays a predefined alert on your website when specified conditions are met. Conditions instruct the task to run only when records are returned by selected data sources, filtering when the alert displays. If needed, you can specify a personalized alert message to display to a user signed in as themselves. To display the alert messages, you must group these tasks into sets.
To generate alerts, you need to create alert tasks. For each task, define Conditions and an Alert.
The Conditions determine which records qualify for the alert. The Alert is the text, images, links, and buttons that comprise the alert. In the Conditions, you specify query data sources. When the data sources return records, the task generates the Alert.
Alert sets are groups of alert tasks that you want to display as a group to users. For example, you may want to create separate alert sets for staff alerts and member alerts.
The alert set determines the order that the alerts display on the web page, so you should confirm that your alert tasks are in the correct order within the set.
📘 Note
You must configure an Alert Display content item to display the alert set. See Adding an Alert Display content item to a web page for more information.
Creating an alert task
- From the Staff site, go to RiSE > Process automation.
- Select the Tasks tab. A list of existing tasks displays.
- Click Add new task.
- Enter a Name that indicates the purpose of the task.
- (optional) It is recommend that you enter a task Description.
- Select Alert display as the task Type.
- (optional) (Data sources tab) Create and manage query data sources for the task.
- Select Add data source.
- Enter a Data source name. It is recommended that you choose a name that indicates the type of records returned by the data source.
- Select an existing query or click Create source query to add a new query.
- If you select an existing query, the $/Common/Tasks/Queries folder opens by default.
- If you choose to add a new query, you are taken to the Intelligent Query Architect where you can define a new query.
- Save your data source.
- If needed, add additional data sources.
- (Conditions tab) Specify the Conditions that must be met in order for the task to run.
- If a query data source was defined on the Data sources or Alert tab, select one of the following options:
- Use existing data source - select a previously defined data source from the drop-down that will only display data sources that are not being used in any other Conditions.
- Use results of IQA query as data source - select this option to define a new data source.
- Enter a Data source name. It is recommended that you choose a name that indicates the type of records returned by the data source.
- Select an existing query or click Create source query to add a new query.
- If you select an existing query, the $/Common/Tasks/Queries folder opens by default.
- If you choose to add a new query, you are taken to the Intelligent Query Architect where you can define a new query.
- If there were no previously defined data sources from the Data sources or Alert tab, provide the following required information:
Enter a Data source name. It is recommended that you choose a name that indicates the type of records returned by the data source.
Select an existing query or click Create source query to add a new query.
- If you select an existing query, the $/Common/Tasks/Queries folder opens by default.
- If you choose to add a new query, you are taken to the Intelligent Query Architect where you can define a new query.
- Save your data source.
- If needed, add additional data sources.
- (Alert tab) Create the Alert that the task generates when the conditions are met.
- (optional) To insert fields (such as a contact’s name) from data sources in the defined Data sources or Conditions into the alert, specify the Data sources you want to use. To learn more about how to format and utilize these options, see Using placeholders.
- You can also Add a new data source to be used as a source for merge fields. New data sources added on the Alerts tab are not added as task Conditions.
- Enter a Data source name. It is recommended that you choose a name that indicates the type of records returned by the data source.
- Select an existing query or click Create source query to add a new query.
- If you select an existing query, the $/Common/Tasks/Queries folder opens by default.
- If you choose to add a new query, you are taken to the Intelligent Query Architect where you can define a new query.
- (optional) Add to alert set to include the task in an alert set. You can choose from existing alert sets or select Add new set to create a new alert set. The task can belong to multiple sets. (You can also add tasks to an alert set when editing the set. See Creating an alert set.)
- Enter and format the Default message.
- (optional) To insert icons in an alert, use the Image Manager.
- (optional) To insert fields from the selected Data sources into the alert, use the Insert data source field drop-down.
- format=“C” - Currency: Convert 123.456 to $123.46 ("C", en-US)
- format=“d” - Short date: Convert 6/15/2009 1:45:30 PM to 6/15/2009 (en-US)
- format=“D” - Long date: Convert 6/15/2009 1:45:30 PM to Monday, June 15, 2009 (en-US)
- (optional) To include repeating data from a data source in the alert, use the {foreach} placeholder. See Creating email communication templates for more information on the {foreach} placeholder.
- (optional) You can use the Apply CSS Class drop-down to apply styling and formatting to specific portions of the alert message. Select the area you want to style and choose a CSS class from the drop-down.
- (optional) To insert a link to a content record in the message, use the Insert link drop-down to select Alert link
- You can select a content record or enter a shortcut as the Link Target. If you enter a shortcut, it should include the [Website] variable. This format points users to the web page within the correct site, ensuring that the page displays with the correct theme. For example, if you want to link to the EventDetail shortcut, enter Website/EventDetail or [Website]/EventDetail.
Enter the Link text that will display in the alert message.
If needed, enter the Url parameter of a web page. For example, you can enter ProductCode=FR004 to use the page for a specific product as the link destination. You can also use a variable as the Url parameter, such as ProductCode={#product.ProductCode}.
- If needed, enter or select a Source code to associate this link with a marketing campaign.
- (optional) To create a second version of the alert that only displays when a contact views their own record, select Display personalized message if a contact is viewing their own record. Enter and format a Personalized message. For example, you may want a membership renewal alert to use different wording when displayed to a contact (“Your membership expires soon.”) than when displayed to a staff user (“John Smith’s membership expires in the next 60 days.”).
Click for details
You can reformat these fields with a formatting string. To specify a format, add format=”FORMAT_HERE” inside the brackets, with FORMAT_HERE specified by .NET Framework Standard Format Strings. For example: {#iqa.DataAdded format="d"}.
There are both Date/Time and Number formats available:📘 Note
For more information on formatting types, please reference the .NET framework.Click for details
- To activate the task, select Enabled.
- Save the task.
Click for details
All query data sources created for this task are listed. The name of all data sources will populate in a drop-down when defining a Condition or Alert. You cannot delete a data source if the data source is selected within a Condition or Alert, however not every data source you have defined must be used when creating a Condition or Alert.
Click for details
📘 Note
This data source will populate on the Data sources tab once you click Save.
When the task is called to display the alert, it displays if any of the selected data sources return one or more records or if no Conditions are defined.
See Creating data sources (queries) for your alert task for more information about creating a query to use as a task data source.
Click for details
any new data sources that you create for merging purposes should also use @SelectedUser with the same filter.📘 Note
This data source will populate on the Data sources tab once you click Save. 📘 Note
If the Conditions data sources apply the @SelectedUser value to a filter,
In order to display an alert to users, you must include it in an alert set and configure an Alert Display content item on your website to display the alert set.
in their order in the set. To rearrange the order of tasks in the set, you must edit the alert set.📘 Note
The task is added to the bottom of the alert set. Alerts display to the user
📘 Note
It is strongly recommended that you test the alert message to confirm that the formatting and styling is correct. After adding it to an alert set used by an Alert Display content item, find a contact for whom the alert displays and view the alert to verify its appearance.
Creating an alert set
Do the following to create an alert set:
- From the Staff site, go to RiSE > Process automation.
- Select the Alert sets tab.
- Click Add alert set.
- Enter a Name for the new alert set.
- Enter a Description for the new alert set.
- (optional) To restrict the users who can view alerts for other contacts to authorized users only, click Limit users who can view alerts for other contacts. Authorized users include staff users and Company Administrators for groups to which a contact belongs. Users can always view their own alerts.
- Save the alert set.
- Click Add new to add an alert task to the set.
- Select a Task.
- Click Save.
- If needed, add other tasks to the set.
- Use the arrows to rearrange the tasks in the set. The alerts display to the user in the set order.
- Save the alert set.
Adding an Alert Display content item to a web page
You can configure the Alert Display content item to display a specified alert set. When the data sources of a task in the alert set returns the record of the selected contact or the logged-in contact, the alert displays in the content item.
To display alerts on a web page, add the Alert Display content item to the page. You must configure the content item to display a specified alert set.
When a task in the selected alert set runs, the task generates its alert, which then displays in the Alert Display content item.
- From the Staff site, go to RiSE > Page Builder > Manage content.
- Navigate to and open the content record where you want alerts to display.
- Select Add content.
- From the Utility folder, select Alert Display.
- Configure the Alert Display content item
- (optional) Apply an iPart CSS class to control the styling and formatting in the entire content item.
- (required) Select the Alert set that you want the content item to display. You can select multiple alert sets.
- (optional) If you prefer that the content item does not display on the web page when there are no alerts, select Hide when there are no alerts.
- (optional) If you do not choose to hide the content item when there are no alerts to display, you can configure a No alerts message that displays when there are no alerts.
- Select and enter other configuration information as needed.
- Click OK.
- Drag the content item to the location where you want it to display.
- Save & Publish the content record.
🚧 Warning
Save your content record to a Shared Content folder to ensure that it is protected during iMIS upgrades. Any changes to sample content items run the risk of being overwritten by the system.