Working with contacts
People and organizations are easily searchable in the Staff site from Community > Find contacts. The Find contacts page offers pre-built searches on the People and Organization tabs. Additional contact queries are located in the Select a query drop-downs.
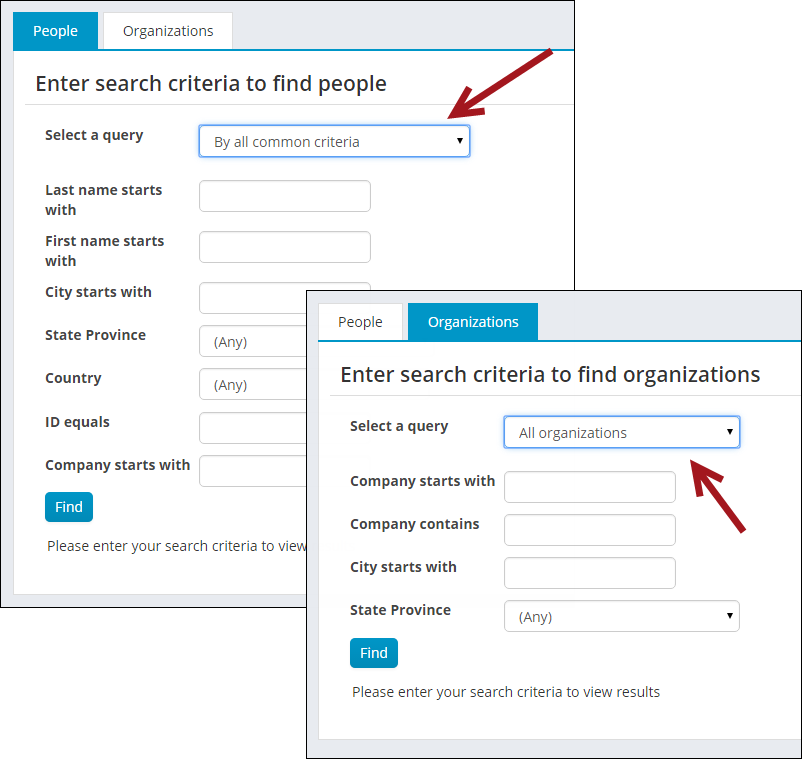
The queries used on the Find contacts page are located in the Document system at $/ContactManagement/DefaultSystem/Queries/Directory. You can change these queries and add additional queries as fits your organization. In order for the query to show up in the Select a query drop-down, place the query in the PeopleSearch or OrganizationSearch folder.
WarningDo not modify a system query. Instead, make a copy of the query and apply the changes to the copy. Any system query that is modified will be overwritten on an upgrade.
Because these searches use IQA, you can control the formatting of the printed output and let your staff export that contact data to Word, Excel, and data files.
NoteThe preconfigured security setting for the standard iMIS Directory, Find People and Find Organization pages is All Staff Full Control. For more information on iMIS preconfigured security see Using Access Settings.
You can add a new contact, enter contact details, and view a limited set of contact data for others.
Editing existing contacts
Do the following to edit existing contacts:
- Search for a contact. In the Staff site, go to Community > Find contacts.
- Search for a contact.
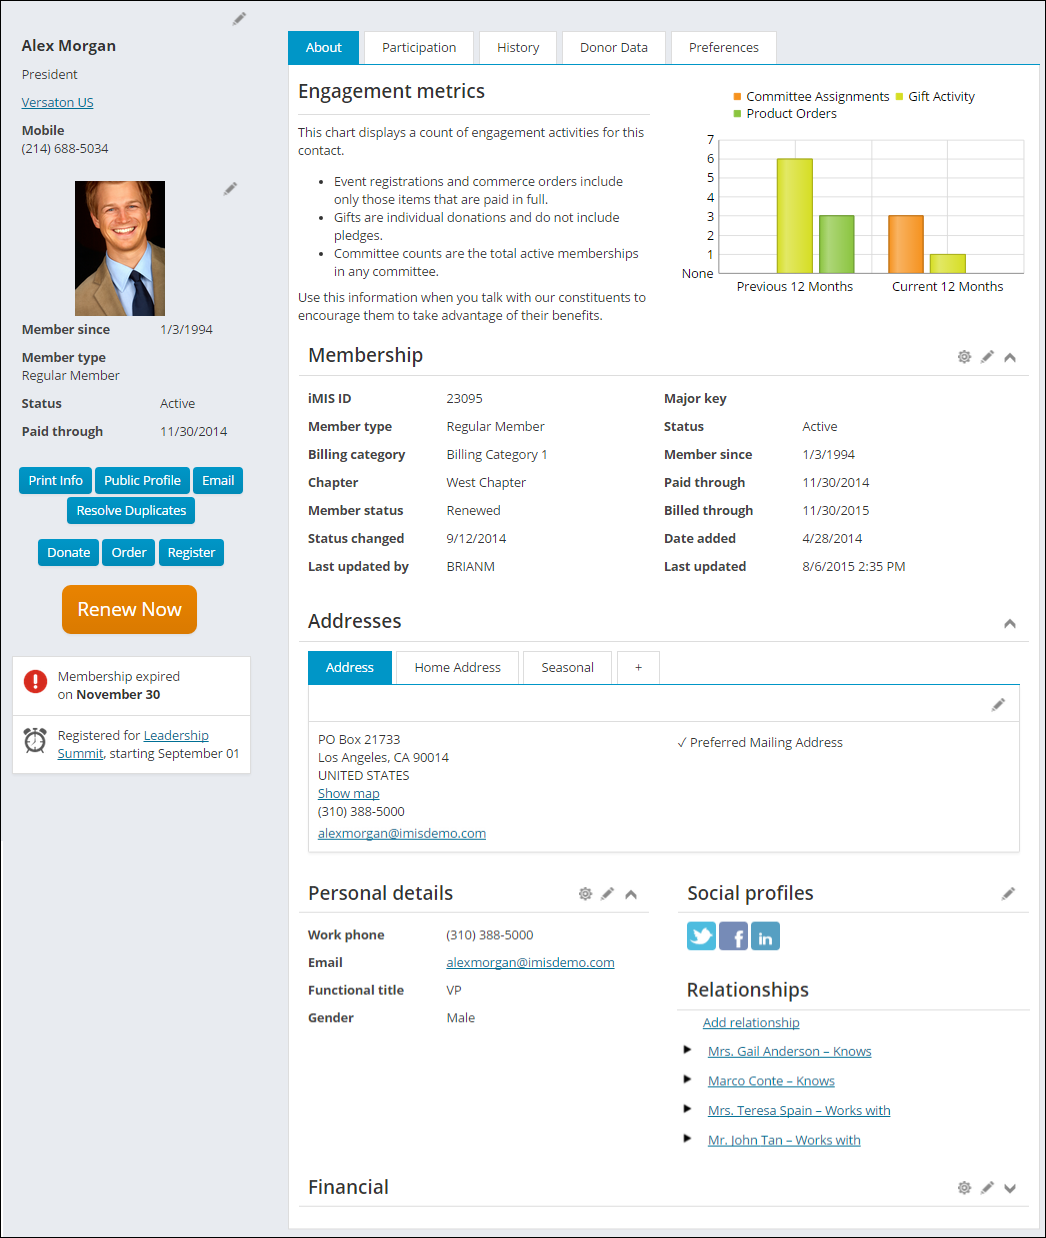
- Once you find the contact, you can change the record by clicking on their ID number, and then edit the information on the resulting profile page.
Adding new contacts
Do the following to add new contacts:
- In the Staff site, go to Community > Add contact.
- Select whether the contact is an Individual or Organization.
- Enter all required fields.
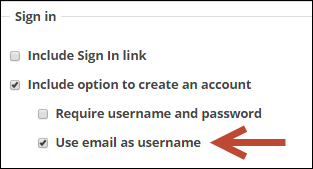
- If you want to create a new account for the contact, select Create an account. You can then enter a password for the new contact. By default, the Contact Account Creator content item is configured to use the email address as the Username.
- Click Save. You can add additional contact information on the resulting profile page.
Marking a contact for deletion
Contact records that are marked for deletion are not deleted. The contacts remain in the database, but are excluded from the standard directory searches.
Contact records that are marked for deletion can be available to Staff users in a search when Include inactive results is selected.
The only way a contact can be completely removed from the database is for the contact record marked for deletion to be merged with another contact record.
Do the following to mark a contact for deletion:
- In the Staff site, go to Community > Find contacts.
- Search for the contact you want to mark for deletion. Click the contact’s name to go to the contact’s profile page.
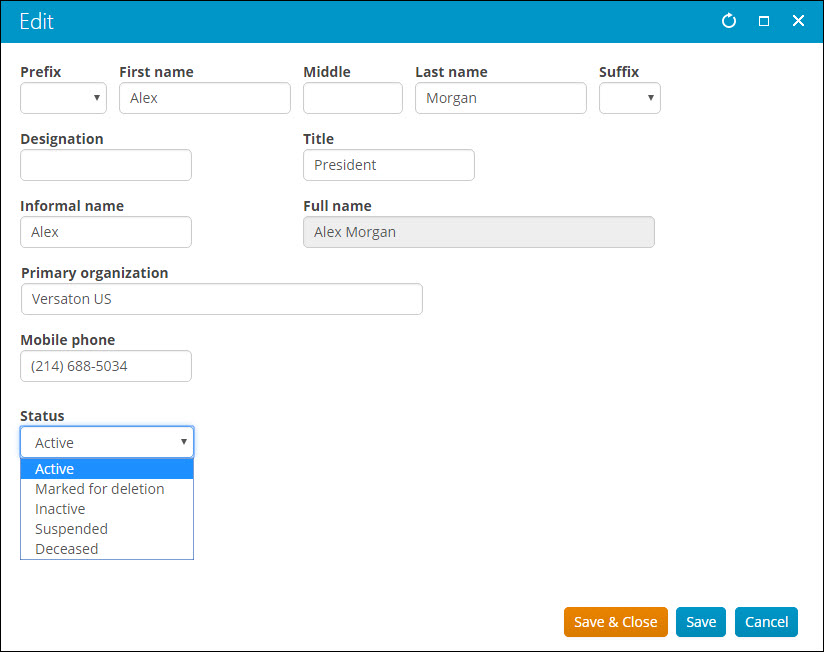
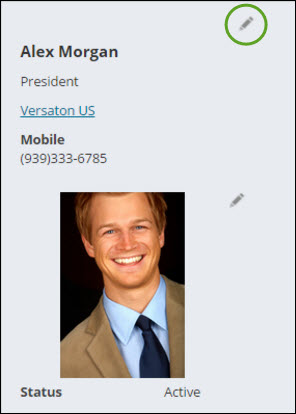
- Click the pencil Edit icon to open the profile Edit window.
- Select any status other than Active in the Status drop-down.
- Save & Close the Edit window. The contact is now marked for deletion.
📘 Note
Users can add their own statuses. If you add a new status that you want to have show up in search results, ensure the new status begins with the letter A.