Invoicing and shipping orders
The Invoice orders option is used for posting selected sales transactions to AR/Cash. Once you have invoiced an order, the order cannot be edited or deleted. The Ship orders option is used for shipping orders, and is the only order processing stage that does not generate printed output. At this stage, you can open the Ship Orders window to record an order's actual shipping date and shipping method.
Invoicing orders
Generating an order invoice also creates an accounting entry, affects product inventory, and generates an activity record for a customer. If you enable the Create activity records for zero amount orders option on the Configure accounting options window (in the Advanced Accounting Console, go to Finance > Options > Configure accounting options), activity records are generated for zero-dollar orders as well.
To invoice an order, do the following:
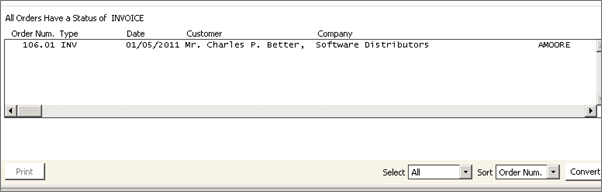
- In the Advanced Accounting Console, go to Commerce > Orders > Invoice orders.
- Select the orders you want to invoice. To edit an order, double-click the order. The Order Entry window is displayed.
- Click Convert. A message is displayed asking if you want to invoice the orders and mark them as completed.
- Click Yes to invoice the orders. The Enter Invoice Date window is displayed.
- (optional) Edit the invoice date, if necessary.
- Click OK.
- (optional) If you are using batch control and have enabled the Create New Batch for Invoicing option on the Order Status Defaults window, a message is displayed stating that a new batch for order invoicing is going to be created by the system.
- Click Yes to continue. The Batch # has been created for invoicing message is displayed with the specified batch number.
- Click OK.

Shipping an order
- In the Advanced Accounting Console, go to Commerce > Orders > Ship orders.
- Select the orders you want to ship, then click Convert. A message displays prompting you to confirm marking the selected orders as shipped.
- Click Yes. The Shipment Express window is opened.
- If you want to cancel shipping the order, do the following:
- Click Cancel. A message is displayed stating that express shipping was cancelled.
- Click OK to cancel shipping the order and return to the Ship orders window.
- (optional) Edit the Ship Dates and Ship Method.
- Click OK. A message is displayed prompting you to remove any previously specified shipping methods and ship the order:
- Click No to ship the order.
- Click Yes to remove any previously specified shipping methods and ship the order.
Editing an order's shipping information
You can view and edit an order's shipping information through the Ship Orders window.
Do the following:
- In the Advanced Accounting Console, go to Commerce > Orders > Ship orders.
- Double-click an order to open the Ship Orders window. Detailed information about the selected order is displayed on the window.
- Edit the shipping information.
- Click OK to mark the order as shipped. The order will ship just as if you had selected the order and clicked Convert on the Ship orders window.
Printing shipping papers
The Print shipping papers option is used for generating a shipping paper known as a Packing Slip. Shipping papers are generated for individual orders and detail an order's Ship to, Sold To, and content information. Each order should ship with shipping papers.
Any user-defined fields populated for an order line item on the Product Detail window are printed below each line item on a shipping paper. If the Enable Multi-Warehouses option is enabled on the Inventory System Setup window, shipping papers are sorted by order number, warehouse, and line number.
Do the following to print shipping papers:
- In the Advanced Accounting Console, go to Commerce > Orders > Print shipping papers.
- Select the orders for which you want to print shipping papers. To edit an order, double-click the order. The Order Entry window is displayed.
- Click Convert. A message is displayed prompting you to confirm printing the shipping papers.
- Click Yes.
If you are converting multiple shipping papers and screen is the report destination, cancelling the job before all shipping papers are processed will cause errors. These errors will occur for every shipping paper that was not processed, and the unprocessed shipping papers will not print. However, each order still will proceed to the Ship orders stage.

Example of a Packing Slip - Multi-Warehouses disabled
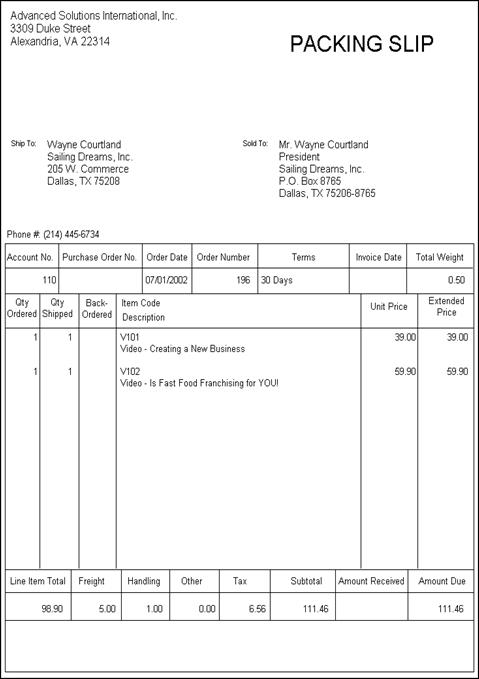
Pricing information displays only if the Show Prices On Shipping Paper option is enabled on the Order Status Defaults window (Settings > Commerce, click Order Staging).
Printing a pick list
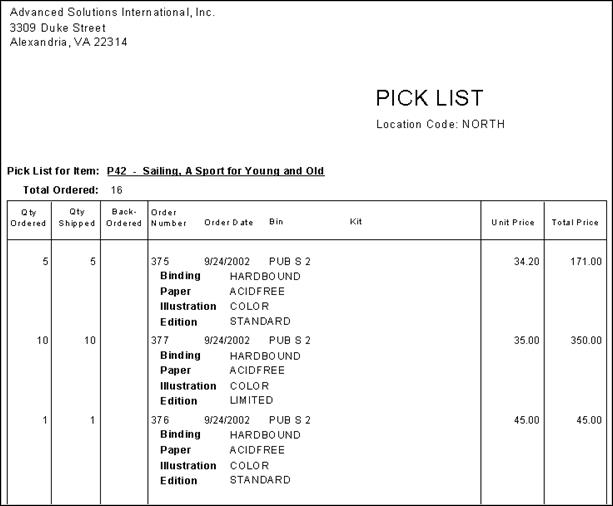
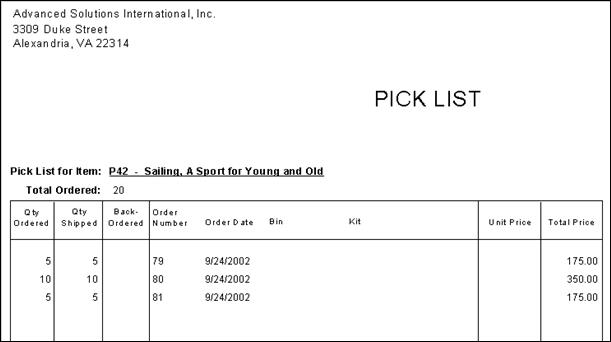
The Print pick list option is used for generating an itemized product list known as a Pick List. Pick lists sort products by product code, order number, and line number, and each product code prints on a separate page. Any user-defined fields populated for an order line item on the Product Detail window will print below each line item on a pick list.
If the Enable Multi-Warehouses option is enabled, products also sort by warehouse and bin. Each product code prints on a separate page, and if a product is ordered from multiple warehouses, a pick list then sorts each product code by warehouse, and a separate page is printed for each warehouse.
A product's warehouse Location Code prints at the top of a pick list. If a bin is defined for a warehouse, the Bin location prints next to a product line-item on a pick list.
Do the following to print pick lists:
- In the Advanced Accounting Console, go to Commerce > Orders > Print pick list.
- Select the orders for which you want to generate pick lists. To edit an order, double-click the order. The Order Entry window is displayed.
- Click Convert. A message is displayed prompting you to confirm printing the pick lists.
- Click Yes. A pick list is printed for each individual item.
Closing orders
The Close orders option is used for closing orders that have a COMPLETED status. Only orders with a COMPLETED status can be closed.
The Close orders option is not a required step, and closing an order changes only the Orders.STAGE field from COMPLETED to CLOSED. It is available as an option for customers who might want to purge or archive order records; you can use the Closed status to indicate which orders are ready for purging or archiving.
Do the following:
- In the Advanced Accounting Console, go to Commerce > Orders > Close orders.
- Select the orders you want to close.
- Click Convert. A message is displayed prompting you to confirm closing the selected orders.
- Click Yes to the close the orders.