Hands-on exercise: Run a saved Crystal report
In this exercise, you will run a Crystal report in iMIS that will store and save the report data to the Job_Record table.
- Open iMIS.
- Select Customers > Generate reports.
- Select the Rosters report type.
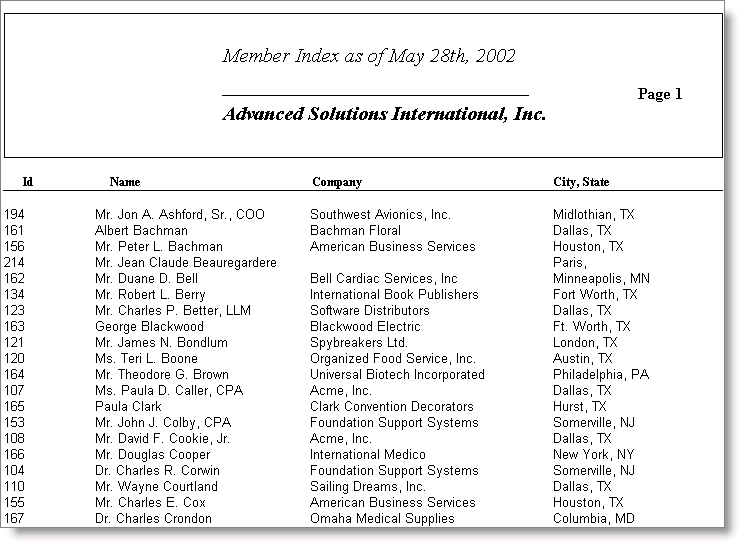
- Select Member Index (Class).
- Click Set Report Destination, and select Screen.
- Click Run to open the Member/Contact Selections window.
- Accept the defaults, and click OK. The report displays in the Crystal Preview window.
- Close the report.
To view a report from Print Manager
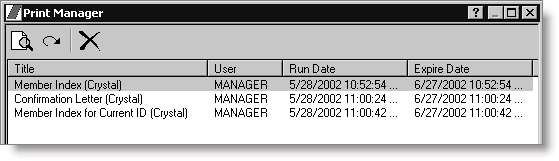
All stored reports are kept in the Job_Record table and are assigned sequential numbers. The reports are saved in the directory designated in the System Setup window (select File > System Setup) and are stored in files labeled asi#.rpt. The Print Manager displays only those reports that the current user has run. Only users with a system management access level of eight or higher can view all reports.
- Open iMIS.
- Select File > Print Manager. The Print Manager displays a list of stored reports with the following columns:
- Title (report title)
- User (the user who ran the report)
- Run Date (the date the report was run)
- Expire Date (the date the report will be purged from the Print Manager)
- To view the report, double-click the report title, or select the report title, and click View the report. The Crystal Preview window opens. Print the complete report or select a range of pages to print.
- To update the list, click Refresh report list.
- To delete a report from the Print Manager, select the report, and click Delete the report(s). To select multiple reports, hold down the Shift key (to select a range) or the Ctrl key (to select individually) on your keyboard.