
Cloning a notification
All notifications in TopClass are set up at the system level. Any notification that currently exists in TopClass can be cloned by a Super Admin or Admin user (with the notifications privilege's) within TopClass.
To clone a notification, do the following:
- Go to System Notifications > Automated Notifications.
- Click Create.
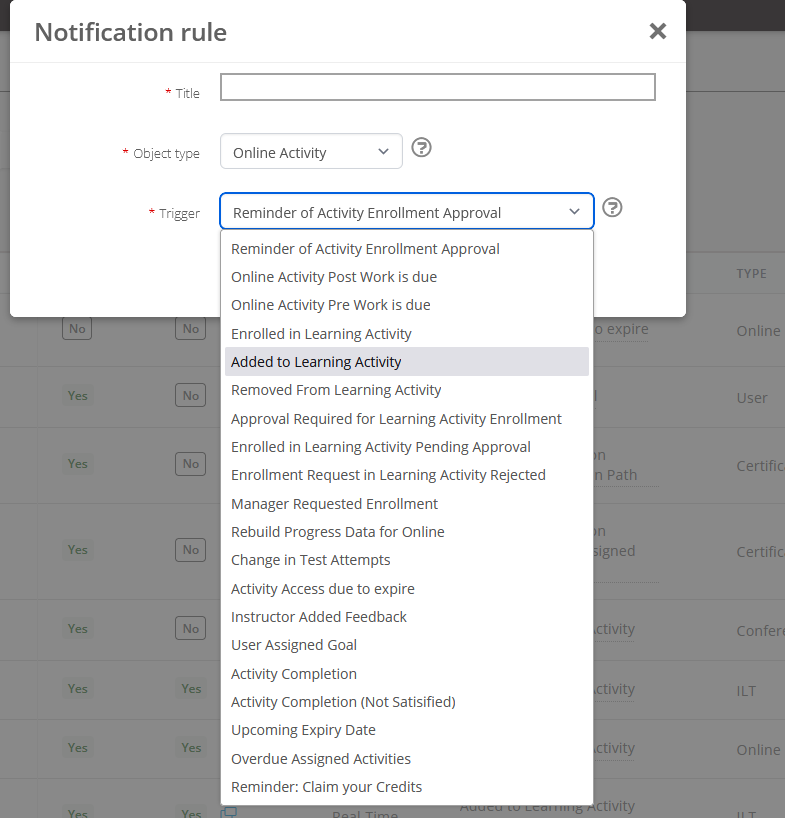
- Enter a Title. Only admin users will see the Title.
- Select the Object type:
- User
- Online Activity
- Content
- ILT Activity
- Badge
- System
- Select a Trigger.
NoteTriggers will vary based on the chosen Object type.
- Click Create.
- The additional settings appear:
-
CC manager - Enable to CC the recipient's manager.
-
CC List - Enter a comma separated list of emails that will be CC'd.
-
Sender Email - Enter the sender mail details. This will default from the system default but can be overridden for each notification. If it is not a valid email address, then the emails are not sent externally.
-
Sending Email Display Name - The friendly name of the person sending the email address. For example, the sender email address is [email protected], and the display name is Learning Hub at Example Org. It this name is not specified, the default is used from the system settings (Default From & Reply To Email Account Name).
-
Information - The description of the notification. This is to help administrators understand what this notification is being used for.
-
Language - Choose the language of the message.
-
Subject - Enter the subject of the email notification. Student will view this when they receive the notification.
-
Body - Enter the body of the email notification. This can include substitution variables and logic blocks. These are specific to the type of notification and can be injected into the body using the drop-down fields. See the individual help otems beside each drop-down for detail on how to use each. You can preview the body to see how it will appear. The logic blocks will evaluate to true for the purpose of the preview. The substitution variables are defaulted to placeholder text.
NoteVariable and logic blocks will vary based on the notification trigger.
-
- Click Save.
Once you have completed editing of your notification you have the option to activate the notification at the system level. Simply select the Active toggle to do this.

Doing this will ensure any user who hits the selected trigger will receive the newly created notification.
If you wish to only active the notification at the activity level, do not select active button within the newly created notification. Do the following:
- Leave the newly created notification inactive.
- Navigate into the activity.
- Navigate to the notification tab within the activity.
- Using the search bar, search for the newly created notification.
- Select the notification title.
- Select open for use button at the top of the pop up.
- This will bring you into the notification.
- Selecting the active button within here will only activate this notification for this specific activity.