Scheduling Reports
TopClass offers the ability to schedule any of the built-in reports. These scheduled reports can be sent directly to your email address in your selected export format. This functionality helps automate reporting and saves time by running reports in the background and sending notifications as specified.
NoteTo use this feature, your SMTP notification information must be configured to send emails outside of TopClass.
Creating and accessing Scheduled Reports
Do the following to create and access scheduled reports:
- Go to Reports > Scheduled Reports.
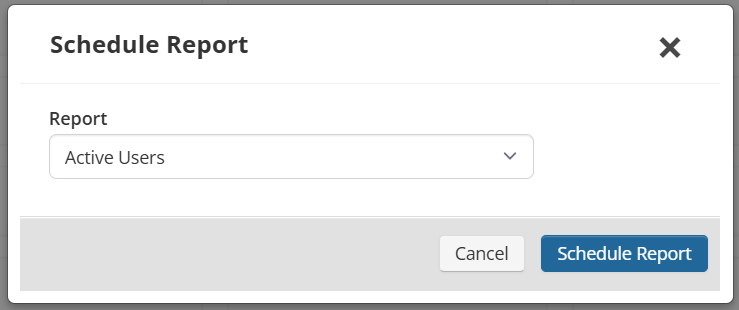
- Click Schedule Report.
- From the Report drop-down, select the report you wish to schedule.
- Click Schedule Report.
NoteNot all reports share the same parameters. The options displayed will vary depending on the report you select.
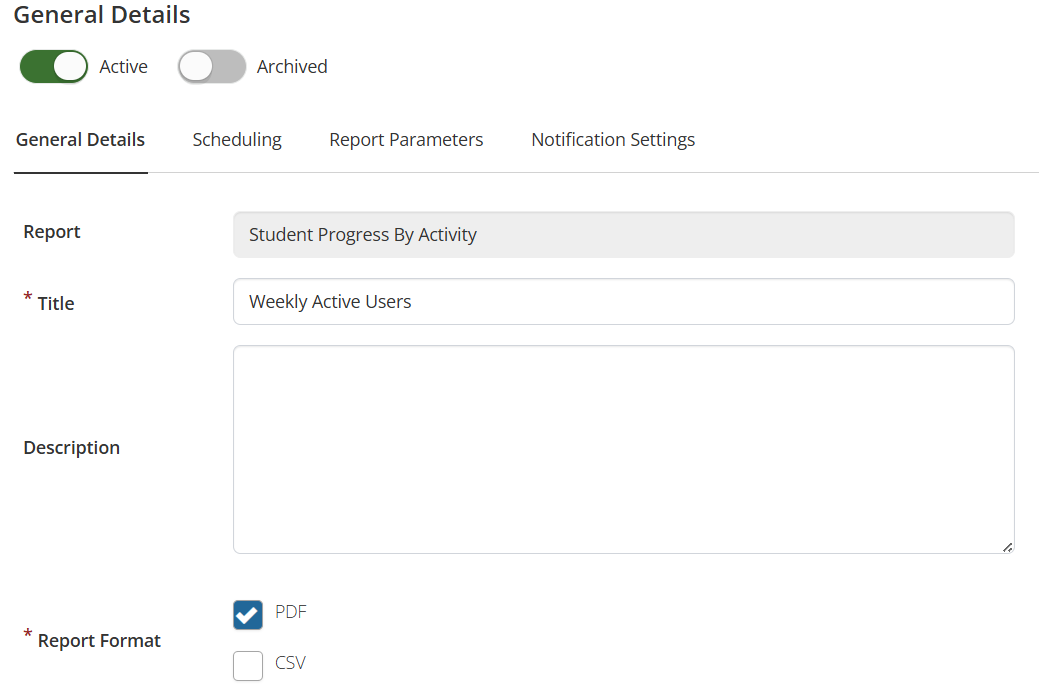
Step 1 of 4 – General Details
From the General Details area, enter the following:
- Title: Enter a descriptive title for the report.
- Description: Provide additional context for the report.
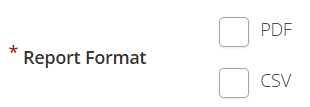
- Report Format: Choose to receive the report as a PDF or CSV.
- Click Next.
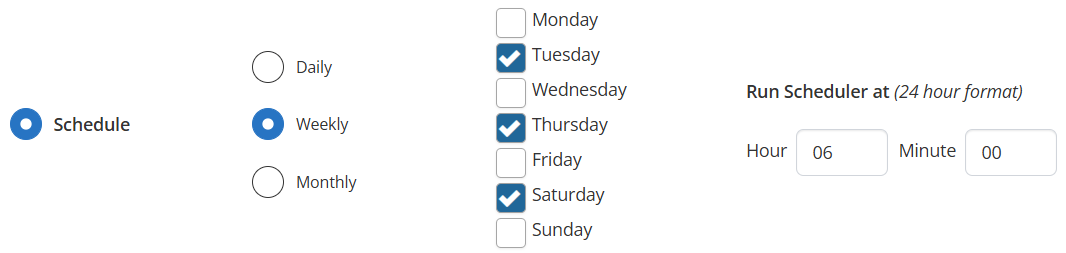
Step 2 of 4 – Scheduling
From the Scheduling area, choose one of the following:
-
Run Once: Set a specific date and time for a one-time report (uses 24-hour time format).
-
Schedule: Set a recurring schedule:
-
Weekly: Select one or more days of the week. All selected days run at the same time.
-
Monthly – Specific Day: Choose the first, second, third, or fourth day of the week to run.

-
Monthly – Specific Date: Choose a date of the month and time to run.

TipIf the report is recurring, consider setting the end date far in the future to ensure it continues to send updated results each time it runs.
Click Next.
Step 3 of 4 – Report Parameters
The report parameters vary depending on the report selected. You may be asked to specify details such as:
- Active Date: Times are based on 24 hour clock from 00:00:00 to 23.59.59. Weeks are calculated from Monday to Sunday. Fixed options such as Last Week and parameterized options like Last X Days and Last X Months refer to the most recent fully completed calendar period(s) of the specified type, excluding the current ongoing period.
- Activity: Click Select to choose one or more activities (selecting more than 50 may cause performance issues).
- Groups or Dates: For example, Enrollment or Completion Dates, depending on the report type.
Click Next.
Step 4 of 4 – Notification Settings
From the Notification Settings area, define the following:
- Recipients: Add recipients who are users within TopClass by clicking Add.
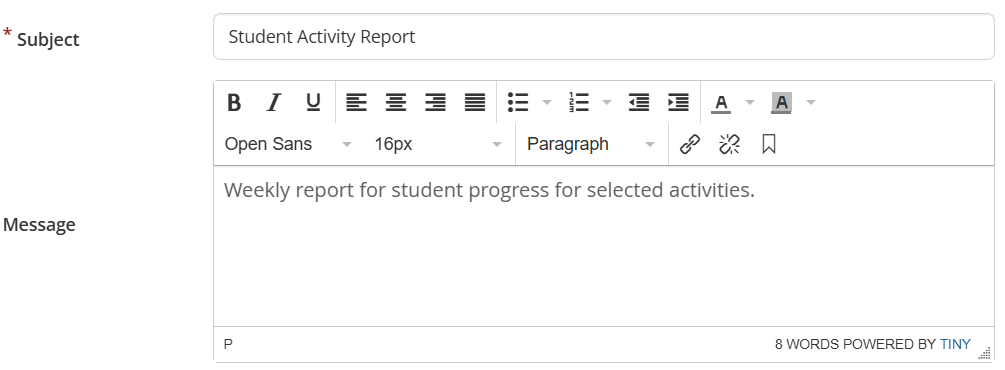
- Subject and Message: Provide an email subject line and optional message to accompany the report.
Click Schedule Report to finalize the schedule.
Managing Scheduled Reports
Once a report is scheduled, you will be redirected to the main Scheduled Reports area where all steps appear as tabs across the top. Your report should be set to Active by default. You can deactivate, archive, or edit a scheduled report as needed. To deactivate, toggle off the Active status. You can also return to this screen at any time to modify settings under any tab.