
Creating a Conference
Before setting up a conference in TopClass, ensure the following items are prepared:
- Log in as an administrator.
- Gather the following information:
- Determine if the conference will apply to a specific partition.
- Ensure activities, certificates, pricing plans, and categories are already created.
- Define how credits will be awarded.
- Confirm venue and room specifications.
- Prepare speaker information, pricing levels, and credit types.
Creating a Conference (General Details tab)
Do the following to create a conference:
- Go to Activities and Learning > Learning Activities.
- Click Create and select Conference.
- Enter a unique Code (no spaces) and a Title for the conference.
- If applicable, select a Partition; otherwise, leave as General.
- Upload an Associated Image.
- External ID and Source are optional fields used only for integrations.
- Enter a detailed Description that will help users find your conference in the catalog.
- Complete the Course/Activity Information field with an overview, schedule, or details visible to attendees.
- Enter a Handouts URL if there are shared resources to provide. Click Verify to confirm the link.
- Assign an Owner for the conference listing.
- Select the Start and End Conference Dates and the appropriate Time Zone.
- Enter Registration Dates to restrict registration to a specific period.
- The Conference Enrollment Type controls if the enrollment in the conference is just at the overall conference level (no individual session is chosen), or at the session level where you specify which session in what tacks you want to attend.
- Enable Pick Sessions Later to allow a user to enroll in the conference and then choose conference session to attend at a later date.
- Choose the Conference Status Rollup option to determine how the overall conference status is set:
- Automatic - Automatically roll up session statuses to determine the overall conference status,
- Manual - Have an administrator manually set the status for each learner, or
- Self Mark Attendance - Allow learners to select the sessions they attended themselves.
- Choose one of the following Credits Claimed At options:
- Conference Level - Credits are claimed at the overall conference level and therefore awarded regardless of the number of sessions attended.
- Session Level - Credits are only claimed for the sessions actually attended.
NoteCredits configured at the session level will override the Credit tab under Advanced Options.
- Click Create.
- The Published and Disable Enrollment toggles are available only in the General Details and Catalog Options tabs. Toggle Published to make the conference visible. You can also unpublish or disable enrollment as needed.
Catalog Options
See Catalog Options for Learning Activities.
Resources
Set up the list of ILT Instructors for the class, manage any attachments that students can view after enrolling, and configure whether a certificate can be printed from the learner’s Completed tab in their Learning Center. If the certificate option is enabled, you can select a background image. The certificate fields are fixed in position, so use the provided boilerplate example as a guide when designing your background.
- Instructors - Click Add to assign an instructor to the conference. Once assigned, you can select the checkbox next to the instructor to manage their details.
- Attachments - Click Select File to upload attachments (such as handouts or reference materials) for learners to access upon enrollment. Use the Hidden and Availability drop-down menus to manage visibility. To remove an attachment, check its box and click Remove. Multiple attachments are supported.
- Use Certificate - If your conference issues a certificate, toggle this option On. Choose an existing certificate or create a new one, then preview, edit, and click Save.
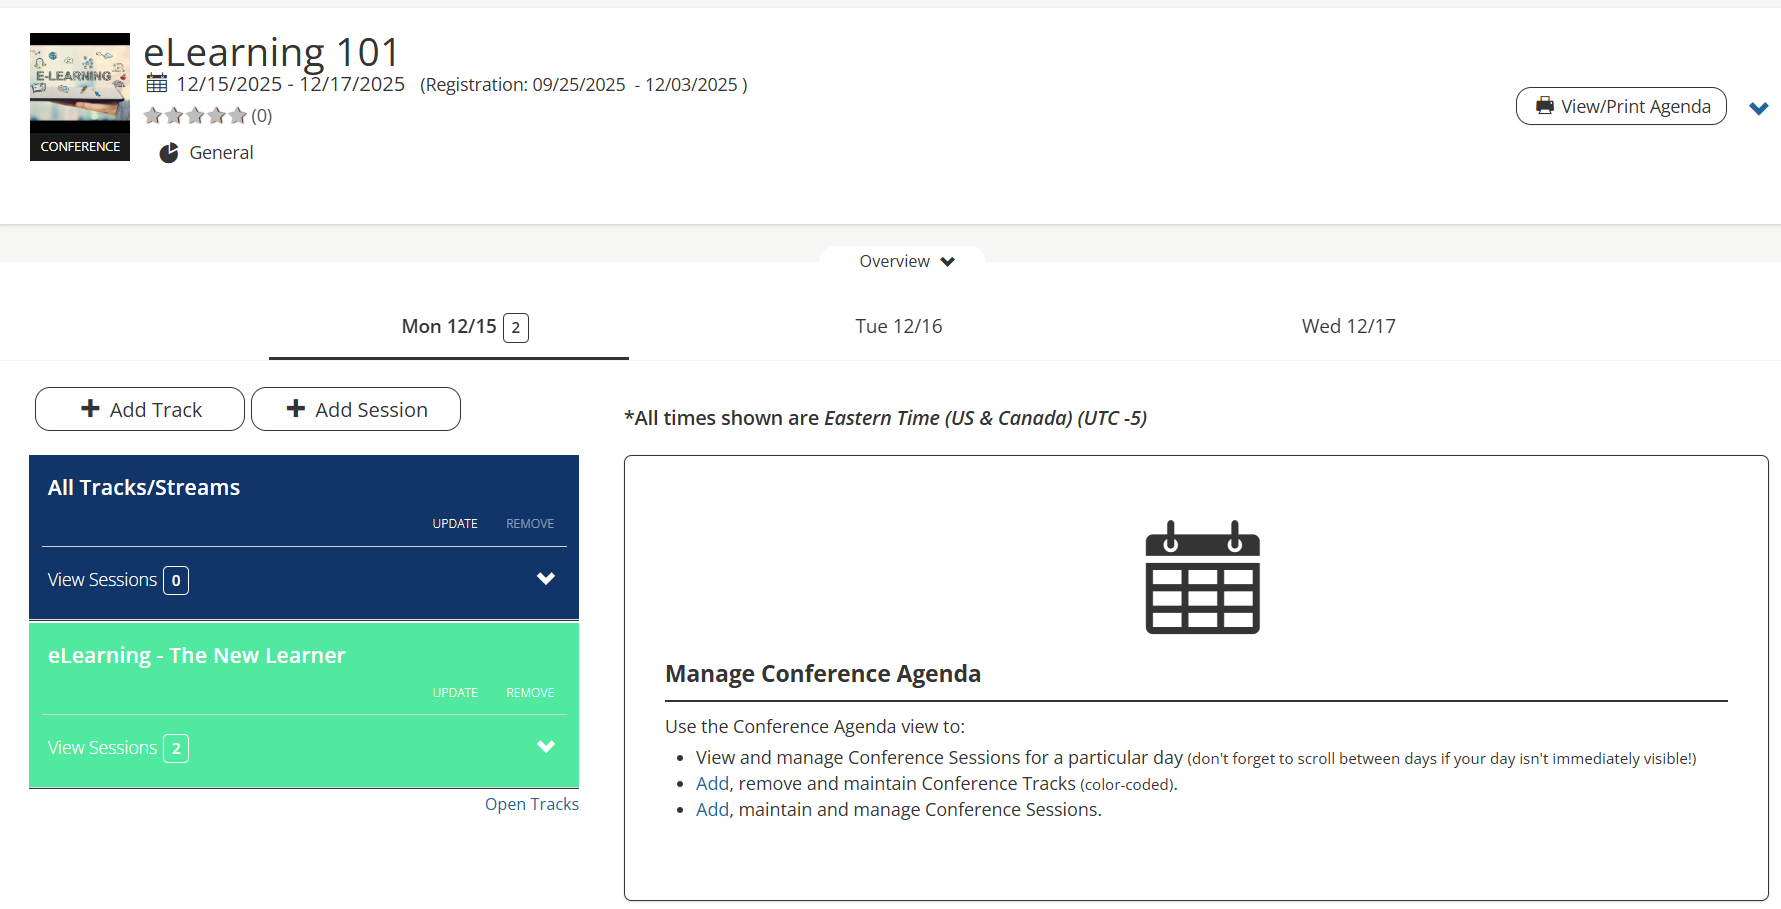
Manage Sessions
Tracks organize sessions into different categories, such as audience types or themes. For example, a traffic safety conference might have tracks like Cyclists, Motorists, and Pedestrians.
Creating a Track
- Click the Manage Sessions tab.
- Click Add Track.
- Enter a Title for the track.
- (optional) Assign a Color Code.
- Click Add.
Tracks appear on the Manage Events tab. You can create multiple tracks or just one. The system includes one default track when a conference is first created. To delete a track, remove all sessions associated with it, then click Remove.
Creating a Session
- Click the Manage Sessions tab.
- Click Add Session.
- Enter a Title for the session.
- Select the Date and enter a From/To Time (use 24-hour format, e.g., 13:00 for 1:00 PM).
- (optional) If applicable, select a Location.
- Select the Track to add the session to.
- To add a session to all tracks (for example, a lunch session), select the All Tracks (Plenary) checkbox.
- Click Add.
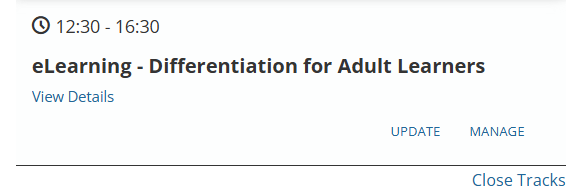
After creating a session, click Manage on the lower right corner of the session to edit details.
Conference Branding
From this screen, you can customize your Conference with a unique look and feel and include additional information.
- Add a background image or color for the top of your agenda and welcome screens.
- Upload a custom conference logo to replace the conference title in the header.
- Add an overview of the event for the agenda screen.
- Enter terms and conditions to display on both the welcome and agenda screens.
- Select Preview from the top-right menu to view the attendee screens.
Sponsors & Exhibitors
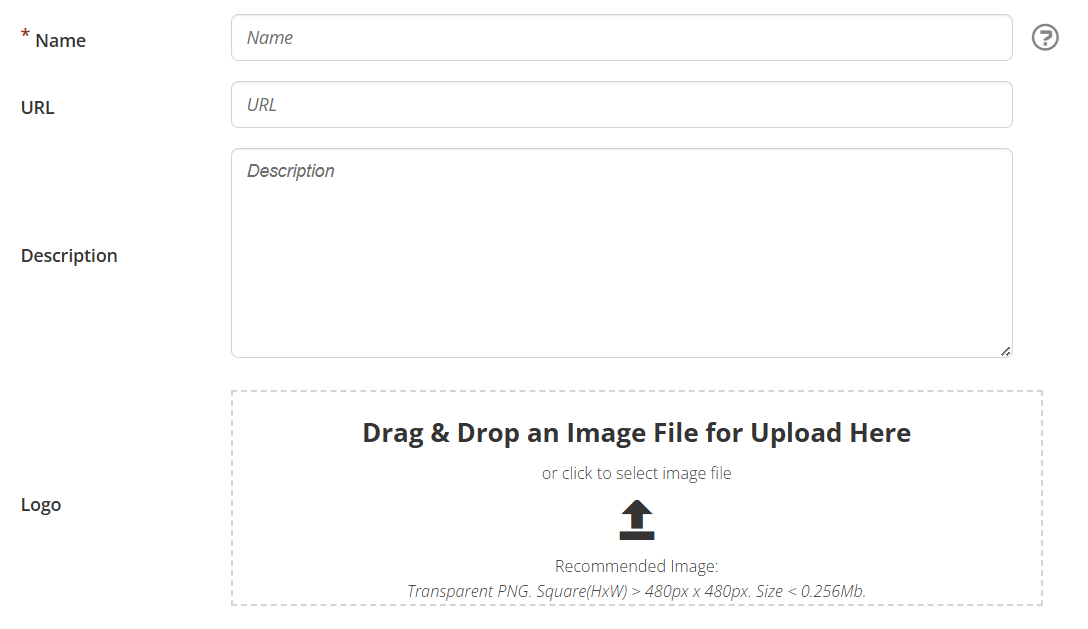
Sponsors Carousel and Partners Carousel – If you are featuring sponsors or partners, you will manage them here. If their profiles have not yet been created, do so first before adding them to your virtual conference.
Click Create to add a sponsor or partner, including their name, website (if applicable), description, and company logo.
Once created, select Add to add the new sponsor or partner.
Enrollments
At the bottom of the page, an additional menu allows you to manage enrollments.

Click Add to enroll learners. Once learners are enrolled, the remaining seat count updates automatically. For example, if 1,000 enrollments are allowed, your updated count appears as shown below:

Select the checkbox next to a learner to unenroll them. Selecting Finalize Attendance displays a warning message:
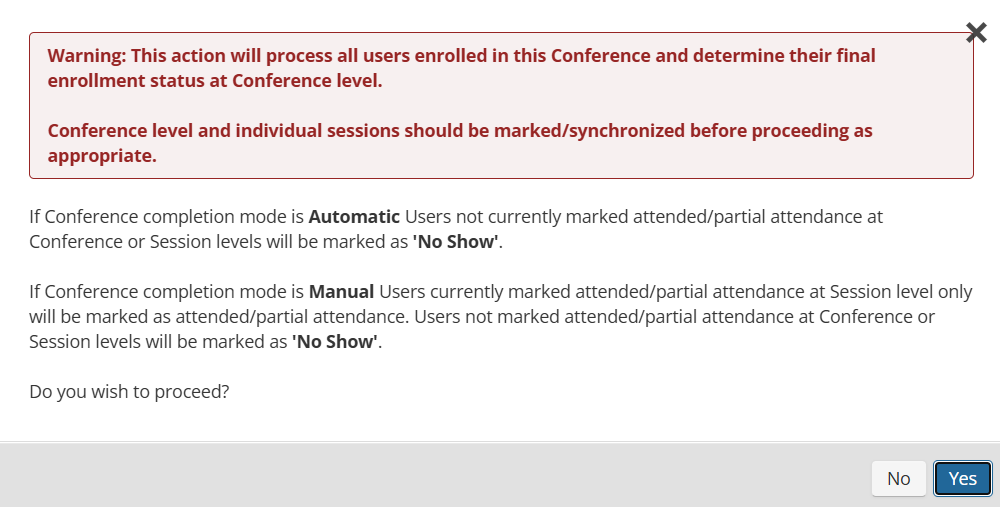
Read the message carefully and select Yes or No as appropriate.
Selecting individual learners or checking the Name box (to select all) lets you email the enrollees. The printer icon prints your roster.
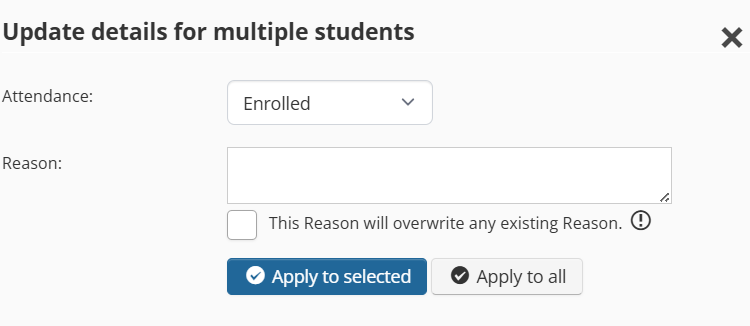
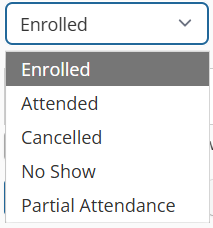
Select learners and click Multi-Update to open a menu that allows bulk actions:
Cancellations
From this menu, you can manage learners who have canceled their enrollment. You can re-enroll, email, or print the list of cancellations.
Notifications
Setup custom text which is embedded into the notifications which are sent relating to this learning activity. The text will be specific to this Learning Activity. Also configure the rules for when reminder/re-certification and pre/post work notifications are sent.
- Suppress notifications - Enable to suppress all notifications for this activity.
- Language of Notification - Set your language for notifications. If you set a language, all notifications will be sent in the selection, regardless of the learner’s preference. Currently available choices are: UK English, US English, French, German, Spanish, CA French, and Chinese.
Adjust notification content and language as needed.