
Configuring Sponsors and Advertisements
Sponsors and Advertisements can provide a vital revenue stream for your organization. Sponsor messages appear on the Landing page at the top of the Learning Widget panel, with more than one displayed in a carousel.
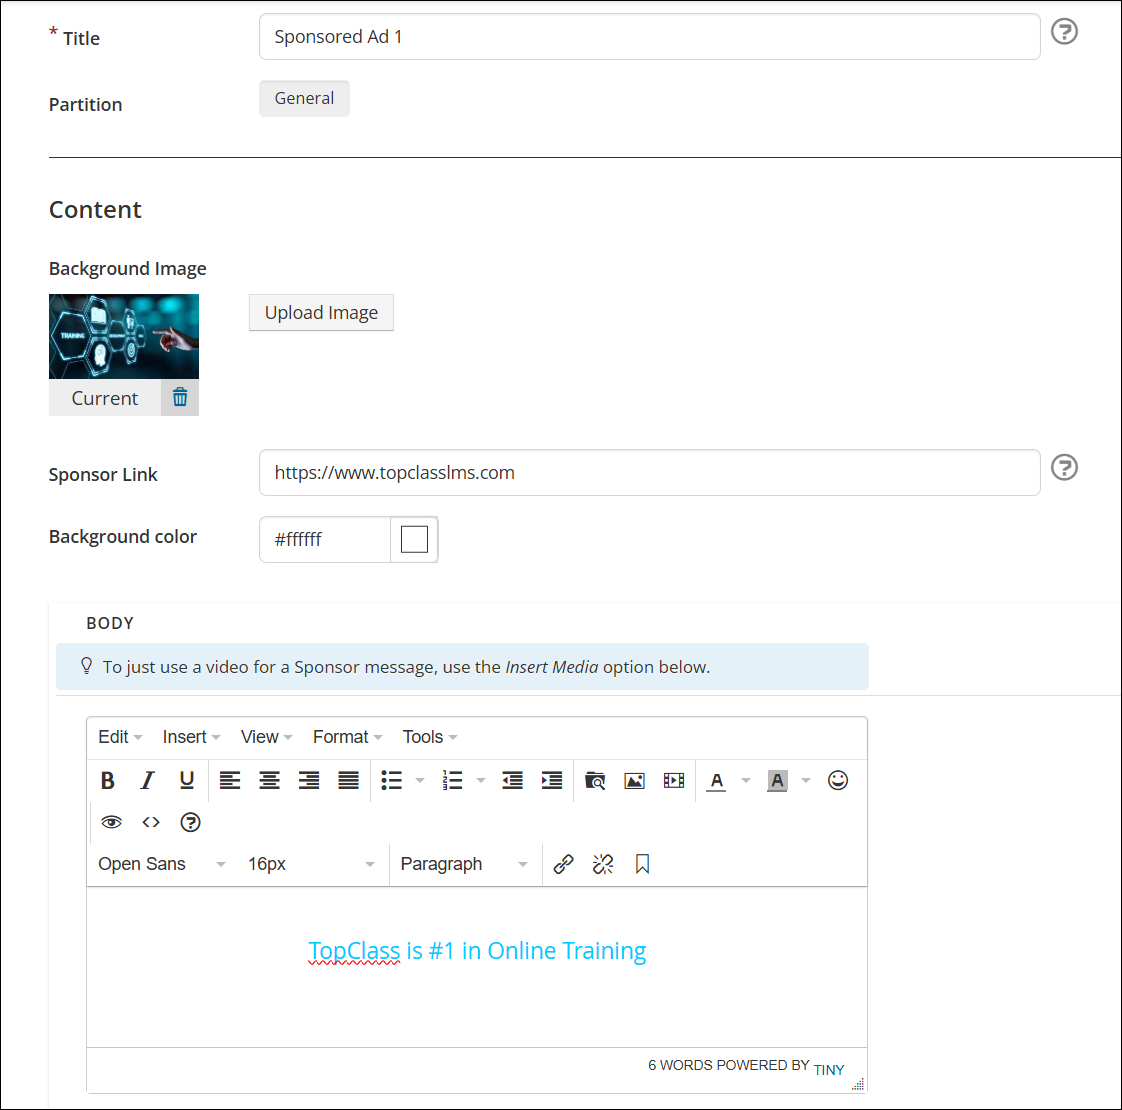
To configure sponsors and advertisements, do the following:
- Go to Customizations > News & Promotions > Sponsors / Advertisements.
- Click Create.
- Enable Priority to show the sponsor message first and for a longer duration.
- (required)Enter a Title. The title is for administrative purposes only and does not appear on the published sponsor message.
- Add a Background Image.
- Use the Sponsor Link to redirect users to a URL when they click on the sponsor's message.
- Customize the Background Color of the sponsor message.
- Add details of the sponsor message in Body. Text can be formatted, and images and links can be included.
- Click Create.

Once created, new options are available on the sponsor item screen:
- Click the More Options (caret) icon beside the Delete button to Add New Sponsor Item or Preview.
- To make the sponsor message visible to users, toggle the Published button to On.
- The Published Date/Time field is informational only and does not appear on the published sponsor message.
Remember to Save all changes.
Use the Learning Widgets customization settings to enable Sponsors/Advertisements on the Landing Page. See Learning Widgets for details.