Automatically sending event registration confirmations
ExampleThe event coordinator wants event registrants to immediately receive event confirmation emails after they register for an event. To achieve this, the event coordinator configures the related process automation task. The configuration of the process automation task is outlined below.
Modifying the communication template
It is important that you modify the communication template to be unique to your organization, because the out-of-the-box communication templates have ASI and iMIS branding.
Do the following to modify the communication template:
- Go to Marketing > Communication templates.
- Navigate to Templates > Samples > Event confirmations, then copy the Event Confirmation template.
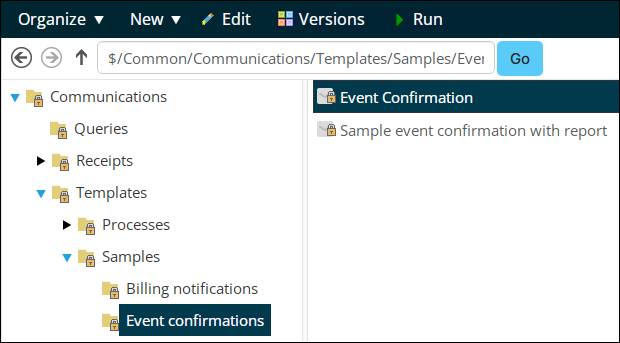
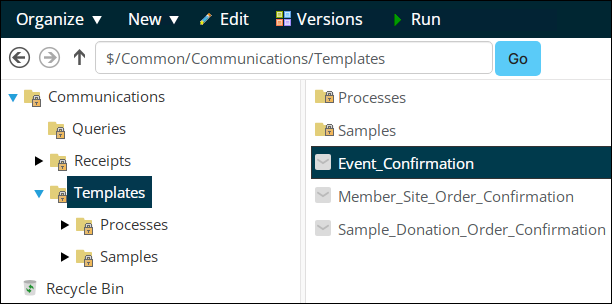
- Paste the template in the Templates folder.
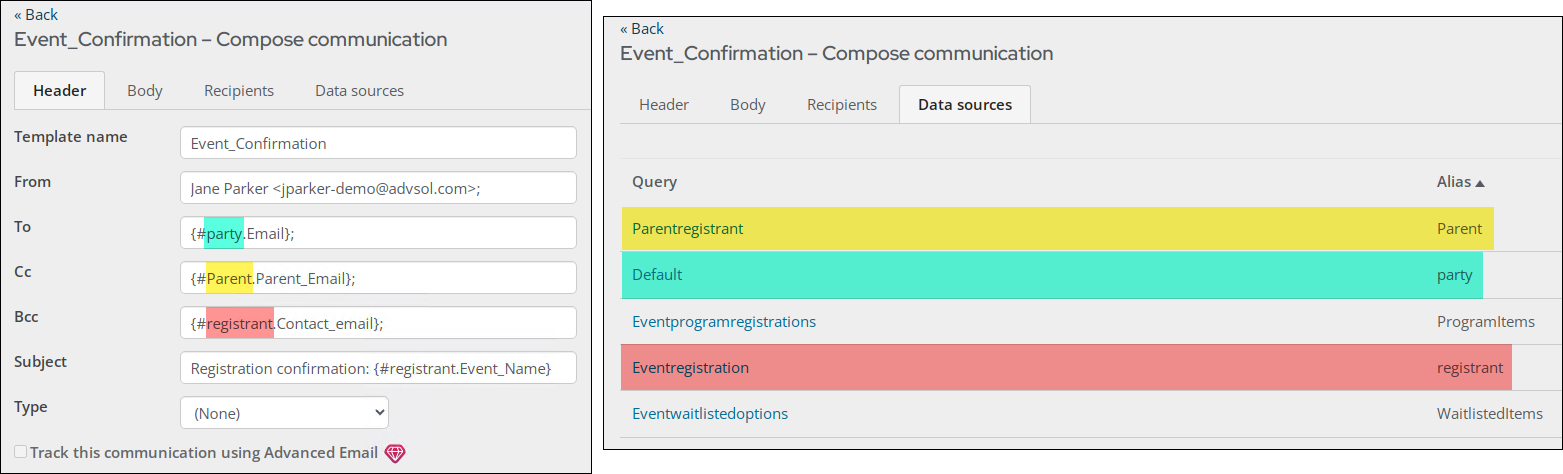
- (Header tab) Make all necessary changes to the Header content of the communication. The Header content is pulled from the queries on the Data sources tab. Review those queries to determine if the appropriate information is selected on the Header tab.
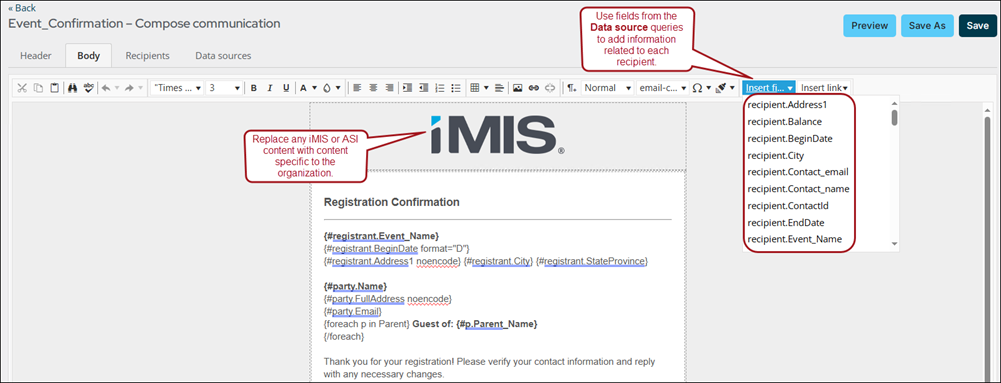
- (Body tab) Add the desired fields related to the event registration to your email by selecting from the Insert field drop-down.
- Click Preview to review your email. Correct any fields that display an error in preview mode.
- Click Save.
Modifying the automated task
Next, you need to add the communication template to the automated task and enable the automated task.
To modify the automated task, do the following:
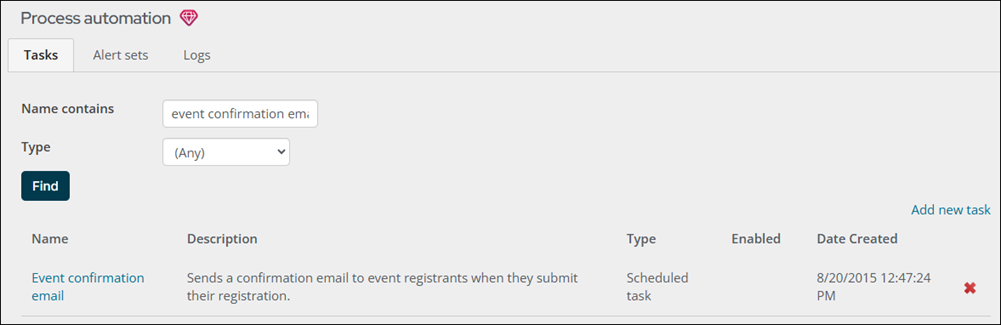
- Navigate to RiSE > Process automation.
- From the Name contains field, type Event confirmation email and click Find.
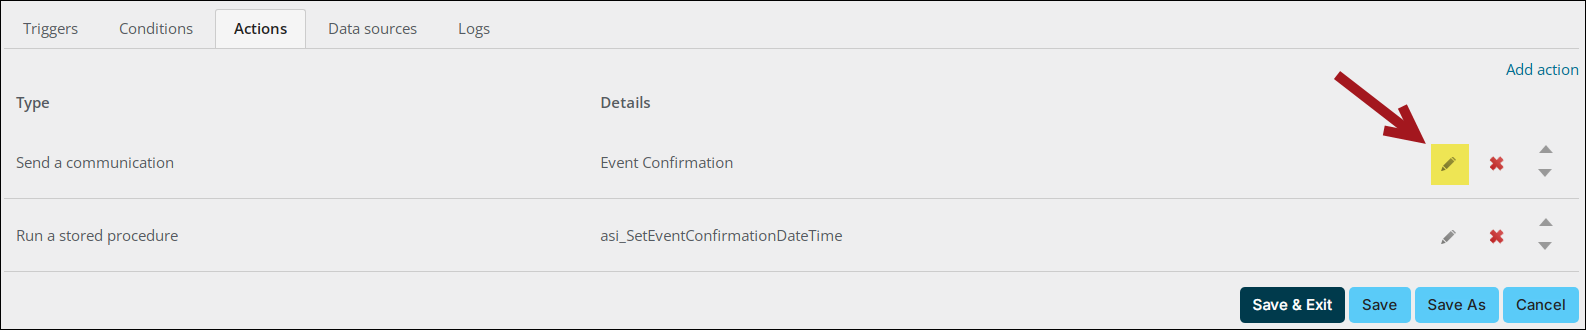
- (Actions tab) From the Send a communication row, select the edit icon.
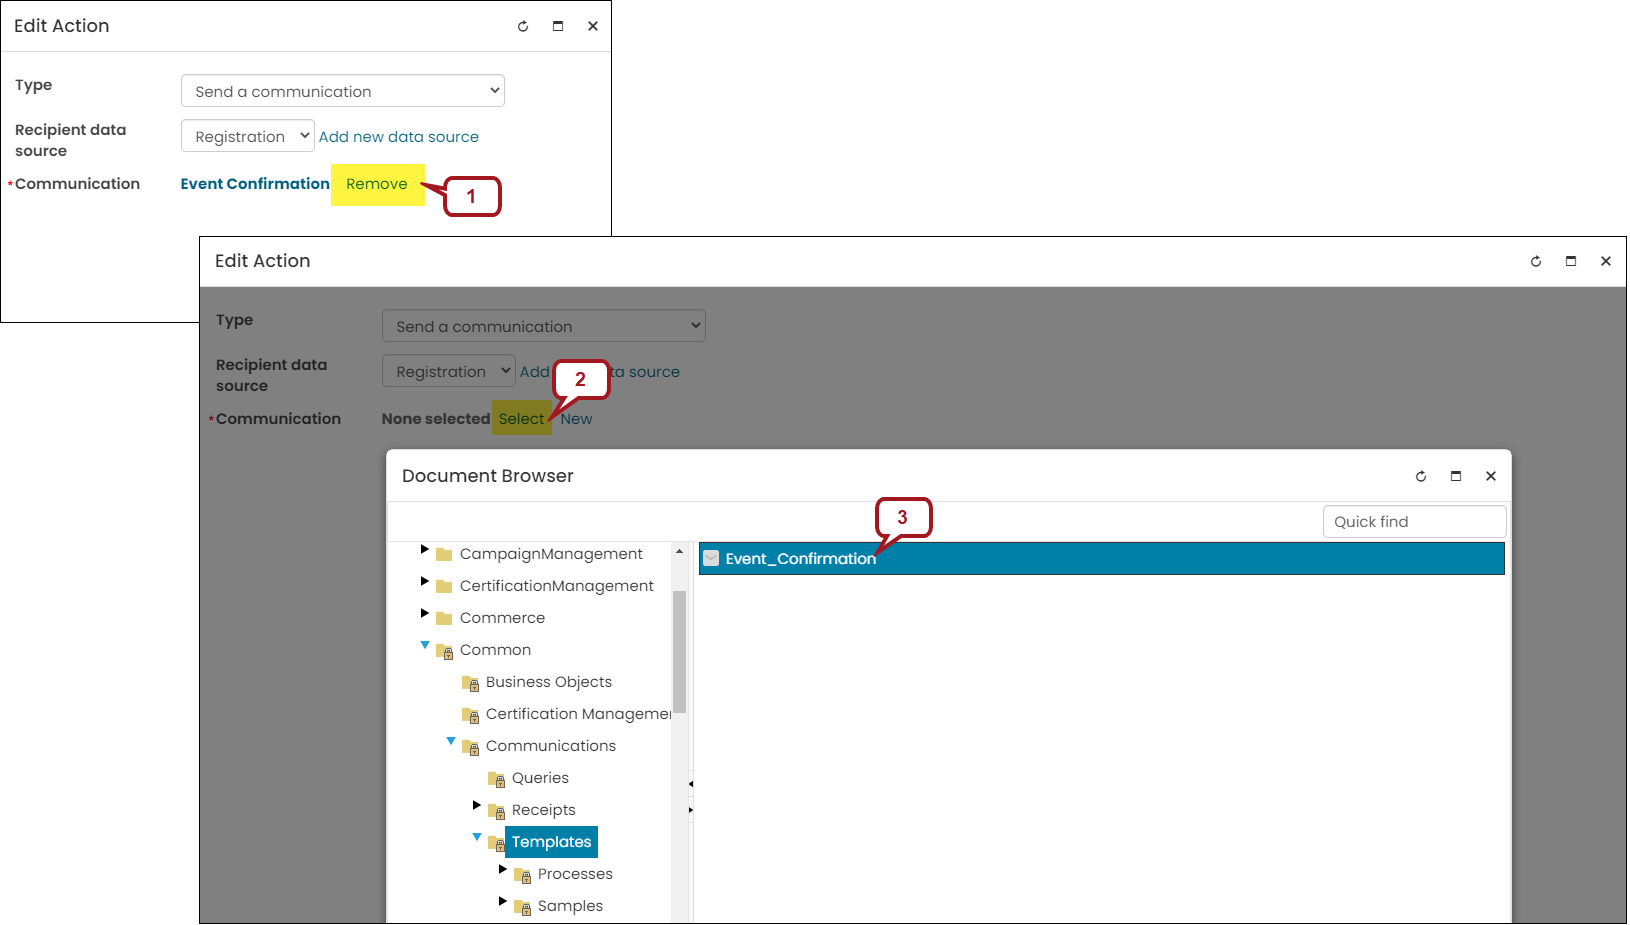
- Remove the out-of-the-box Communication and Select the communication template you made changes to.
- Click Save.
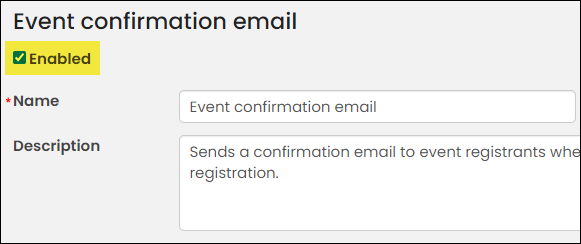
- Enable the task, then click Save & Exit.
Testing the automatic communication
You can test the task by creating a test user with an email address that you have access to and registering for an event.