

Querying and reporting on panel data
Panel Designer grants you the ability to use your own data sources when creating IQA queries. When querying panel data, panel sources function as business objects, and properties can be used as filters and display columns. When you create a new panel source, a new business object is saved to the iMIS database for future use in queries and reports.
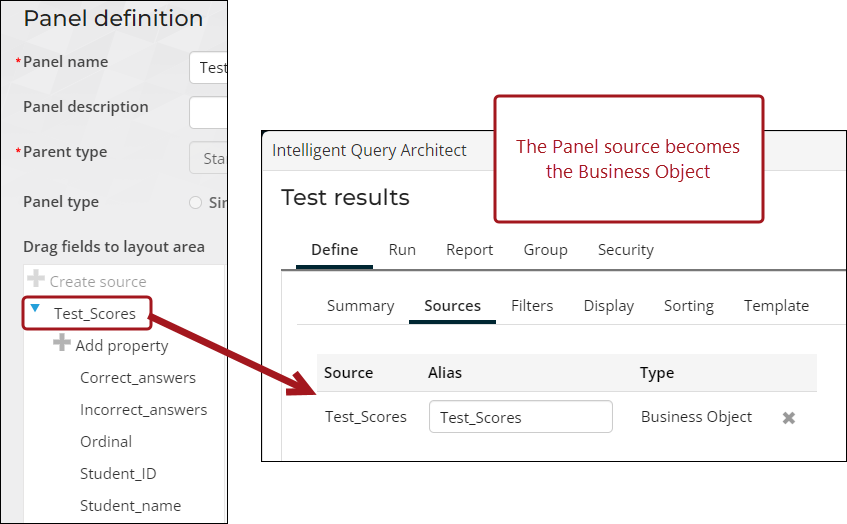
Reporting on custom panel data
Any panel source can be added to a query, so that you may report on its data.
ExampleYou have a custom panel source called Test_Scores and you would like to report on the associated data.
Do the following to create a query using a custom data source:
-
Go to RiSE > Intelligent Query Architect.
-
Click New > Query.
-
(Summary tab) Enter a Name.
-
(Sources tab) Do the following:
-
Select All sources.
-
Use the Quick find search to locate the custom panel source.
-
Select the source and click OK.
-
Add any additional business objects.
-
For this example, add the NetContactBasic business object.
-
Create a custom relation where Test_Scores.Student_ID = NetContactData.Id.
-
-
(Filters tab) Add any desired filters.
-
(Display tab) Select the desired display columns and click Apply.
-
Click Save As and save the query to a non-system folder.
-
Run the query to see the returned results.

Reporting on missing rows or NULL values
A report on panel data can return results that don't match what the panel displays.
ExampleThere are 160 properties on a single panel source. A report returned blank rows, even though the panel itself displayed "No" for the same row data.
The cause: contacts who existed before the panel source was created, and who never had a property on that panel modified, had no row in the source at all. Contacts created after the panel source existed did have a row, but with a NULL value for the unanswered Yes/No property. Both cases displayed as "No" in the panel, but the report distinguished between them.
This happens because of how and when rows are created in a panel source:
- If a panel source is created after contacts, events, or invoices already exist, no row is created for those existing records until a property on the panel is modified for that record. Until then, a query against the source returns no matching row for that record, rather than a NULL value.
- If a contact, event, or invoice is created after the panel source already exists, a row is created for it immediately, but any property not explicitly set defaults to NULL.
- The panel UI displays a missing row, a NULL value, and an explicit No the same way: unchecked/blank. A query, however, may treat "no matching row," NULL, and an explicit No differently depending on how it is built. For example, an inner join excludes records with no row at all, while a query that reads the NULL value directly includes it.
If your report shows blank or unexpected results where the panel shows "No," check whether the discrepancy is a missing row (record predates the panel source and was never modified) or a NULL value (record was created after the panel source, but the property was never set), rather than assuming the underlying data is inconsistent. See Creating panel sources and Creating a checkbox (yes/no) option for a panel for more information.
Review the data
Once the query has been created, you can easily add it to your staff or public site to keep track of the data.
Adding the query to a content record
Add the query to a content record using the Query Menu content item:
-
Go to RiSE > Page Builder > Manage content.
-
From a non-system folder, click New > Website content.
-
Enter a Name.
-
Select Add content.
-
From the Utility folder, select the Query Menu content item.
-
In the Source query or folder field, select the query, and click OK.
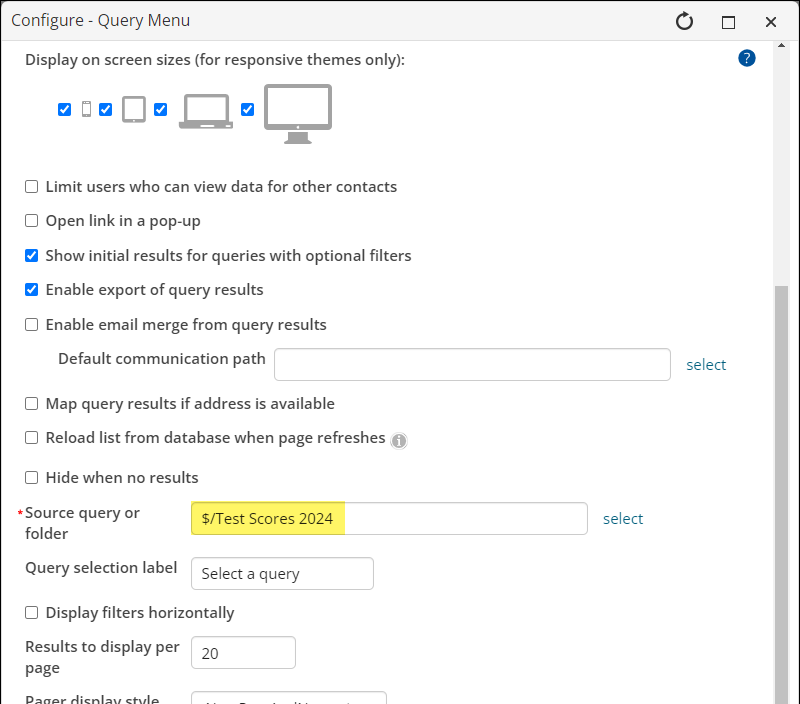
- Click Save & Publish.
Adding the content record to the sitemap
Add the content record to a website sitemap, so it is easily accessible to review the data in the future:
-
Go to RiSE > Site Builder > Manage sitemaps.
-
Select the site from the drop-down field.
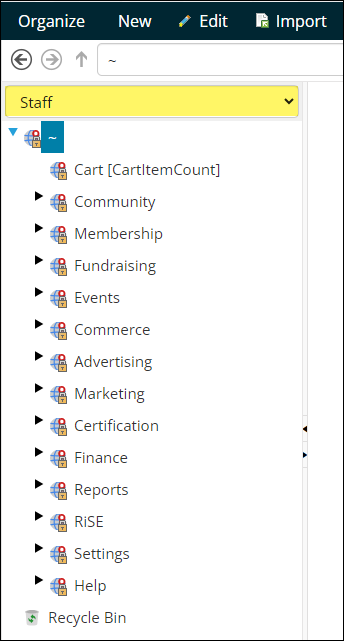
-
Select the navigation item you want to place the content record under.
-
Click New > Website Navigation Item.
-
Enter a Navigation link text.
-
In the Content or URL to link to field, select the content record you previously created.
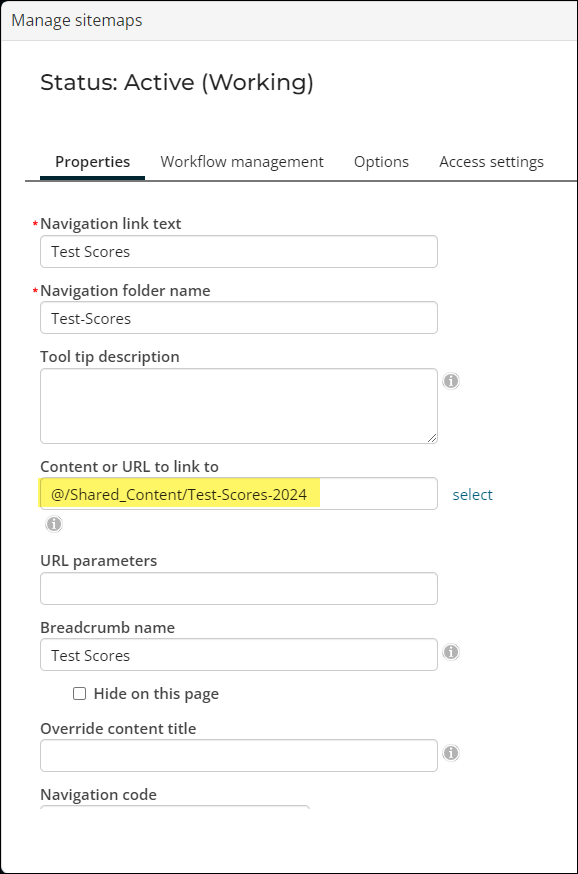
-
Click Save.
-
The new navigation item appears in the navigation tree.
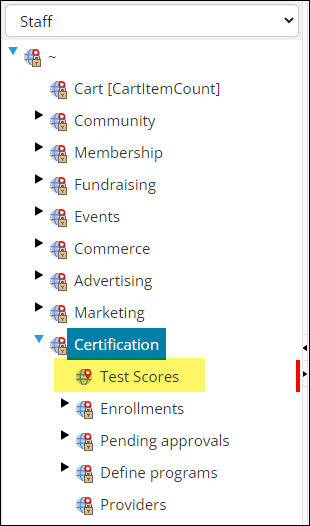
- Click Publish.
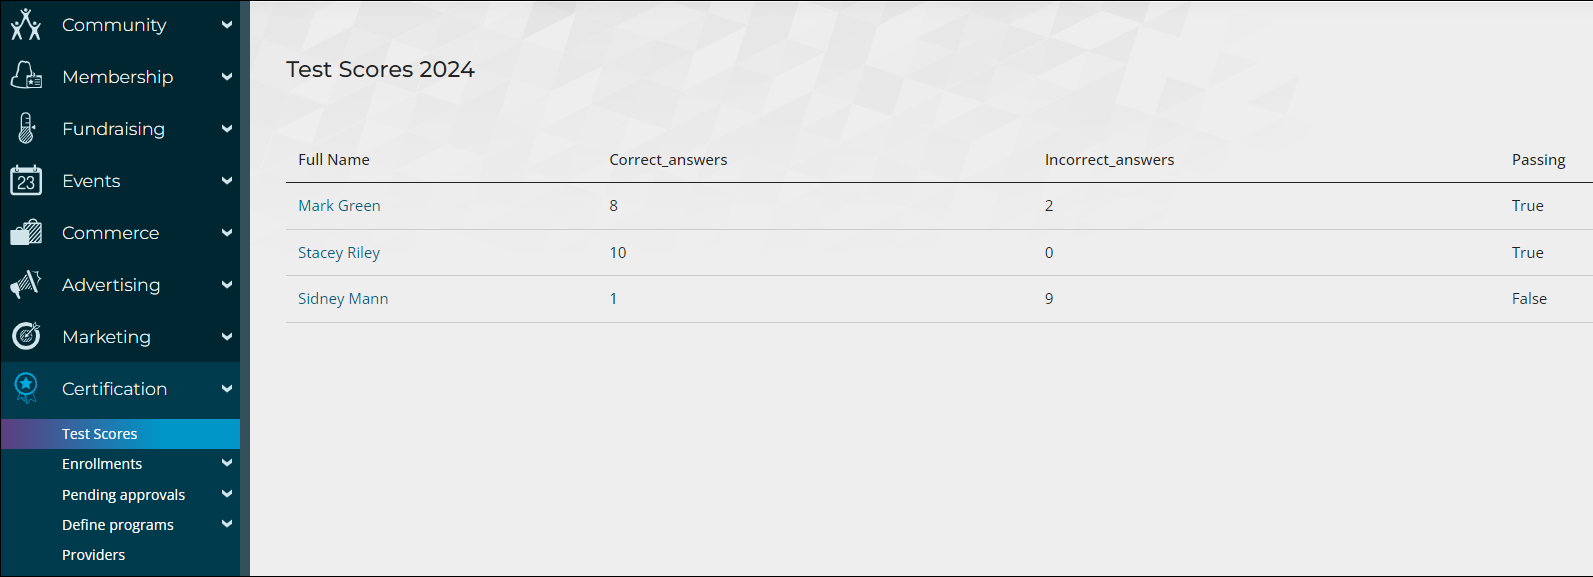
- Verify that your new navigation item is live. Depending on its location and parent site, you may need to clear your browser cache or Purge System Cache to see the changes.
Updated 27 days ago