

Complex campaign example: Fundraising campaign
The following is an example of a complex campaign for a fundraising event. For details on defining complex campaigns, see Getting started with complex campaigns.
ExampleThe Research Foundation is preparing for its annual Ride for Research fundraising event. The Ride for Research event is a weekend-long bicycle ride that has been very successful in generating revenue and awareness for the foundation's research. To attract riders for this year's event, the foundation will conduct a direct-mail marketing campaign that targets past and potential riders.
Creating the campaign
Do the following to create the campaign:
-
Go to Marketing > Campaigns > Define campaigns.
-
Click Add a campaign.
-
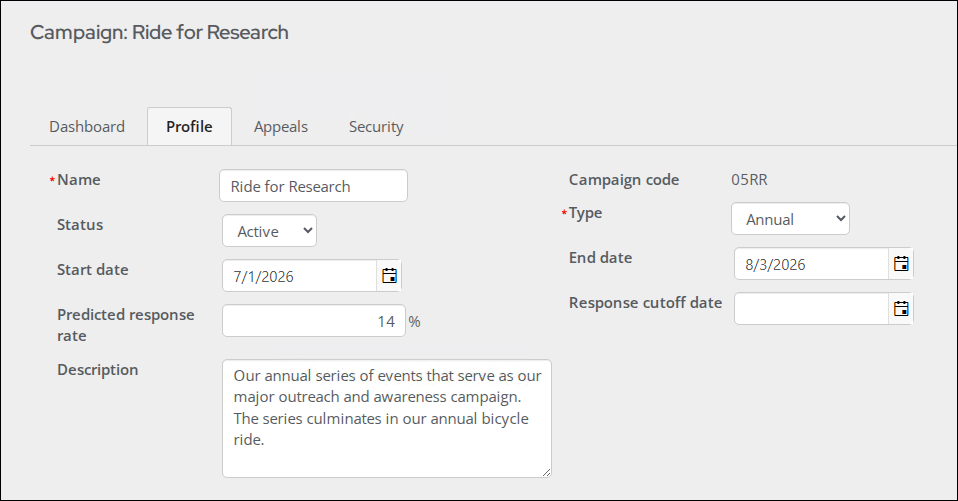
(Profile tab) Enter the following information:
-
Name – Ride for Research
-
Campaign code – 05RR
-
Status – Active
-
Type – Annual
-
Start date – 7/1/2026
-
End date – 8/3/2026
-
Predicted response rate – 14.00
-
Description – Our annual series of events that serve as our major outreach and awareness campaign. The series culminates in our annual bicycle ride.
-
-
Click Save.
-
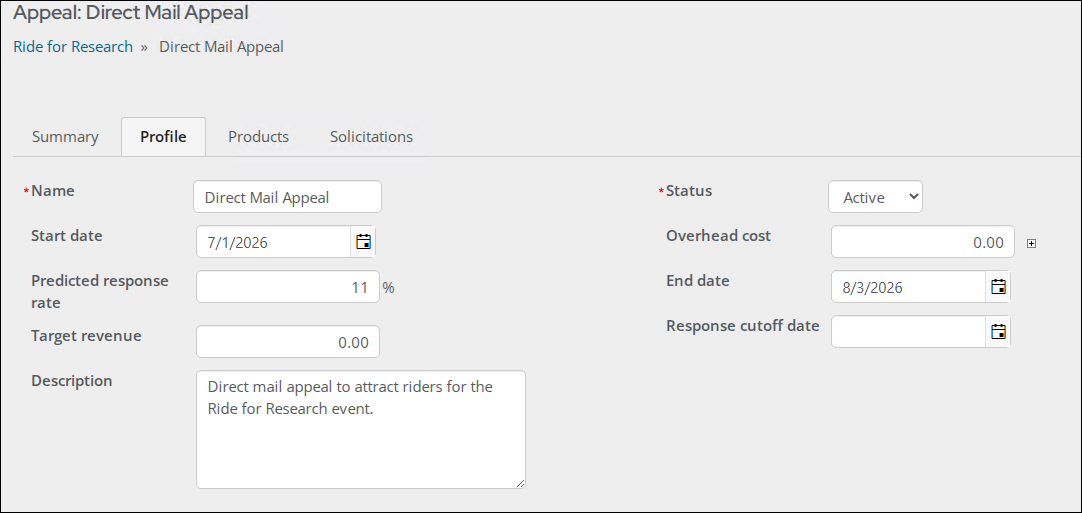
(Appeals tab) Click Add an appeal and create the Direct Mail Appeal:
-
Name – Direct Mail Appeal
-
Status – Active
-
Start date – 7/1/2026
-
Predicted response rate – 11.00
-
End date – 8/3/2026
-
Description – Direct mail appeal to attract riders for the Ride for Research event.
-
-
Click Save.
Creating the event
Do the following to create the event:
-
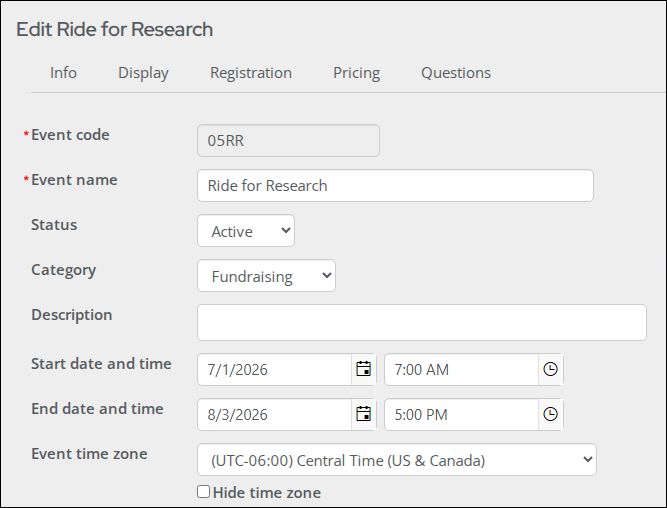
Go to Events > Add event to add a new event:
-
Event code – 05RR
-
Event name – Ride for Research
-
Status – Active
-
Category – Fundraising
-
Start date – 7/1/2026
-
Start time – 7:00 AM
-
End date – 8/3/2023
-
End time – 5:00 PM
-
-
Save the event.
-
(Pricing tab) Select General Fund for the Financial entity.
-
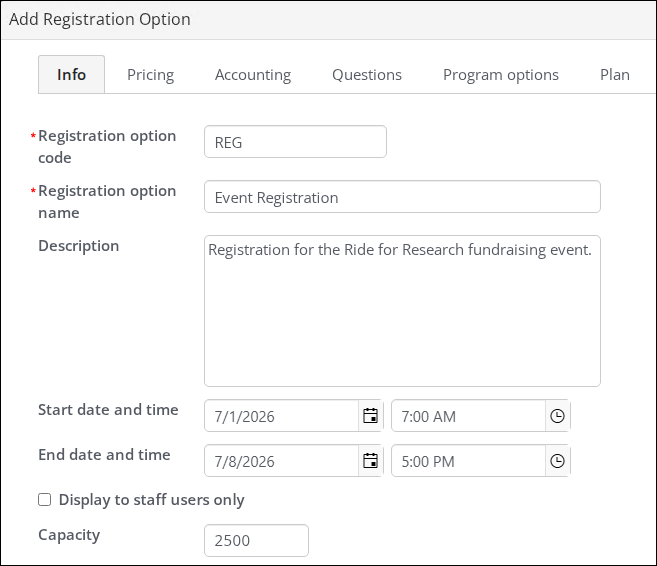
Click Add new registration option and define the registration option:
-
Registration option code – REG
-
Registration option name – Event Registration
-
Description – Registration for the Ride for Research fundraising event.
-
Begin date – 7/1/2026
-
Begin time – 7:00 AM
-
End date – 7/8/2026
-
End time – 5:00 PM
-
Capacity – 2500
-
(Pricing tab) Default price – 100.00 Regular
-
(Accounting tab) Income account – General Income
-
-
Click Save & Close.
-
Click Save.
Creating the product category
Do the following to create the product category:
-
Go to Settings > Commerce > Product categories.
-
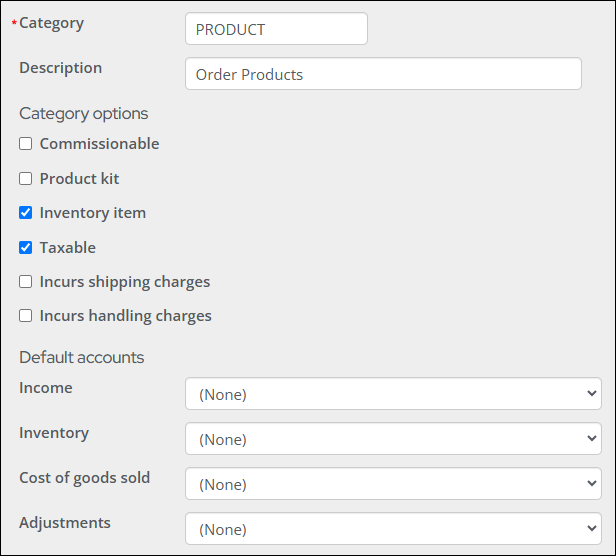
Click Add product category and define the following product category:
- Category – PRODUCT
- Description – Order Products
- Inventory item – Enabled
- Taxable – Enabled
-
Click Save.
Creating the product
Do the following to create the Ride for Research coffee mug product:
-
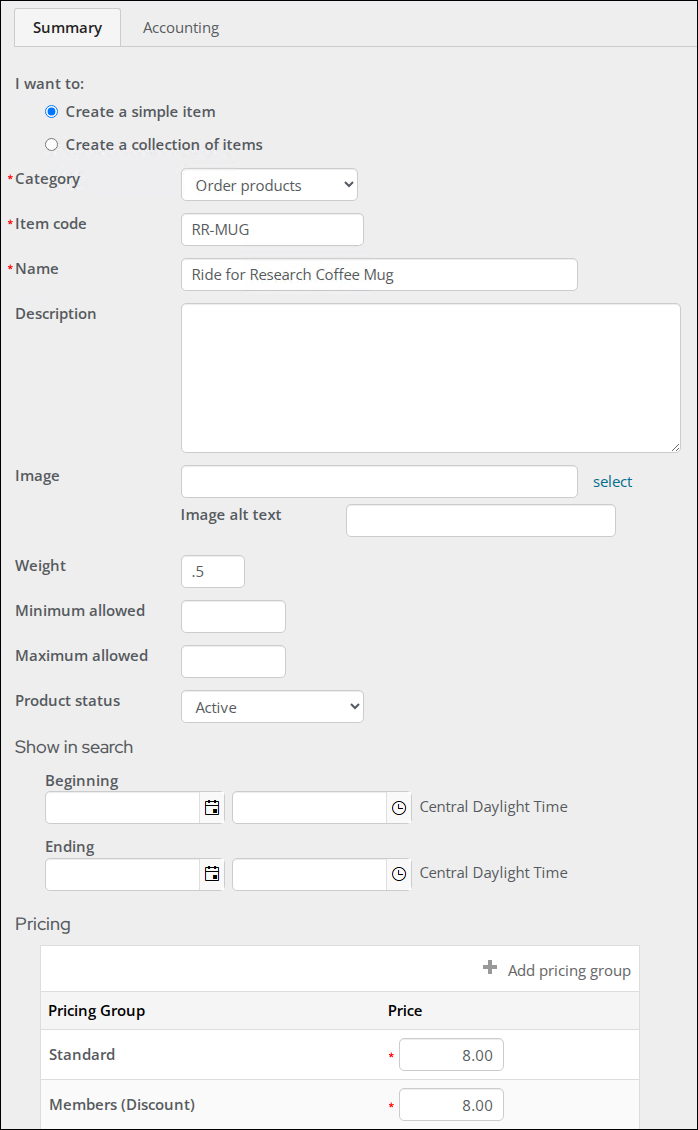
Go to Commerce > Add product and define the product:
-
Category – Order Products
-
Item code – RR–MUG
-
Name – Ride for Research Coffee Mug
-
Weight – 0.5
-
Status – Active
-
Standard price – 8.00
-
-
Save the product.
Connecting the event and product to the campaign
Do the following to connect the event and product to the campaign:
-
Go to Marketing > Campaigns > Define campaigns.
-
Select the Ride for Research campaign.
-
(Appeals tab) Select the Direct Mail Appeal.
-
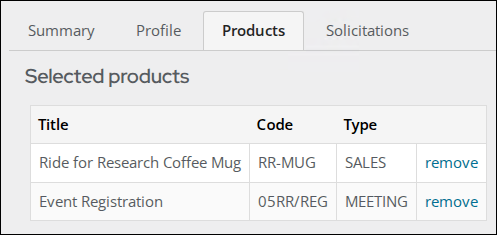
(Products tab) Select the following products:
-
05RR
-
RR–MUG
-
-
Click Save.
-
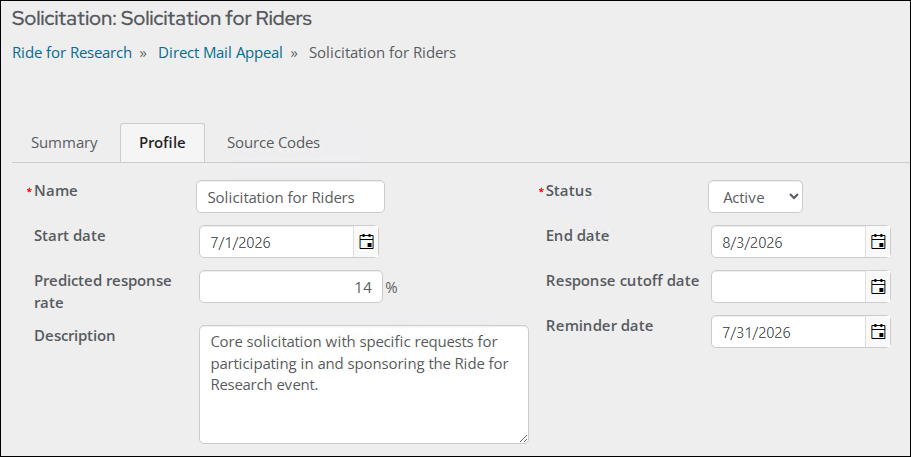
(Solicitations tab) Click Add a Solicitation and define the Solicitation for Riders:
-
Name – Solicitation for Riders
-
Status – Active
-
Start date – 3/1/2025
-
End date – 7/1/2026
-
Predicted response rate – 14.00
-
Reminder date – 7/31/2026
-
Description – Core solicitation with specific requests for participating in and sponsoring the Ride for Research event.
-
-
Click Save.
-
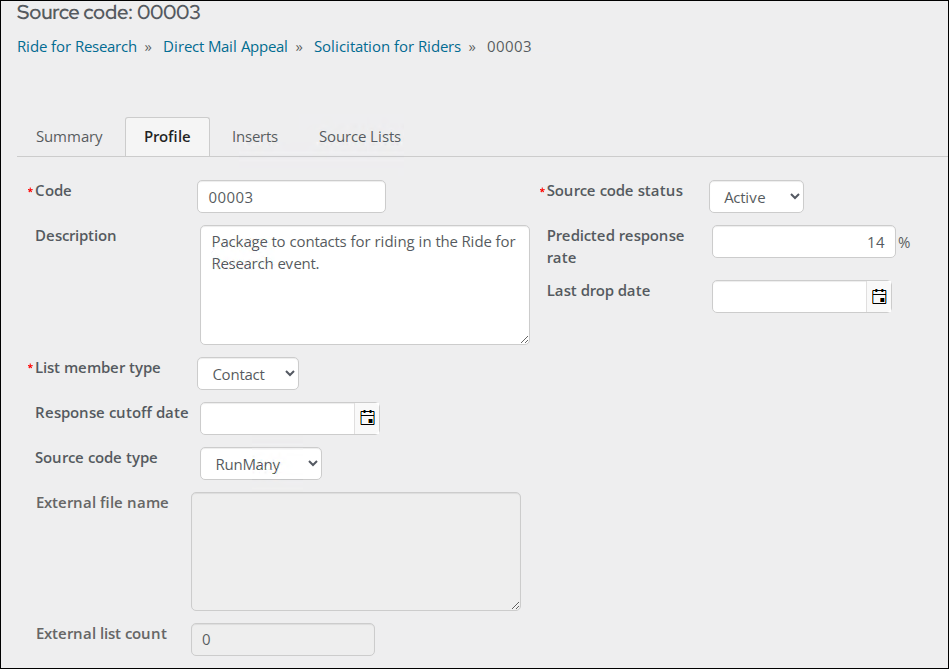
(Source Code tab) Click Add a 00001source code and enter the following:
-
Code - 00003
-
Source code status - Active
-
Description – Package to contacts for riding in the Ride for Research event.
-
Predicted response rate – 14.00
-
List member type – Contact
-
Source code type – RunMany
-
-
Click Save.
-
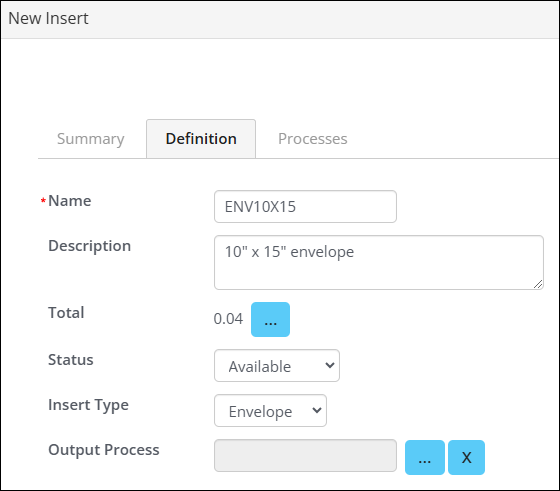
(Inserts tab) Click New insert and enter the following information for the first insert:
-
Name – ENV10X15
-
Description – 10" x 15" envelope
-
Total – 0.04
-
Status – Available
-
Insert Type – Envelope
-
-
Click Save.
-
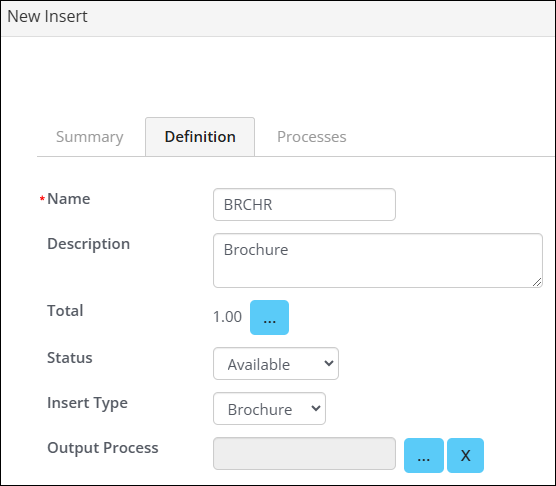
Click New Insert and enter the following information for the second insert:
-
Name – BRCHR
-
Description – Brochure
-
Total – 1.00
-
Status – Available
-
Insert Type – Brochure
-
-
Click Save.
-
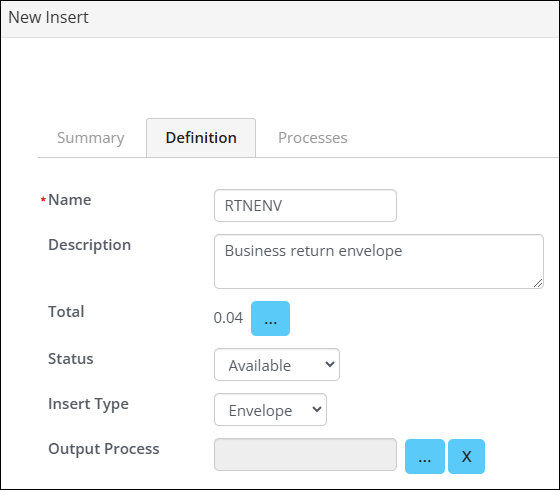
Click New Insert and enter the following information for the third insert:
-
Name – RTNENV
-
Description – Business return envelope
-
Total – 0.04
-
Status – Available
-
Insert Type – Envelope
-
-
Click Save.
-
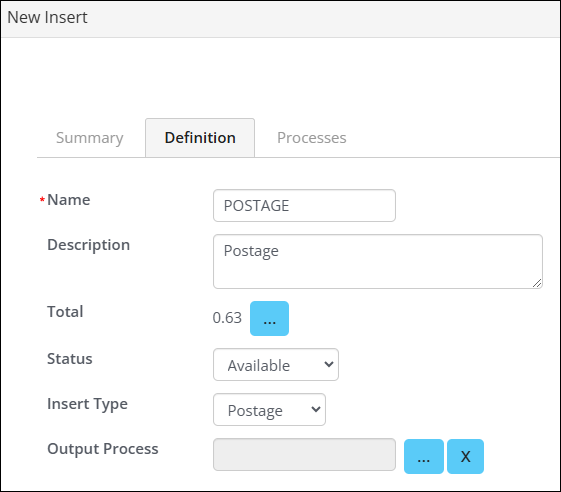
Click New Insert and enter the following information for the fourth insert:
-
Name – POSTAGE
-
Description – Postage
-
Total – 0.63
-
Status – Available
-
Insert Type – Postage
-
-
Click Save.
-
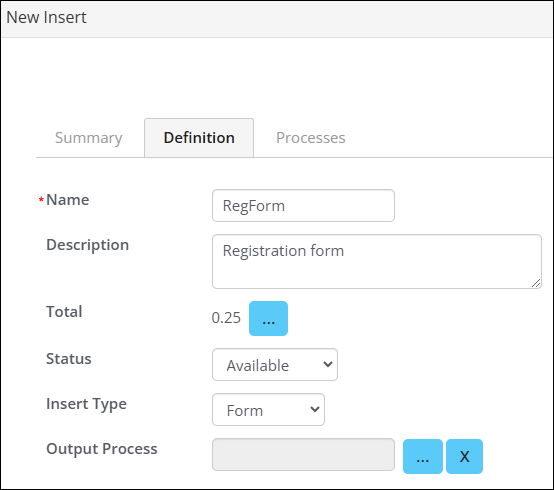
Click New Insert and enter the following information for the fifth insert:
-
Name – RegForm
-
Description – Registration form
-
Total – 0.25
-
Status – Available
-
Insert Type – Form
-
-
Click Save.
-
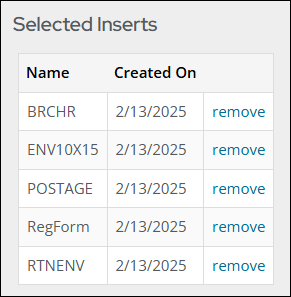
Select the following inserts:
-
ENV10X15
-
BRCHR
-
RTNENV
-
POSTAGE
-
RegForm
-
-
Click Save.
Updated 4 months ago