Process Automation: Getting Started & Best Practices
Process automation helps improve staff productivity and constituent engagement by automating manual tasks and communications. There are two types of automated processes in iMIS: Scheduled tasks and Alerts.
Scheduled tasks
Using scheduled tasks, you can create and send automatic emails. The types of emails include but are not limited to the following:
- Welcoming new members to the association
- Confirming event registrations for event attendees
- Thanking a donor for contributing to the foundation
NoteThere are other types of scheduled tasks (Actions), but the most common task users will create themselves are those that allow them to send recurring emails. To see the other types of tasks available, see Understanding scheduled tasks.
Understanding the parts of a scheduled task
Scheduled tasks are comprised of the following:
- Triggers – (required)Triggers define the frequency in which the task executes. For example, the occurrence could be as simple as every Saturday and Wednesday at noon, or on the 15th of each month at 7:00 PM. The frequency combinations of dates and times is truly up to you.
- Conditions – (required) Conditions determine whether the task will be executed or not. Every condition is simply a query, and if the query defined returns results, then the conditions are met and the task is executed based on the set trigger. When the query does not return results, the task will not execute.
ExampleYou need to send “New Member Welcome” emails once a week. To do so, you create a query that returns results for all new members. If there are no new members that week, the query will return no results, which means the task’s conditions are not met and no email is sent that week.
- Conditions - If included as a condition, the task will only run if the data source returns results
- Actions - Insert the data source into an Action where applicable
The same data source can be used in any combination of these, including in multiple different actions. A new data source can be added in the data sources tab, but it can also be added right from where you want to use it - in the Conditions or Action.
Using the out-of-the-box scheduled tasks
There are many out-of-the-box scheduled tasks that must be configured with custom communication templates before you can begin using them. The out-of-the-box tasks are using the iMIS default communication templates that contain the iMIS logo, address, and social media links. You must create your own version of these templates before enabling the tasks.
The templates in the following table should be copied and updated before enabling the associated process automation scheduled task.
| Communication template | Out-of-the-box scheduled task |
|---|---|
| CONTACTS | |
| New Member Welcome Email | New member welcome email |
| Password expires in 14 days | Password expiring in 14 days |
| FUNDRAISING | |
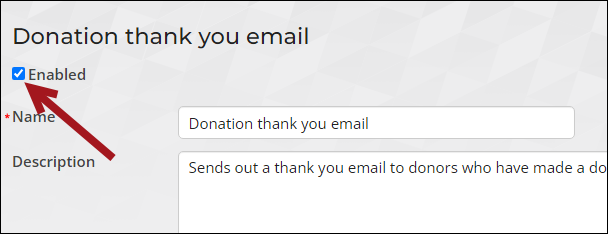
| DonationThankYouTemplate | Donation thank you email |
| Gift Receipt Template | Issue Gift Receipts (daily, monthly, or immediately) |
| EVENTS | |
| Event Confirmation | Event confirmation email |
| Event Cancellation Notice | Event cancellation notification |
| Event Registered from Waitlist Notification | Event registered from waitlist notification |
| AUTOPAY | |
| Recurring Donation Enrollment | AutoPay Donation Started |
| Recurring Membership Renewal Enrollment | AutoPay Membership Started |
| Recurring Donation Payment Confirmation | Recurring donation payment confirmation |
| Recurring Membership Payment Confirmation | Recurring membership payment confirmation |
| Recurring Donation Cancellation | Recurring donation cancellation confirmation |
| Recurring Membership Renewal Cancellation | Recurring membership cancellation confirmation |
Copying and updating the templates
To make a copy of one of the above templates, do the following:
- Go to Marketing > Communication templates.
- Open the Templates > Samples folder.
- Double-click the template.
- Click Save As.
- Enter a unique name.
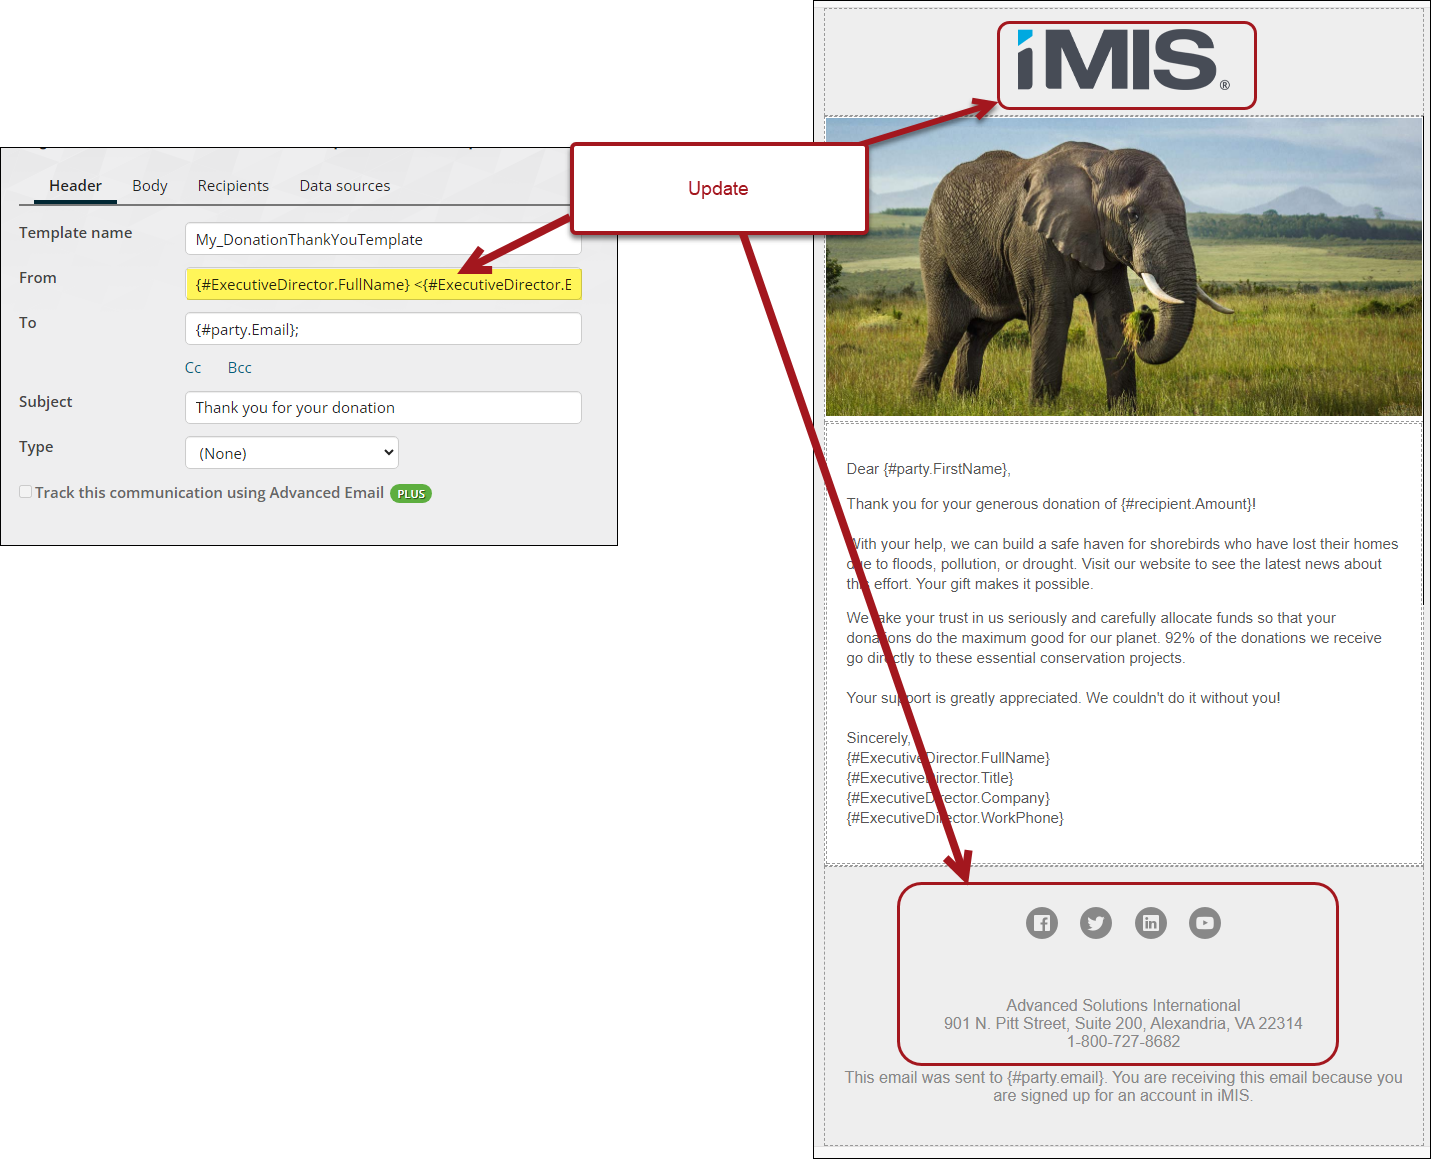
- Edit the template and as needed. Be sure to replace the From email address, all ASI and iMIS branding, and all social media links in the footer.
- Save the changes.
Perform the same steps with each template you wish to use in an out-of-the-box scheduled task.
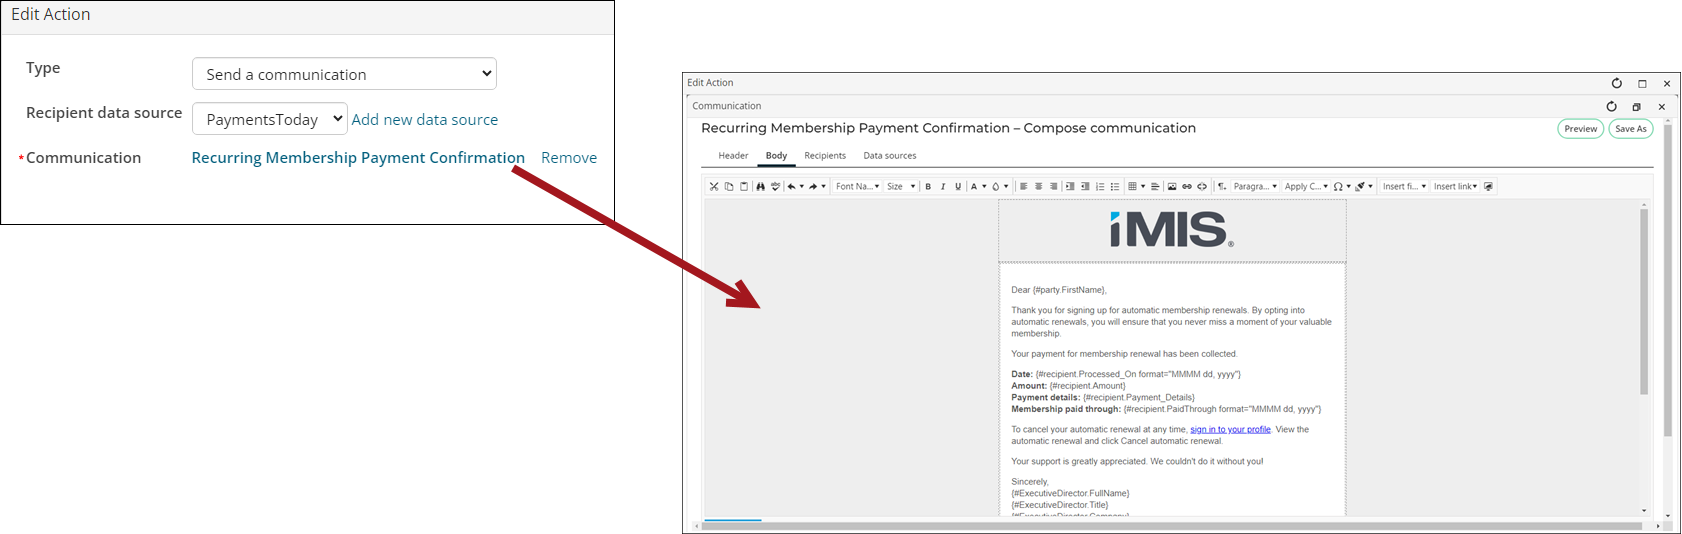
Updating and enabling the scheduled task
To begin using your copied template in an out-of-the-box scheduled task, do the following:
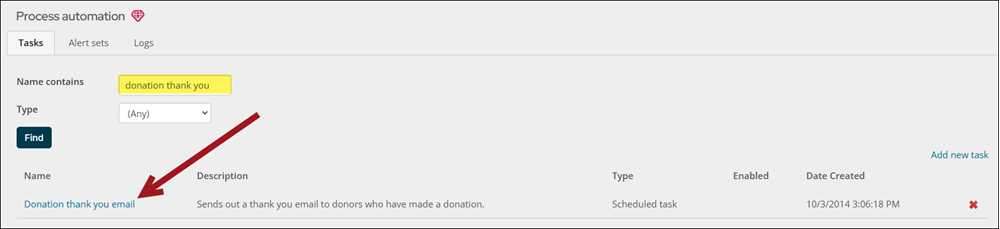
- Go to RiSE > Process automation.
- Search for and open the scheduled task.
- Click the Actions tab.
- Click the edit icon.
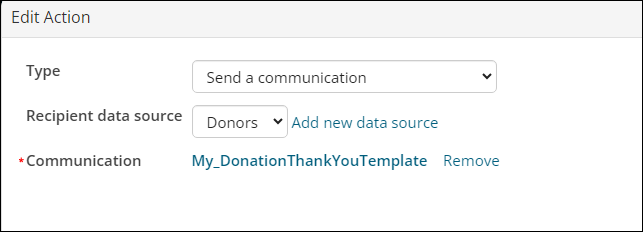
- Select Remove to remove the out-of-the-box communication template.
- Select the template you modified for this task.
- Click Save.
- Ensure the Enabled checkbox is selected.
- Click Save.
Creating custom scheduled tasks
When getting started with Process Automation, you should determine the types of emails you want to send. If there are out-of-the-box tasks that you can utilize and customize, it is recommended to start with those. If there are not out-of-the-box tasks to accomplish what you need, you can create custom tasks, but you must be licensed for Process Automation - Premium.
To create a custom task, you must perform the following steps:
- (Condition) Create the recipient query.
- (Action) Create the communication template.
- (Trigger) Create the new scheduled task.
- Test the new task before enabling it.
Alerts
Using alerts, you can display custom data based on a set of conditions, for example:
- An alert appears on the member’s account page when they have an outstanding balance that needs to be paid
- An alert appears on the member’s account page to notify them that the event they registered for is coming up in the next 10 days
- An alert appears on the staff dashboard that notifies the staff when event registration is almost at capacity
Understanding the parts of an alert
Alerts are comprised of the following:
- Conditions – (required) Conditions determine whether the alert will be shown or not. Every condition is simply a query, and if the query defined returns results, then the conditions are met, and the alert will appear. When the query does not return results, the alert does not appear (at all or for a specific contact).
ExampleThe Event reminder alert appears for a contact is they are registered for an event occurring within 21 days. The conditions query returns all contacts who are registered for an upcoming event.
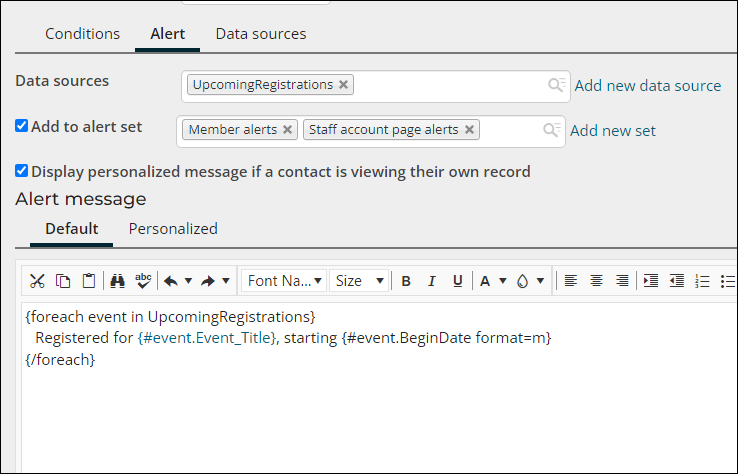
- Conditions - If included as a condition, the task will only run if the data source returns results
- Actions - Insert the data source into an Action where applicable
The same data source can be used in any combination of these, including in multiple different actions. A new data source can be added in the data sources tab, but it can also be added right from where you want to use it - in the Conditions, Alert, or Action.
Understanding how alerts appear
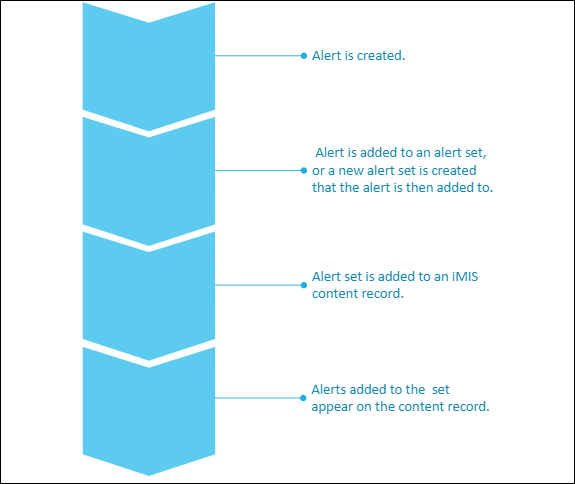
There are many alerts that appear on the out-of-the-box pages, such as dashboards and account pages. These out-of-the-box alerts can be added to other pages if desired by adding them to the appropriate alert set.
The individual alerts are not added to content records, rather, an alert set is added to a content record, and then the content record displays all alerts belonging to that set.
Creating custom alerts
To begin creating custom alerts, see Creating new alerts.
Best Practices
Review the following best practices and tips related to process automation.
Reviewing common errors and understanding the potential fixes
There are some common errors that occur when creating and sending scheduled tasks. Review Process automation FAQ to learn how you may resolve some of these common issues.
Testing scheduled communications before the task is enabled
It is important to test scheduled tasks before they are sent, to ensure the right information is being sent at the right time. Review the following to learn how to test process automation scheduled tasks:
Understanding the various queries involved and how they are related
Typically, communication templates are setup and designed before they are used in a scheduled task. When this template is configured, you can choose a default recipient query (Choose recipients), and begin using the Insert fields available to you because of the chosen recipient query.
If you use this same communication template in a scheduled task and select a different Recipient data source, recipient fields used in the template need to have a corresponding Display column in the query used as the Recipient data source in the action. You can click on the communication template in the action to verify that the fields are mapped. Any that are not mapped will display an error.