

OpenID Connect (OIDC)
With iMIS OpenID Connect (OIDC), users can use their company’s external directory to log in to iMIS. When enabled, users are required to use the configured external directory to authenticate and log in to iMIS instead of using their iMIS username and password to gain access. Depending on your OIDC configuration, this feature is available to system administrators, regular staff users, and public users.
Currently, iMIS OpenID Connect supports Okta and Entra ID (formerly known as Azure AD).
ExampleYour organization has specific credentials assigned to each employee to gain access to various systems. With the configuration of OpenID Connect in iMIS, those same credentials can be used to log in to iMIS without requiring a separate iMIS username and password.
Understanding the OIDC login and logout workflow
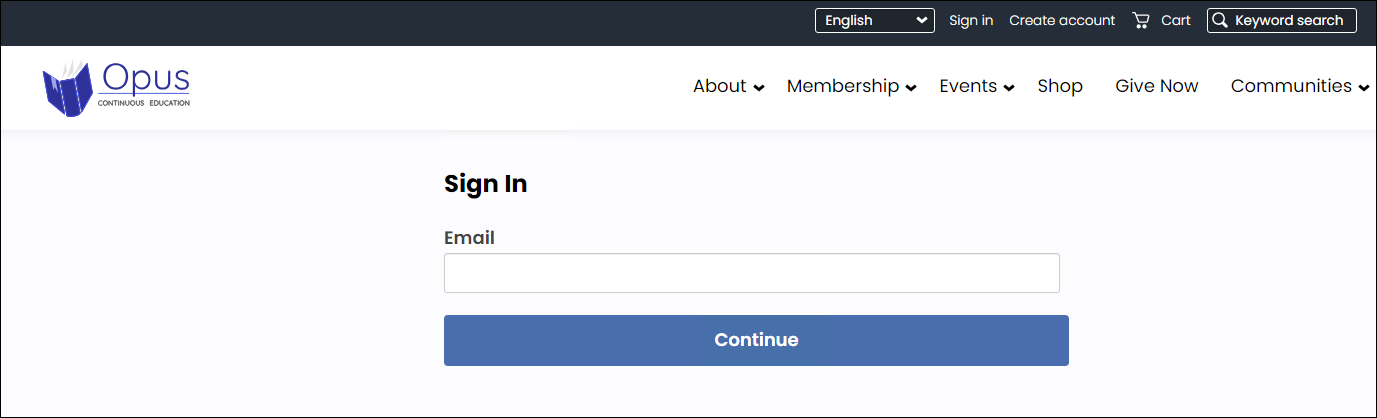
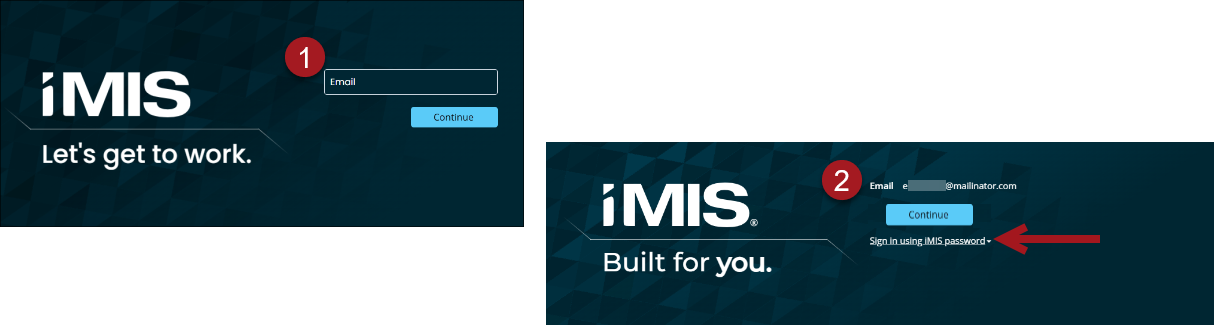
When OIDC is enabled or in test mode on a public or staff site, users are presented with a sign-in screen that only displays an email field.
Figure 1: Staff site view
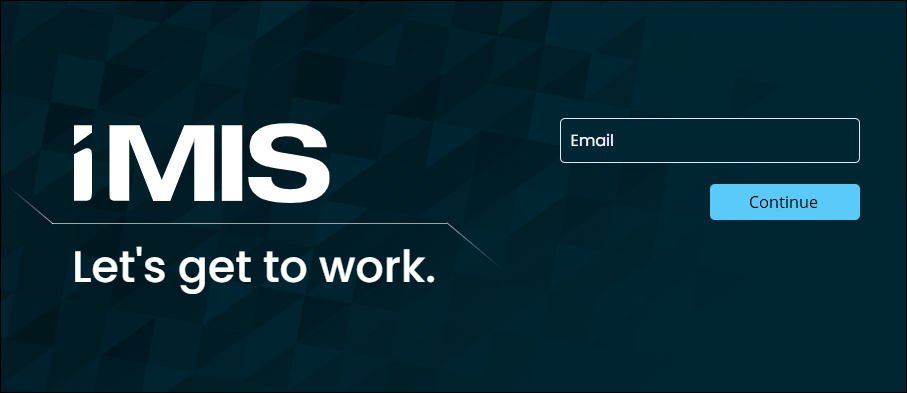
Figure 2: Public site view
When a user enters their email, the user is redirected to the OIDC external provider to enter their remaining credentials. The external directory verifies their credentials and redirects the user back to iMIS after they have successfully logged in. If the user's credentials do not match an existing iMIS account, an account is created for them with the following information added to iMIS from the OIDC provider:
- First name and Last name
- Email address
When the user clicks a Sign out link on a public or staff site with OIDC enabled, what the user experiences next depends on the OIDC configuration in iMIS.
If the Post logout redirect URL field in OpenID Connect settings (Settings > Contacts > Open ID Connect) is configured with a URL, the user is redirected to the specified URL.
If the field is not configured, the behavior depends on the external identity provider:
-
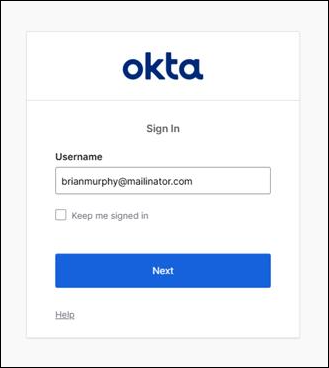
Okta - The user is redirected to the Okta sign-in page. The following screenshot shows an example of an Okta sign-in page.
-
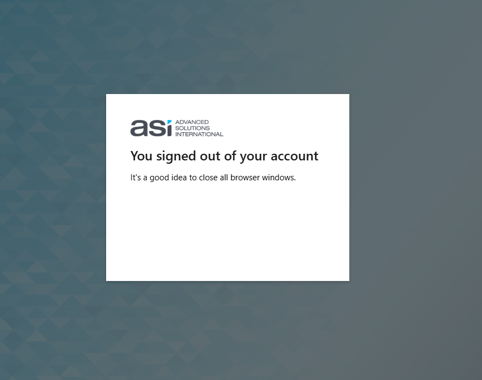
Entra ID - The user remains on the Entra ID logout page. The following screenshot shows an example of an Entra ID logout page.
For more information on the post logout redirect URL field, see Configuring and troubleshooting OIDC settings in iMIS.
Figure 3: System administrator view
System administrators may use their iMIS credentials or OIDC credentials to log into iMIS with OpenID Connect. Staff and public users can only have the option to use their OIDC credentials.
Before you begin
Review the following sections before you begin configuring OIDC:
Plan multi-factor authentication (MFA) approach before enabling OIDC
iMIS’s built-in MFA and OIDC are mutually exclusive. When OIDC is enabled or set to test mode, iMIS’s MFA is automatically disabled. Before enabling OIDC or setting OIDC to test mode, do the following:
- Enable MFA in the external identity provider. Verify that all staff users are enrolled in the external identity provider’s MFA before proceeding.
- Test external provider MFA in test mode. Use iMIS test mode to confirm that the full external provider authentication flow, including MFA, works for a sample of users before going live.
- Enable OIDC only after confirming that external provider MFA is functioning correctly.
Address REST API integrations that use password grant_type
If your organization uses integrations or scripts that authenticate to the iMIS REST API using the password grant_type with a non-sysadmin staff user, those integrations will break when OIDC is enabled. Before enabling OIDC or setting OIDC to test mode, do the following:
- Audit existing API integrations or scripts for password grant_type usage.
- Update them to use the client_credentials grant or obtain tokens via an SSO application configured in iMIS.
NoteStaff users who are system administrators can still use password grant_type after OIDC is enabled.
Verify user data in the external identity provider
After OIDC is enabled, the external identity provider becomes the authoritative source for each user’s first name, last name, and email. Before enabling OIDC, ensure the following items are configured for every staff user (and public users if you are enabling OIDC for public users:
- First name and last name fields are populated in Entra ID or Okta.
- The user’s email address in the external identity provider matches the email address on their iMIS account.
Warning
If a user’s email address does not match the external identity provider’s record for the user, a duplicate record will be created in iMIS when the user tries to log in with OIDC enabled. If your external identity provider uses a unique identifier other than email, such as an employee ID, configure the External ID Claim field to use that identifier for matching instead. This is useful when email addresses in iMIS and the external identity provider may differ or change.
- The user has the required role or group in the external identity provider. (See Configuring Entra ID for Open ID Connect (OIDC) or Configuring Okta for Open ID Connect (OIDC) for more information on roles or groups.)
(Okta only) Configure client secret management
If you configure Okta as the external identity provider, you must configure the Client Secret field in iMIS. (More information about this field is available in Setting up OIDC Connect with Okta.) Treat this value as a sensitive credential. Consider the following best practices:
- Store the Client Secret in a password manager or secret vault instead of a shared document.
- Rotate the secret periodically according to your organization’s security policy.
- If the secret is compromised, change it in Okta first, then update it in iMIS settings immediately.
- Document who has access to the Client Secret and review the list when staff change roles or leave your organization.
Configuring external providers for OIDC
Before configuring iMIS for OIDC, first configure the external provider. Currently, only Entra ID and Okta are supported.
Depending on your external provider choice, review the following guides:
- Entra ID - To configure Entra ID, see Configuring Entra ID for Open ID Connect (OIDC).
- Okta - To configure Okta, see Configuring Okta for Open ID Connect (OIDC).
Configuring iMIS for OIDC settings
After configuring the external provider, review and follow Configuring and troubleshooting OIDC settings in iMIS.
Updated about 1 month ago