

Recording and managing invoice credits
Access requiredTo record a credit, you must be a system administrator or staff user with at least Finance: 4 module authorization and Orders: 4 module authorization.
The Record a credit feature lets staff users grant a contact credit by processing a negative amount order.
Key use cases
The following are key use cases for recording a credit:
- Granting a contact a credit - Issue a credit for an overpayment, billing error, or goodwill/customer service resolution.
- Applying a credit toward a future purchase or renewal - Record the credit now so it is available to offset an upcoming invoice.
- Backdating a credit for accurate reporting - Use the transaction date override so the credit lands in the correct accounting period, regardless of when it was entered.
- Issuing a credit without notifying the contact - Suppress the confirmation email for internal adjustments, bulk corrections, or credits the contact should not be alerted to yet.
- Correcting a recorded credit - Adjust or remove a credit directly from the Invoice detail screen if the amount was entered incorrectly or is no longer needed.
Recording a credit
To record a credit, select a contact and product, enter a credit amount, and set the transaction options:
-
Go to Finance > Record a credit.
-
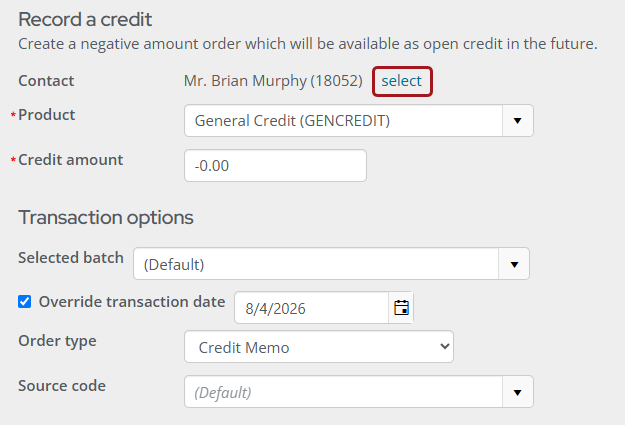
Click select to choose a contact to record a credit or negative transaction for.
NOTEIf On Behalf Of is enabled, the On Behalf Of Contact is selected by default.
-
Type in the Product drop-down to find the product to record the credit against.
NOTECommerce products that are Inventory items, Incur shipping, or Incur handling are excluded.
If there is a specific Financial entity or Income GL account selected in the product's definition, the credit is applied to either or both of the Financial entity and Income GL account. Otherwise, the credit amount will be applied to the default Financial entity (Default organization) and Income GL account. -
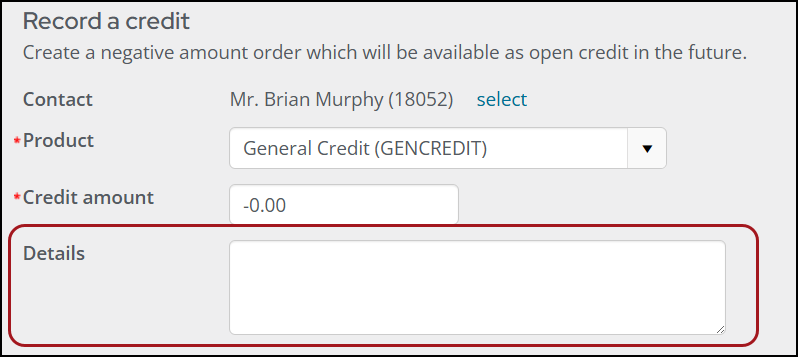
Enter Details about the product.
 NOTE
NOTEThe Details field only appears if Allow purchaser to enter details is enabled in the product definition. For more information, see Defining products.
-
Enter a Credit amount. The Credit amount must be a negative, valid currency amount. For example, -20, -160.40.
-
Define the Transaction options:
- Selected batch: Choose a batch the transaction belongs to. This only appears if Manual batches are enabled. For more information, see Managing batches.
- Override transaction date: Enable to specify a custom date for the transaction. Once enabled, a calendar date picker appears.
- Order type: Select the Order type to assign to the resulting order. The default value is the order type selected for the Order type for invoice credit adjustments setting. For more information, see Defining order types.
- (Optional) Source code
-
(optional) Enable Suppress the order confirmation email so that a confirmation email is not sent to the selected contact. To send a confirmation email, disable this option.
-
Click Submit.
Adjusting a negative credit
Staff users and system administrators with Finance: 4 or Orders: 4 module authorization levels can adjust negative credits to modify the amount or remove it from a user's account:
-
Go to Finance > Invoices.
-
Search for the credit invoice and click to open it.
-
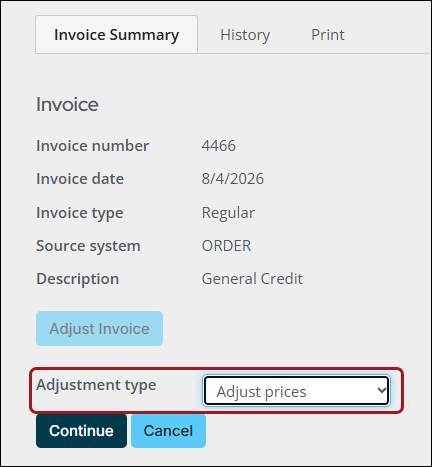
Click Adjust Invoice.
-
Choose Adjust prices in the Adjustment type drop-down.
-
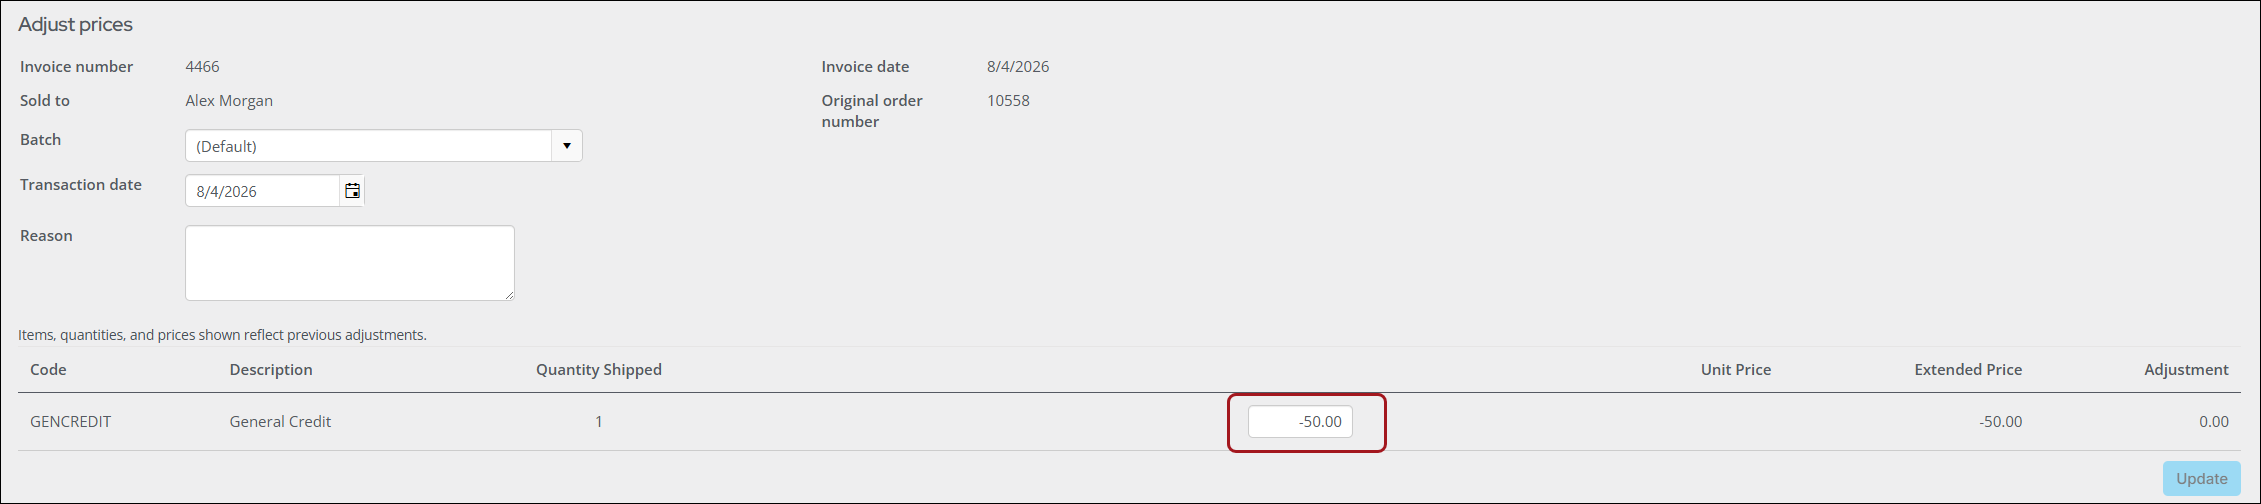
Click Continue. The credit amount field becomes editable.
-
Edit the credit amount field to reflect a desired amount.
-
Click the Update button.
-
Click Submit.
Updated 26 days ago