

Creating invoice-based panels
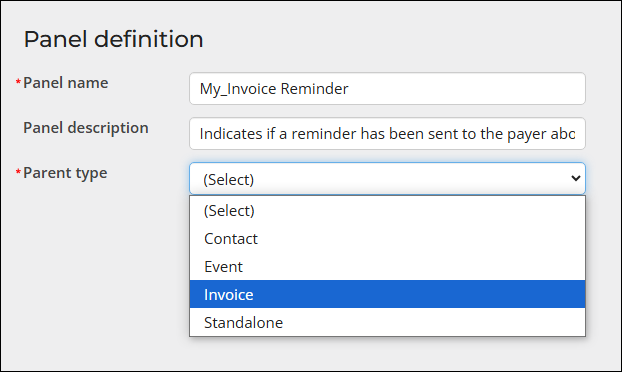
Invoice-based panels are custom displays of data that you can name, build, arrange in grids, and add to invoices. You can add single- or multi-instance panels to invoices by creating panel definitions.
Creating invoice panel sources
Only invoice panel sources are supported with invoice panels. Do the following to create a panel source for an invoice:
-
Go to RiSE > Panel Designer > Panel sources.
-
Select Add new panel source.
-
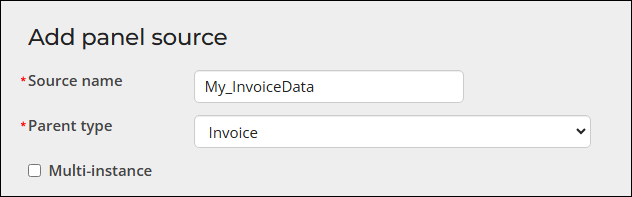
Enter a Source name.
-
From the Parent type drop-down, select Invoice.
-
(optional) Enable Multi-instance to allow multiple entries for each property.
-
Click Save.
- Select Add new property.
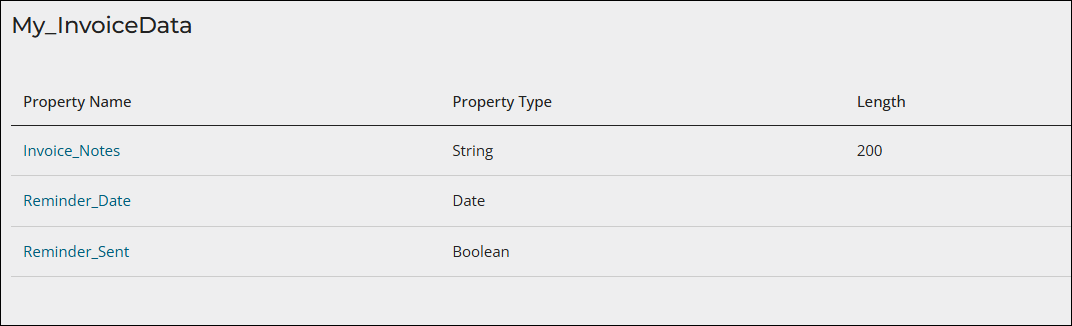
- Enter a Property name. Special characters, such as spaces, are not allowed in the Property name.
- From the Property type, select the type of property to create.
- Click Save & Close.
- Continue adding properties.
NoteTo prevent errors when adding a property to a panel source when the panel source already has data in it, disable any Process Automation scheduled tasks with an On a database change trigger type that use the panel source as a Table Name.
For full details regarding creating panel sources, see Creating panel sources.
Creating invoice panels
Do the following to create an invoice panel:
- Ensure you have created invoice panel sources.
- Go to RiSE > Panel Designer > Panel definitions.
- Select Add panel definition.
- Enter a Panel name and an optional Panel description.
- From the Parent type drop-down, select Invoice.
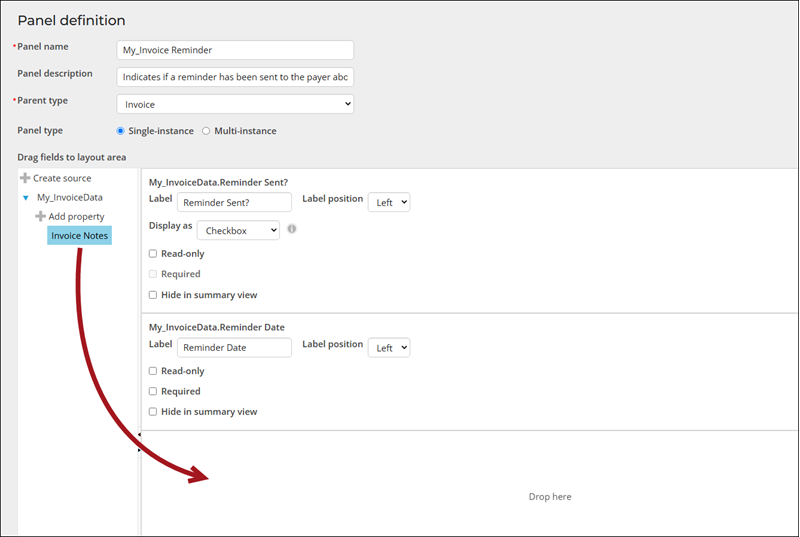
- Select either Single-instance or Multi-instance from the Panel type.
- Drag the properties to the grid, then click Save & Exit.
Adding the panel to an invoice page
Updated 27 days ago