

Creating member-specific content
Access requiredTo create and update RiSE content, you must be a system administrator or a staff user that belongs to at least one content authority group.
You can create content that only members are allowed to view by configuring the appropriate settings. Additionally, you can create a custom sign-in page that details why the user must sign in before they can view the content.
NoteThe Member status and Contact status do not affect the determination of whether a user is considered a member. Only the Customer type is used to determine whether the user is a member.
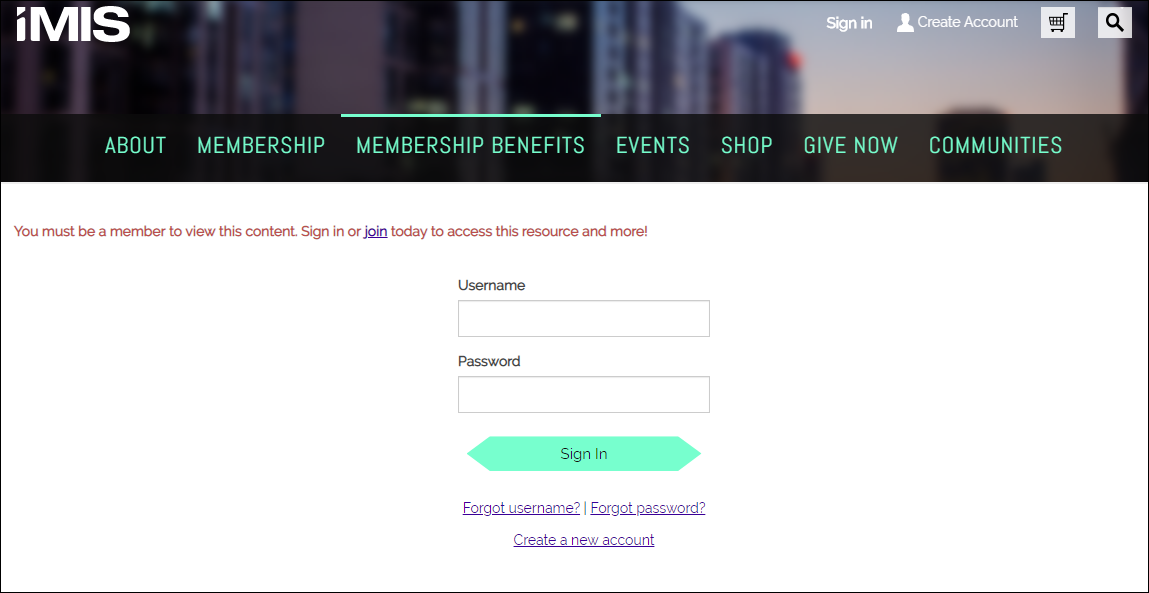
To create member-specific content with a custom sign-in page, do the following:
-
Go to RiSE > Page Builder > Manage content.
-
From the Shared Content folder, create a new content record (New > Website Content):
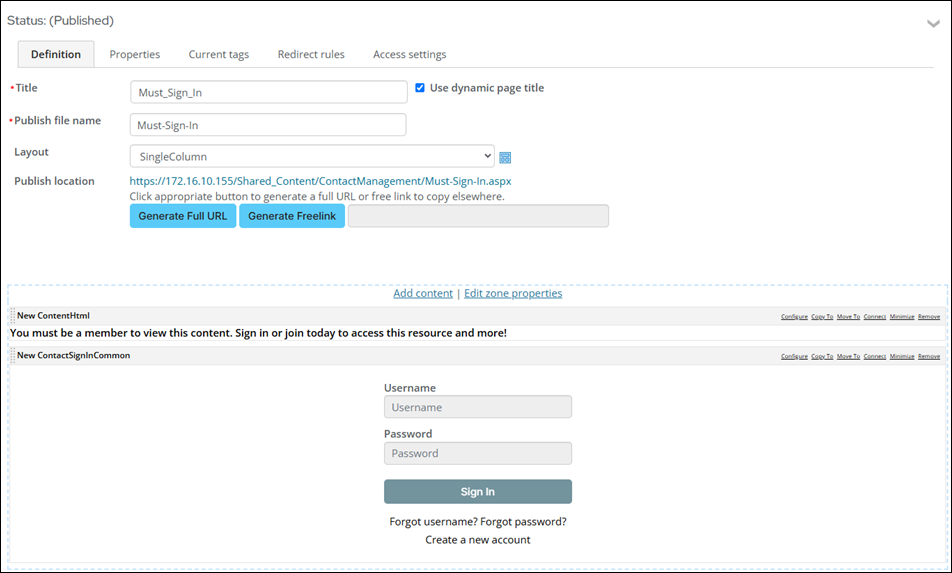
- Using the Content Html content item, add a message similar to the following: "You must be a member to view this content. Sign in or join today to access this resource and more!"
- Below the Content Html content item, add the Contact Sign In content item:
- Select Add content.
- Open the Contact folder.
- Select the Contact Sign In content item.
- Click OK.
- Click Save & Publish for the content record.
-
From the Shared Content folder, create a new content record for the member-only content (New > Website Content):
- Add the content to the content record.
- (Properties tab) Enable Content is restricted to members.
- (Redirect rules tab) From the Conditions for redirect drop-down, select Define rules:
- Rule : Logged-in user | Is non-member
- Redirect to: URL or Content
- Select: Content record created in step 2.
- Click Save & Publish.
-
Add the member-only content record to the desired location.
If a non-member navigates to the member-only content record, they are redirected to the custom sign-in page. After the user signs in as an active member, they can view the member-only content.
Updated about 1 month ago