

Club check-in/out
NoteYou must be licensed for Clubs to use a club-related functionality. Contact ASI for more information.
Organizations can properly track attendance by checking an individual in-and-out of a specific club, using a scanner or finding the individual using various criteria and then checking them in. This ensures records are accurate and creates a seamless user experience by saving a significant amount of time.
From the Club Staff site, go to Club check-in/out. From the drop-down in the top-left corner, select the club you are checking the individual into. The drop-down contains all the clubs you have added from the Staff site.
To add a new club, please see Working with clubs.
Checking in
Checking in using a scanner
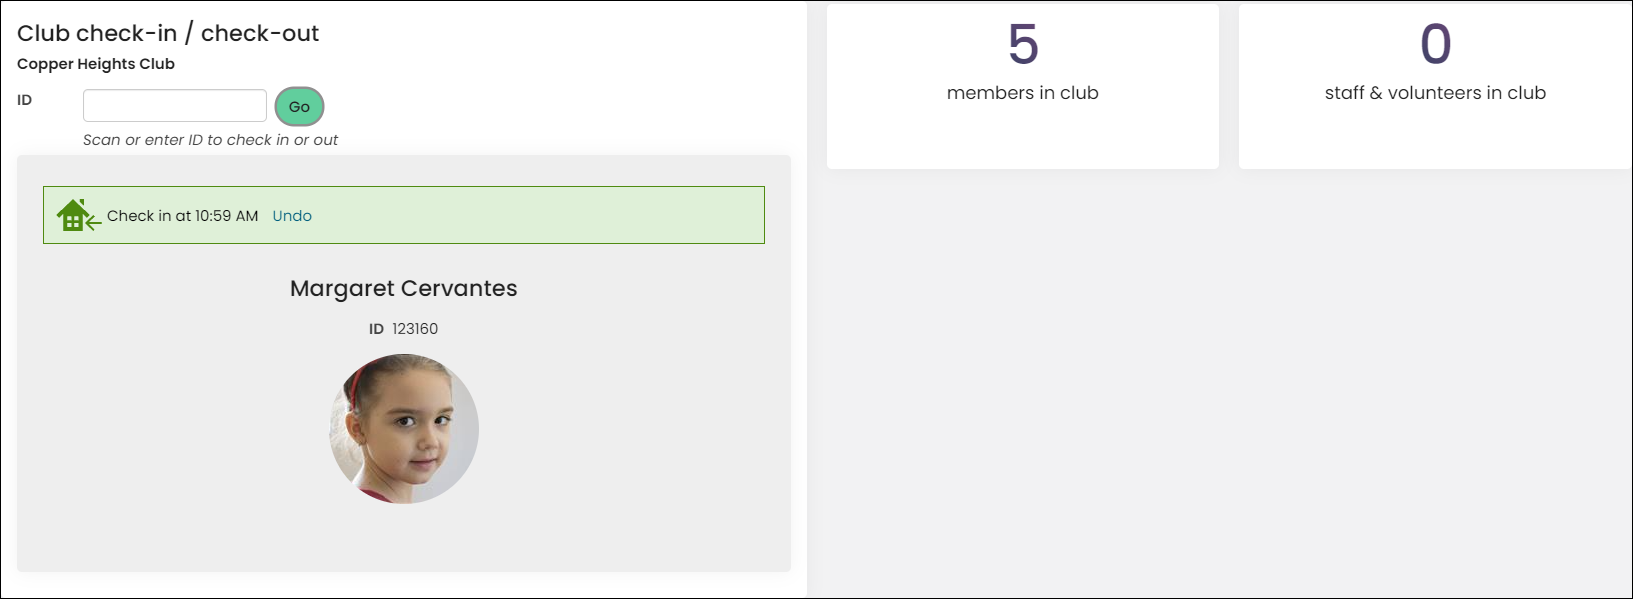
Using the scanning device, scan the bar code which represents the individual's ID. The individual's name, ID, picture if they have one, and any alerts on their account page appear after they are checked in.
To set up an alert that should appear upon check-in, please see Adding alerts to account pages.
📘 Note
The business object, PartyClubCheckinStatus, is used to show the most recent check in status.
The number of members checked into the specific club displays, as well as the number of staff and volunteers checked in. To view the Members and Staff & Volunteers checked in to a club, select the counter tiles. Clicking the counter tile brings you to a page that displays all the members checked in. You can check an individual out or perform a bulk check out.
Checking in using an ID number
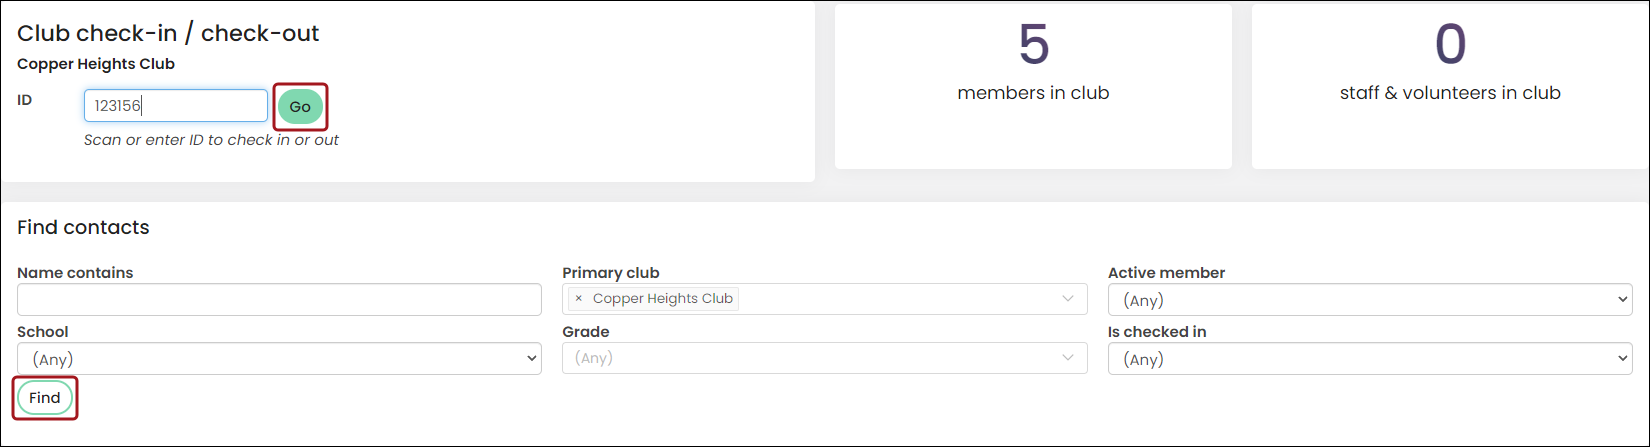
The next way to check an individual in is to enter the individual's ID in the ID field and click Go. The same results display, such as the individual's information and any alerts. To find a specific individual, use the various criteria and then click Find.
Checking in multiple contacts at once
To bulk check-in individuals, do the following:
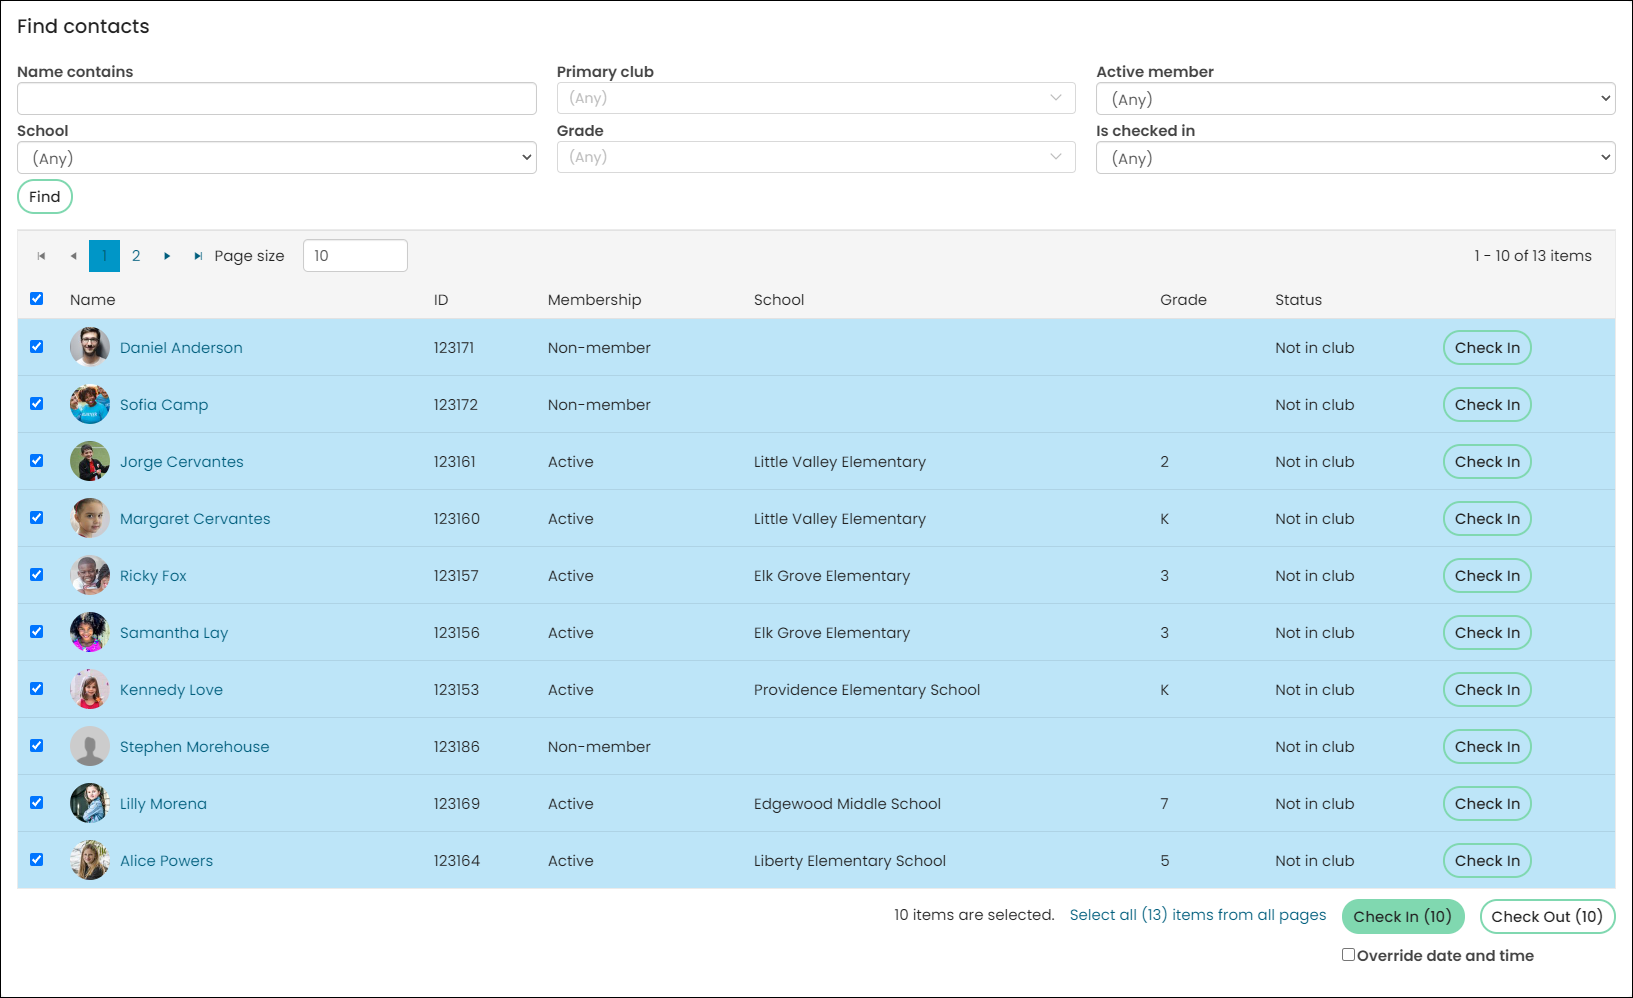
- Enter values for the search criteria that you wish to search on. Options include name, primary club, school and grade. A list of individuals that fit the criteria appear. Click Find.
- If you wish to check in one individual, click the Check in link in that individual's row. If there are any check-in alerts for that individual, they appear at the top right of the screen.
- Select the individuals that you want to check in by enabling the checkbox next to their name. Enable the checkbox next to Name to check in all individuals on that page. By default, it selects the contacts shown on the current page. Contacts on all pages can be selected if desired.
- Click Check in.
The selected individuals are checked in to the selected club. Follow the same steps to do a bulk check-out of individuals from a club.
Checking out
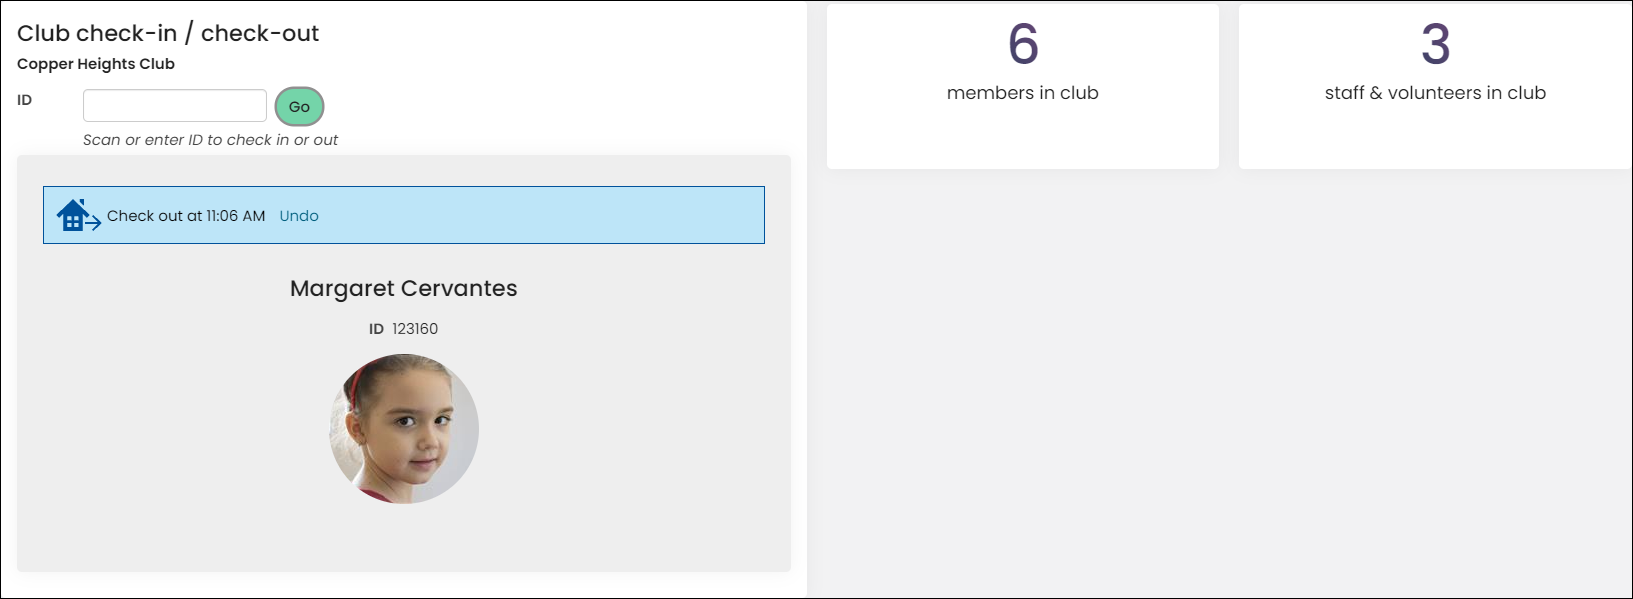
To check a member out, scan the bar code or enter the individual's ID. To locate an individual for checkout, click the appropriate counter tile to view all individuals checked in, the locate the individual you need to checkout.
You can also find the individual using Is checked in filter = Yes and then select the Check out link.
Customizing the check-in
To customize your club check-in page, you can edit or create content items that match your specifications. To customize, do the following:
- To edit an existing content item on the default check-in page, click the Easy Edit icon or go to RiSE > Page Builder > Manage content. Use Save As to save your changes to a copy of the default content.
- To create your own content items, go to RiSE > Page Builder > Manage content > New > Website content.
- Update the ClubCheckin shortcut to point to your new content.
- Point the ClubCheckin shortcut to the correct version of your new content. For more information, see Managing shortcuts.
- Publish the club staff site check-in/check-out navigation item.
Configuration options include the title, counter tile labels and source queries, and contact search label and source queries.
Keep in mind the following when working with queries:
- If using different queries than the out-of-the-box ones, be sure they meet all requirements. The official recommendation is to always work with a copy of an existing query and to make desired changes to the copy.
- Counter tiles count queries must have a column with a Sum_Total or Count alias that returns a number.
- If using a folder of queries for the Source query or folder for Contact search options, the queries are sorted by the Description, so the Description is used to order the queries as needed.
- Whether using a folder of queries or a single query, each query must be used in the Source query or folder for Contact search options with the following properties aliased exactly as stated:
| Property | Property value/alias |
|---|---|
| PartyClubCheckInStatus.Club Party ID | Status To ensure that the check-in status reflects a contact’s status in the selected club, and that contacts who have not yet checked in to the club can be found for check-in, you must add filters for PartyClubCheckInStatus.Club Party ID as follows: |
| |
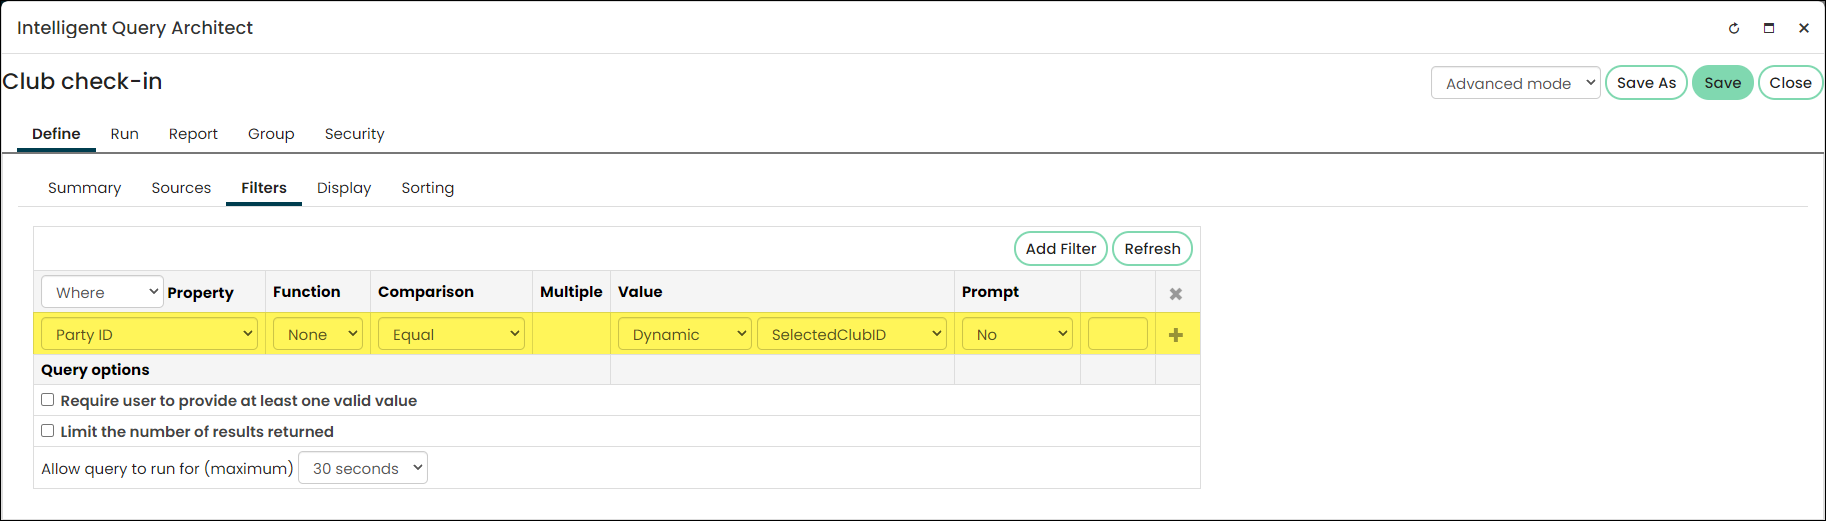
| PartyClubCheckInStatus.Club | code_PartyId You must add a filter for PartyId that equals the Dynamic value SelectedClubID.
|
(optional) ContactPicture.UpdatedOn ContactPicture.ContactPictureKey | ContactPicture.UpdatedOn - code_PictureUpdatedOnContactPicture.ContactPictureKey - code_ContactPictureKey Used to include the contact’s picture in the contact search grid. Add the ContactPicture source to the query with a Left Join from the contact's PartyId to ContactPicture.Contact. Be sure to include filters for ContactPicture.Preferred = Yes and ContactPicturePreferred is Empty in the same filter set, to retrieve the preferred picture for contacts who have one and to ensure that contacts with no picture are included in the query. |
| Contact.Party Id | Include the contact’s Party ID as a Display column with an alias of code_PartyId. |

📘 Note
It is recommended to copy the default out-of-box Find contacts query at $/Clubs/Queries/Check-in queries/Find contacts as the basis for custom queries.
For more information, see the following articles:
Club business objects related to checking in/out
Club Attendance Business Objects
The following are the most commonly used Business Objects in regards to Club check-in and check-out and their rules for use:
| Business Object name | When to use | Check-in/out | Status | How it functions |
|---|---|---|---|---|
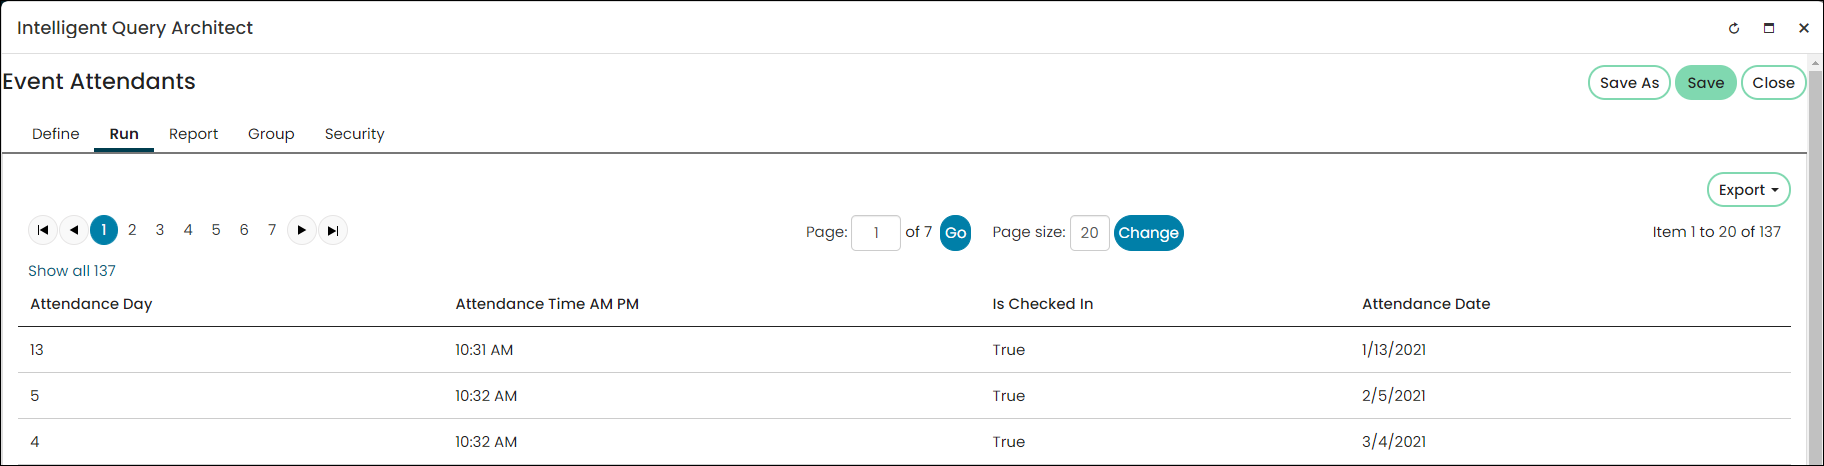
| PartyAttendanceData | Use for Full attendance history. | Check-in | Not for current status | You can also identify or filter by the Party and/or the Club. To get counts of check-ins, you will have to filter on IsCheckedIn = TRUE or 1 AttendanceDate has the date only (no time). |
 | ||||
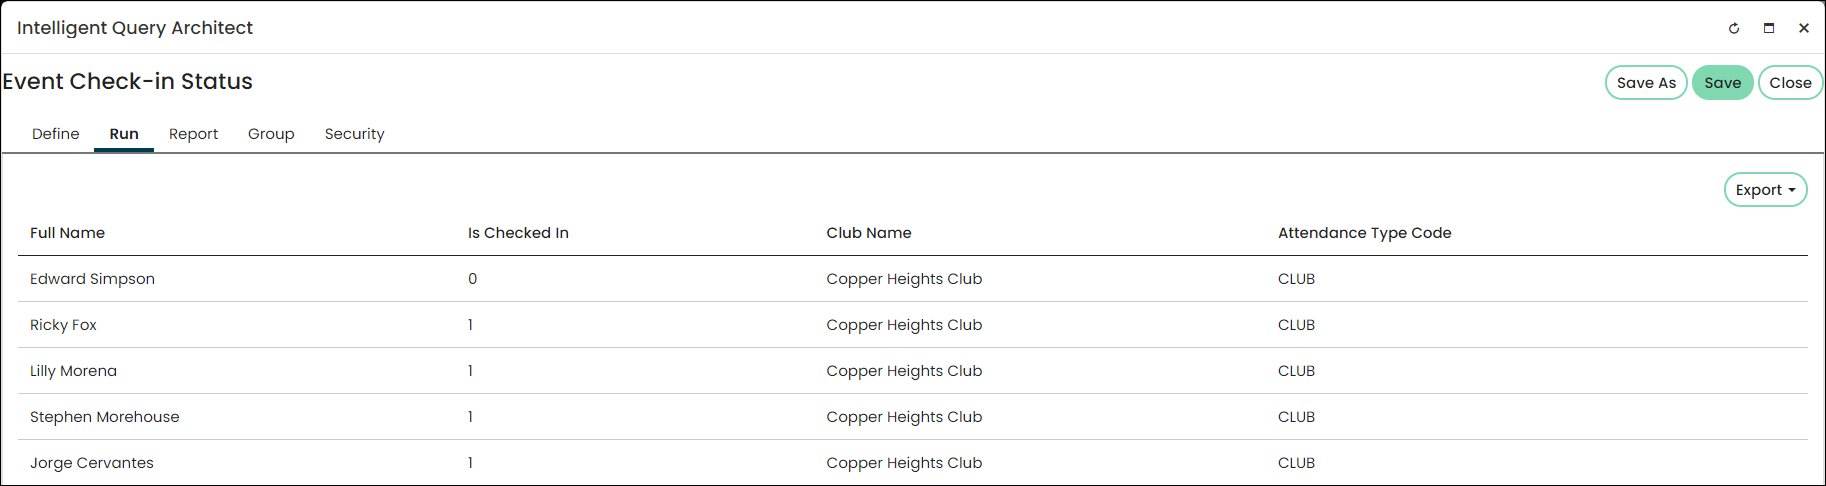
| PartyCheckinStatus | Keeps one row per contact. Not for history. | Check-in or check-out | For current/most recent status | PartyCheckinStatus returns the most recent row per party from PartyAttendanceData. |
 | ||||
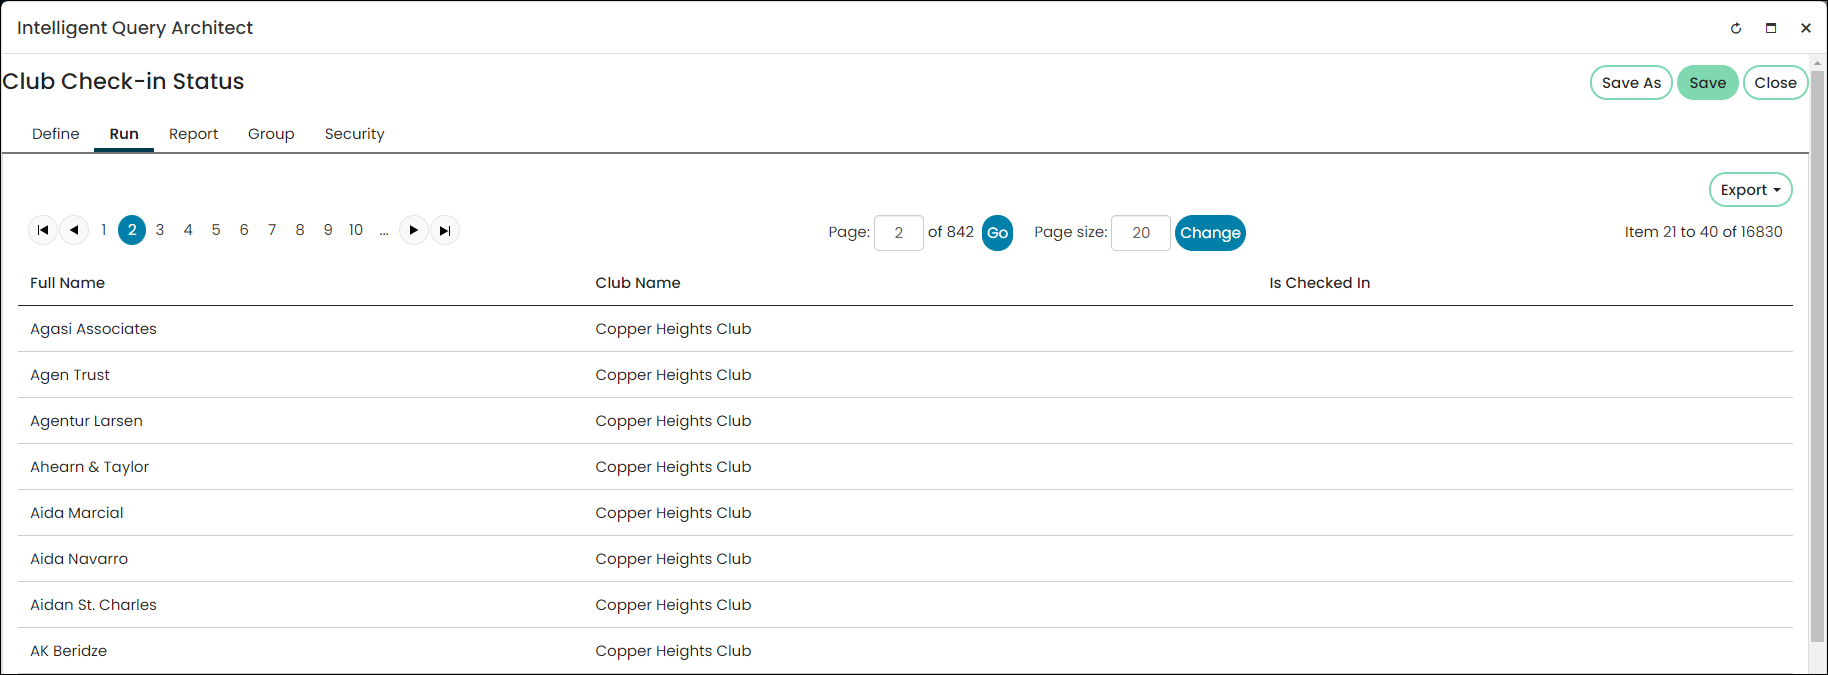
| PartyClubCheckinStatus | Keeps one row per contact per club. Not for history. | Check-in or check-out | For current status | Returns one row per party per club, so that you can get a contact’s most recent status for a specific club. You may have multiple rows per party, one for each club they have checked in or checked out of. |
 | ||||
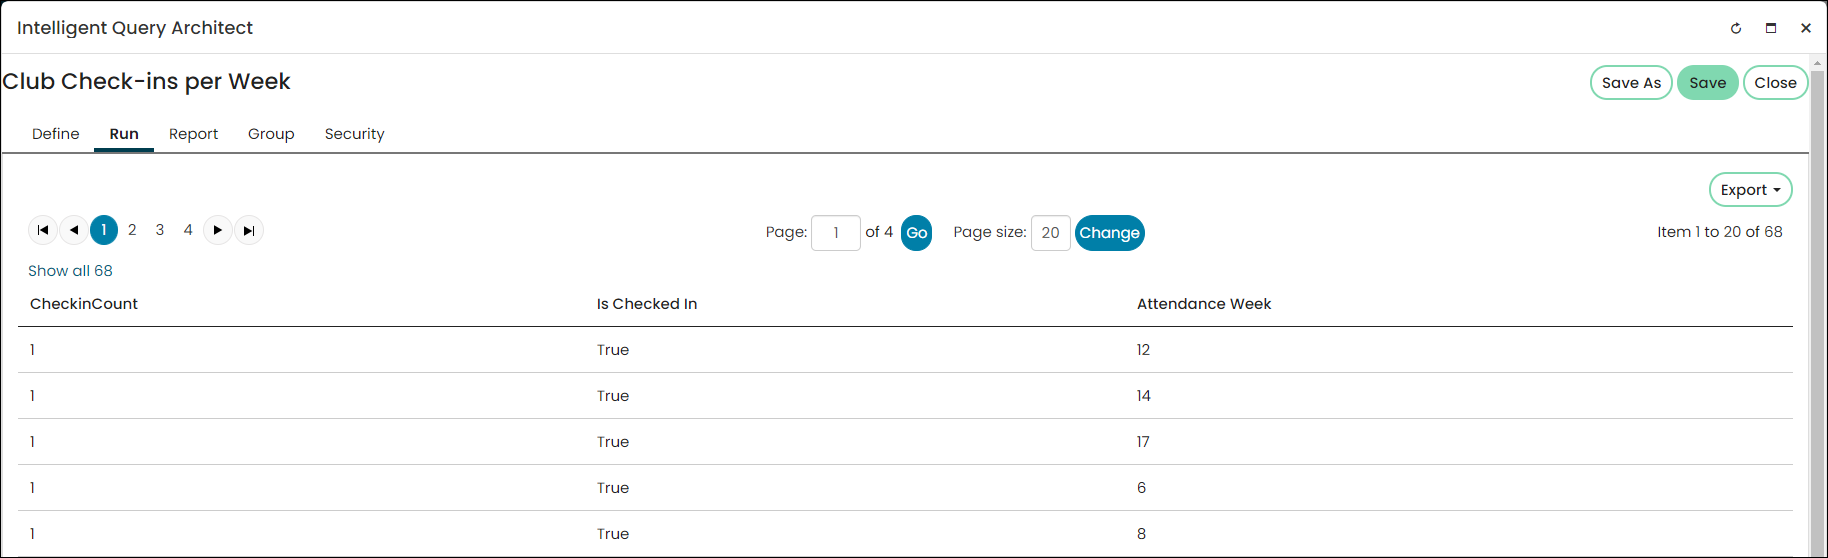
| PartyCheckinsPerWeek | Shows how many times a single user checked in for a given week. | Check-in | Not for current status. | Returns number of check-ins per week. |
 | ||||
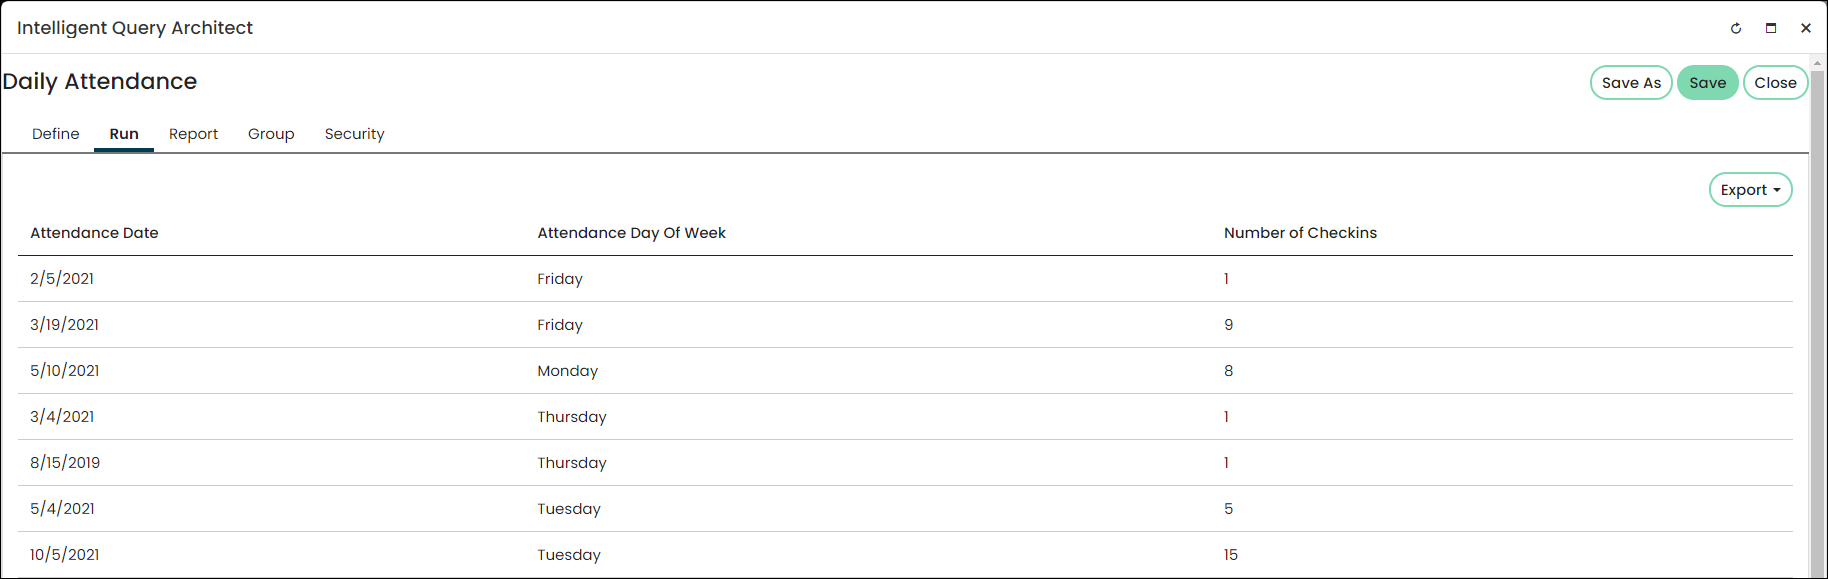
| ClubsDailyAttendance | Shows how many people checked into a given club on a given day. | Check-in | Not for current status. | Created for the dashboard and returns a total count of check-ins per day at each club (one row per day per club with a property for count). |
 | ||||
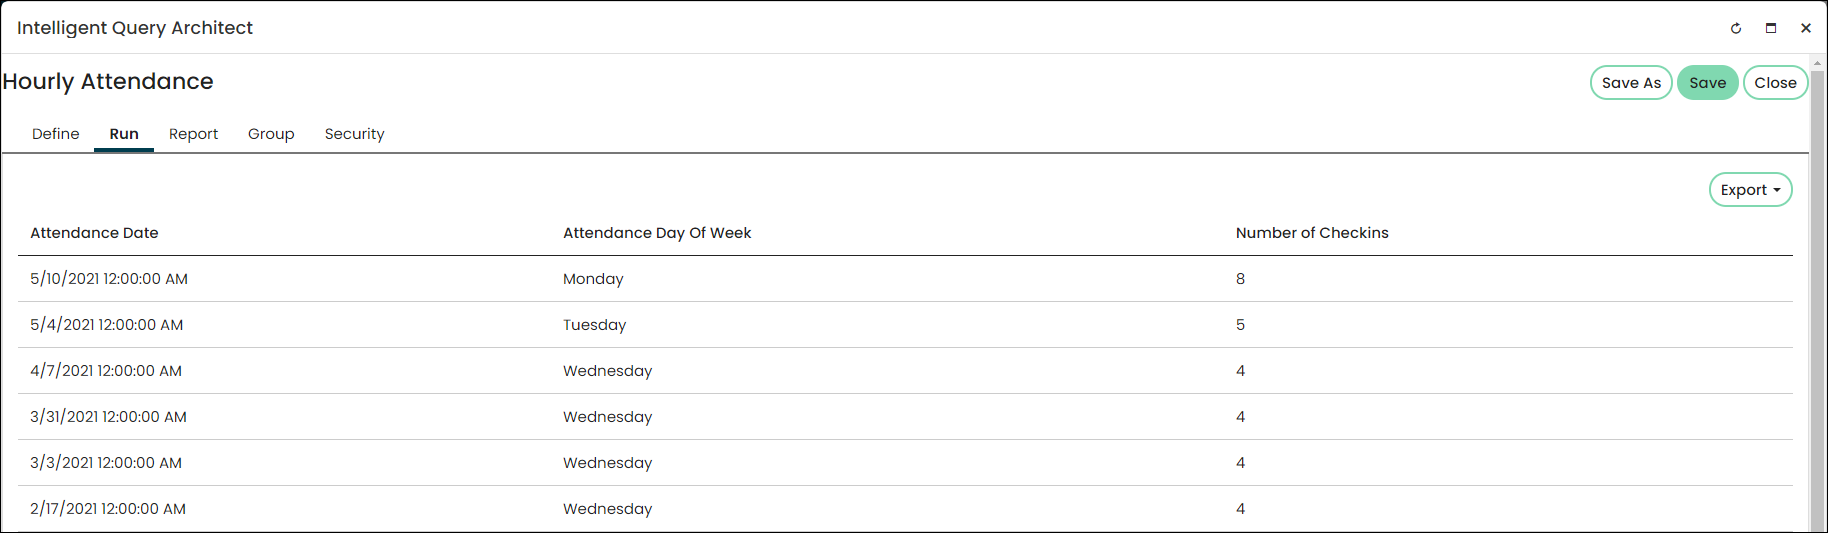
| ClubsHourlyAttendance | Shows how many people checked into a given club in a given hour. | Check-in | Not for current status. | Created for the dashboard and returns a total count of check-ins per hour at each club including the date. Example: 9:00 AM on 8/26 and 9:00 AM on 8/27 are separate rows with separate counts. (1 row per date + hour per club with a property for count). |
 | ||||
Updated 3 months ago