

Defining a collection of items
iMIS gives you flexibility in the way you define and display commerce items. You can use the default values for a quick and easy setup or specify the details that best meet the needs of your organization. You can organize collections of commerce items into three general types, each with options, default values, and display choices.
NoteGroup assignments apply to simple items only. When you create collections, the Group options are grayed out because they are already applied to the simple items that they include.
Click to view table
| Type of Collection | Requirements | Options |
|---|---|---|
| Kit or bundle, with a single item description and one price. |
|
|
Collections of items, shown separately and individually priced.
|
|
|
Collection of items, shown separately and individually priced.
|
|
|
Collection of items, shown separately and individually priced.
|
|
|
| Series of collections of items, shown separately and individually priced. |
|
|
Define or edit a collection of items:
-
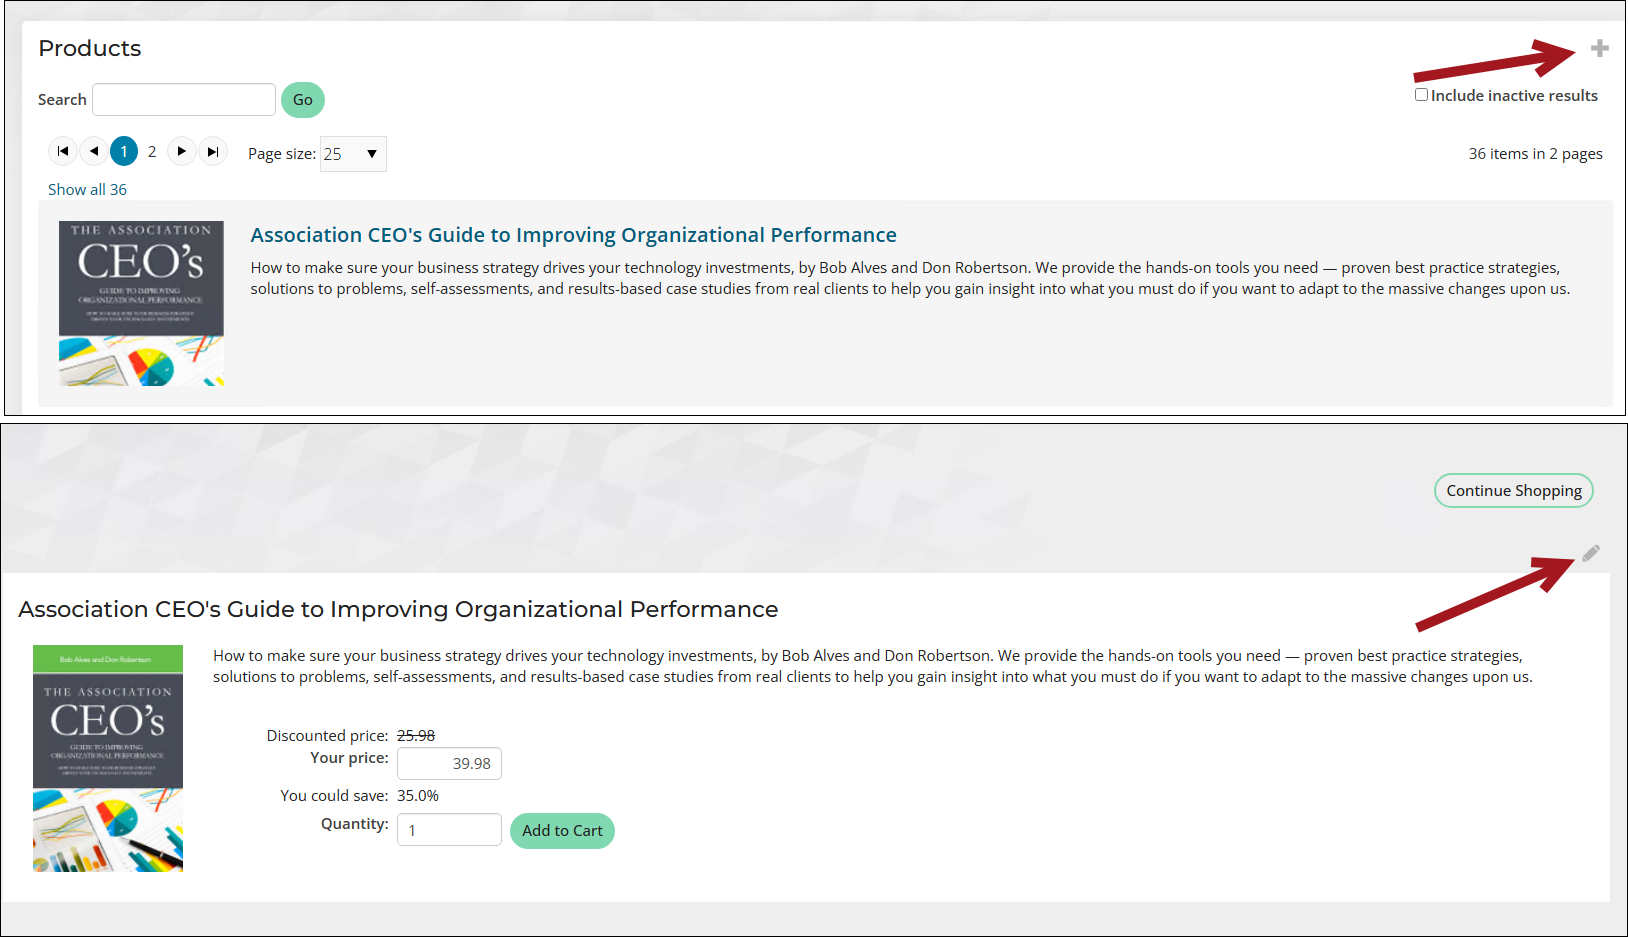
From the Staff site, go to Commerce > Find products.
-
Do one of the following:
-
Click the Add icon ( + )to define a new item.
-
Click an item to view its detail page and click Edit.
-
-
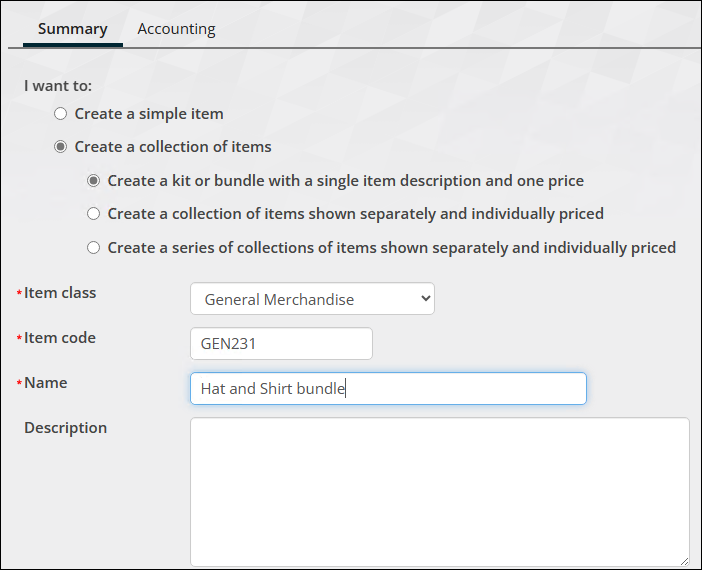
Select Create a collection of items to define a commerce item that will be displayed as a bundle, kit, single collection, or a series of collections.
-
Select the kind of collection to define:
-
Create a kit or bundle with a single item description and one price - Define a set of individual items sold as a single item with a single price. Individual items in a kit are not displayed to shoppers unless entered in the Description field. This kind of set is useful for displaying multiple items as a bundle or to distribute the costs of individual items among multiple income areas for accounting purposes. You can set up kits within other kits, if needed.
-
Create a collection of items shown separately and individually priced - Define an item set that presents a list of choices to the customer with one choice selected by default. The customer can choose only one item from this list.
- Create a series of collections of items shown separately and individually priced - An item set that includes items listed in a menu. The items can mix required and optional items, and the shopper can select any or all items for any quantities that fall between the minimums and maximums that you specify.
-
-
Select the Item class for this collection. The item class specifies the default GL accounts, tax schedule, standard discount percentage, and other financial settings to be used for the item. You can override the defaults later in the definition process.
-
Enter the Item code.
-
Enter the Name and optional Description of the item.
-
(Create a kit or bundle with a single item description and one price selected) Enter the Standard price or select the Price is total of components option. For example, you can set up a kit containing two items and specify that the price is the total of the two individual items. In this case, the system assigns each item to its individual GL account. Alternatively, you can enter a different standard price (typically less than the total of the individual items) and the kit as a whole will be assigned to the kit's designated GL account.
-
Select a Product status.
Click for details
- Active (A) - The default status for all new products is Active. Active products are always available for sale to your customers.
- Inactive (I) - Products that have an Inactive status are temporarily unavailable for sale to customers. Possible reasons for assigning an Inactive status to a product include an interruption of supply (for example, a supplier has gone out of business, or the product is part of an embargoed shipment), you are awaiting regulatory approval to sell the product, or the product is a seasonal item.
- Not Available (N) - Products that have a status of Not Available are no longer available for sale to your customers and can include discontinued and recalled items.
- Marked For Deletion (D) - Products that have a status of Marked For Deletion are no longer available for sale to your customers. Reasons to keep products that have a Marked For Deletion status in your system are for historical reporting and to prevent reusing a previously assigned product code. Products with a Marked For Deletion status have the same functional characteristics as Inactive products.
- Out Of Production (O) - Products that have an Out Of Production status cannot be reordered from suppliers.
-
If this product is intended to only be sold within a collection of items and should not be sold as an individual item, enable Can only be purchased within a collection of items.
-
(Create a collection of items shown separately and individually priced selected) Select the desired Item Set Properties option:
- Customer may select multiple components
You can enter a value for the Minimum component selections and Maximum component selections. Ensure that the Maximum component selections is greater than the Minimum component selections value. A value of zero (0) reflects no restriction for the Minimum component selections or Maximum component selections.
- Customer must select only one component
- All components are selected by default and required
-
Define the components of the collection:
WarningWhen the Direct Debit product is part of a collection, the Direct Debit product needs to be the first component in the collection. If the product is not the first defined component of the collection, any Direct Debit purchases will fail.
-
In the Item set components area, click Add item.

- Browse to select an item to include in the collection. Only commerce items that are valid for addition to the collection can be selected. For example, a collection of items cannot be a component of a kit.
- (optional) Define this item to be selected by default.
- (optional) Set Min Quantity or Max Quantity requirements for each item. This lets you enforce the number of each particular item that can be purchased in this set.
- (optional) Enter the Display Order for the item within the collection. Use the arrows to change the display order for an item or enter a number and exit the field to refresh the display:
- If you enter no Display Order values, the components are displayed in the order in which you added them to the collection, as shown in the list.
- If you enter 0, the item is moved to the first position.
- For ties, the newly entered value is honored and the remaining items in the collection are moved up or down by one, as appropriate.
- If you enter a value for your item that is greater than the number of items within the collection, that item is moved to the end of the list.
-
NoteIf you change the item type (simple, collection) after selecting the item set components, the components are cleared. You can then select the components for the new item type, if appropriate.

- (optional) Select the Accounting tab to make changes to the default item class (accounting) settings.
- Click Save.
If you make changes to the components in a collection after a shopper has added it to their cart, a message will prompt them to delete the collection from their cart and add the collection again. At that time, the revisions to the collection are displayed.
Updated 3 months ago