

Defining gift items
iMIS provides the ability to manage your fundraising activities:
- Easily create Gift Items to track your fundraising efforts.
- Create unique pages to collect donations online.
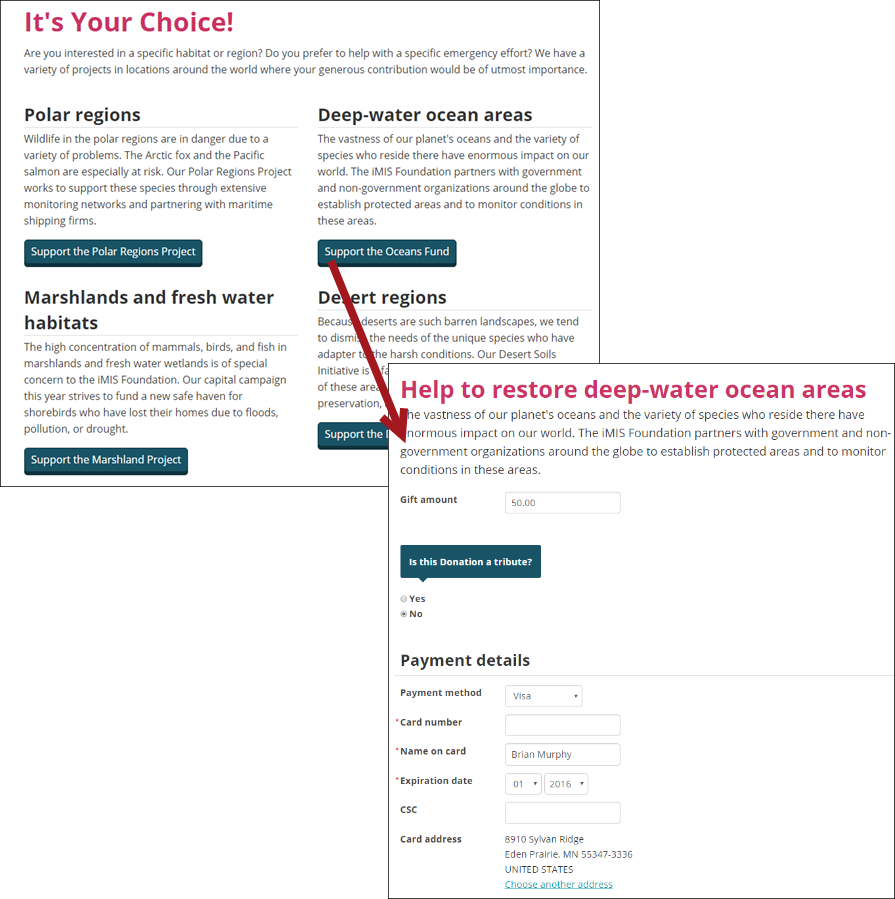
Do the following to define new gift items:
- Go to Fundraising > Add gift item.
- Select Create a simple item, or Create a collection of items. If you would like to learn more about creating a collection of items, see Creating or editing a collection of items.
- From Item type, select Gift item.
- Select an Item class. To define item classes, see Managing product classes.
Note
If the Item class is defined as a Charitable item, the item will automatically be marked as a charitable item. You can enter a Fair Market Value and the donor can be issued a charitable receipt. See Charitable receipts.
- Enter the Item code. For example, if the gift you are adding is the Disaster Relief Fund, the Item code could be DRF.
Note
If the gift item you are creating is for a Cause2Give donation import, the Item code must match the donation level Name or Fund Code exactly.
- Enter the Name and Description of the item.
- Select an image from the Image Manager or upload a new one to the Document system. You can also define Image alt text. For more information, refer to Managing images.
- (optional) Enter dates and times for Show in search to provide a date range in which your product will show up in searches. Staff users can choose to show inactive products in their search results.
- Enter a Suggested amount. This is the amount that will automatically display when someone is giving to the donation item. Donors can always overwrite the suggested amount.
- (optional) Select Allow purchaser to enter details to enable specific details or important notes about a gift item to be added at the time a donation is being made.
- (optional) Enable Supports recurring donations if you would like your donors to have the option to donate regularly. If no AutoPay Gateways have been configured, then the option for recurring donations is not displayed on the donation page.
- (optional) Enable Assign purchaser to a group to automatically add all donors of this item to a group.
Note
If Supports recurring donations has been selected, you cannot enable Assign purchaser to a group. Recurring donations cannot assign purchasers to a group.
Select the Group and Group Role to be assigned to donors. You can select from the drop-down list or start typing and select the filtered item from the list. The Term span in months is automatically populated with the term span of the selected group, but you have the ability to overwrite the default amount of months.
📘 NoteWhen assigning a donor to a group with a term length other than 12, each time the purchaser renews their membership in that group using the same product, their membership is advanced by the specified number of months. Also, if your product is included in a collection of products that assign purchasers to group memberships, and the other products in the same collection have different term lengths, the resulting memberships can become out of sync.
- Enter the Post-purchase information. This is the information to be displayed to a user following purchase of this item. It will be included in the order confirmation message and can be used to indicate how to retrieve downloadable content.
- In the Tags section, you can select a tag to apply to this Gift Item. The tags will allow the Gift Item to be more easily retrieved and displayed in search results.
- Click Modify to select new tags. See Defining tags.
- (Accounting tab) Review the default settings and make any required changes for the item:
- (read only) The Financial entity is displayed and is a read-only field.
- Accounting method: To override the default accounting method, select the desired method (Accrual or Cash) for this item.
- Tax category: The tax category specifies taxation rules for a general set of items. To override the default tax category setting, select a tax category for this item.
- Tax schedule: The tax schedule consists of all tax authorities that apply to particular situation and the order in which taxes are calculated when more than one tax applies. The Tax Schedule should be set to None unless the schedule for this item will always be the same, regardless of the situation.
- Charitable item: If the Item class you defined in the Summary tab is defined as a Charitable item, this box will automatically be selected. If the item class you defined is not defined as charitable, but you would like this Gift Item to a be a charitable item, select Charitable item.
- Fair market value: Only charitable items will have a Fair Market Value. Provide an estimate of its Fair market value if the item should be reported as charitable. This amount is excluded from the eligible amount shown on a charitable receipt to help your members properly report the tax-deductible value of their donations for tax purposes.
- General ledger accounts: To override the default General Ledger accounts, start entering the desired account name or code to select from a filtered list.
- Click Save. The item detail page displays as it will appear to users. In addition, the item will display in the list of product items. The user can click the item name to view details.
The gift items displayed in the shop and wherever else you have added the Common Search content item are linked to a single content record, which dynamically displays content for the gift item selected. You can edit this content record using Easy Edit, or by going to RiSE > Page Builder > Manage content and editing the Gift Detail content record located in @/iCore/Fundraising.
Updated 5 months ago