

Working with clubs
NoteYou must be licensed for Clubs to use a club-related functionality. Contact ASI for more information.
Staff users can easily add and edit a club organization from the Staff site. The Club Staff site also gives you the ability to edit a club, as well as add members, households, and contacts.
Clubs
Adding a new club
Do the following to add a new club:
- From the Staff site, go to Community > Add club.
- Enter all the required fields.
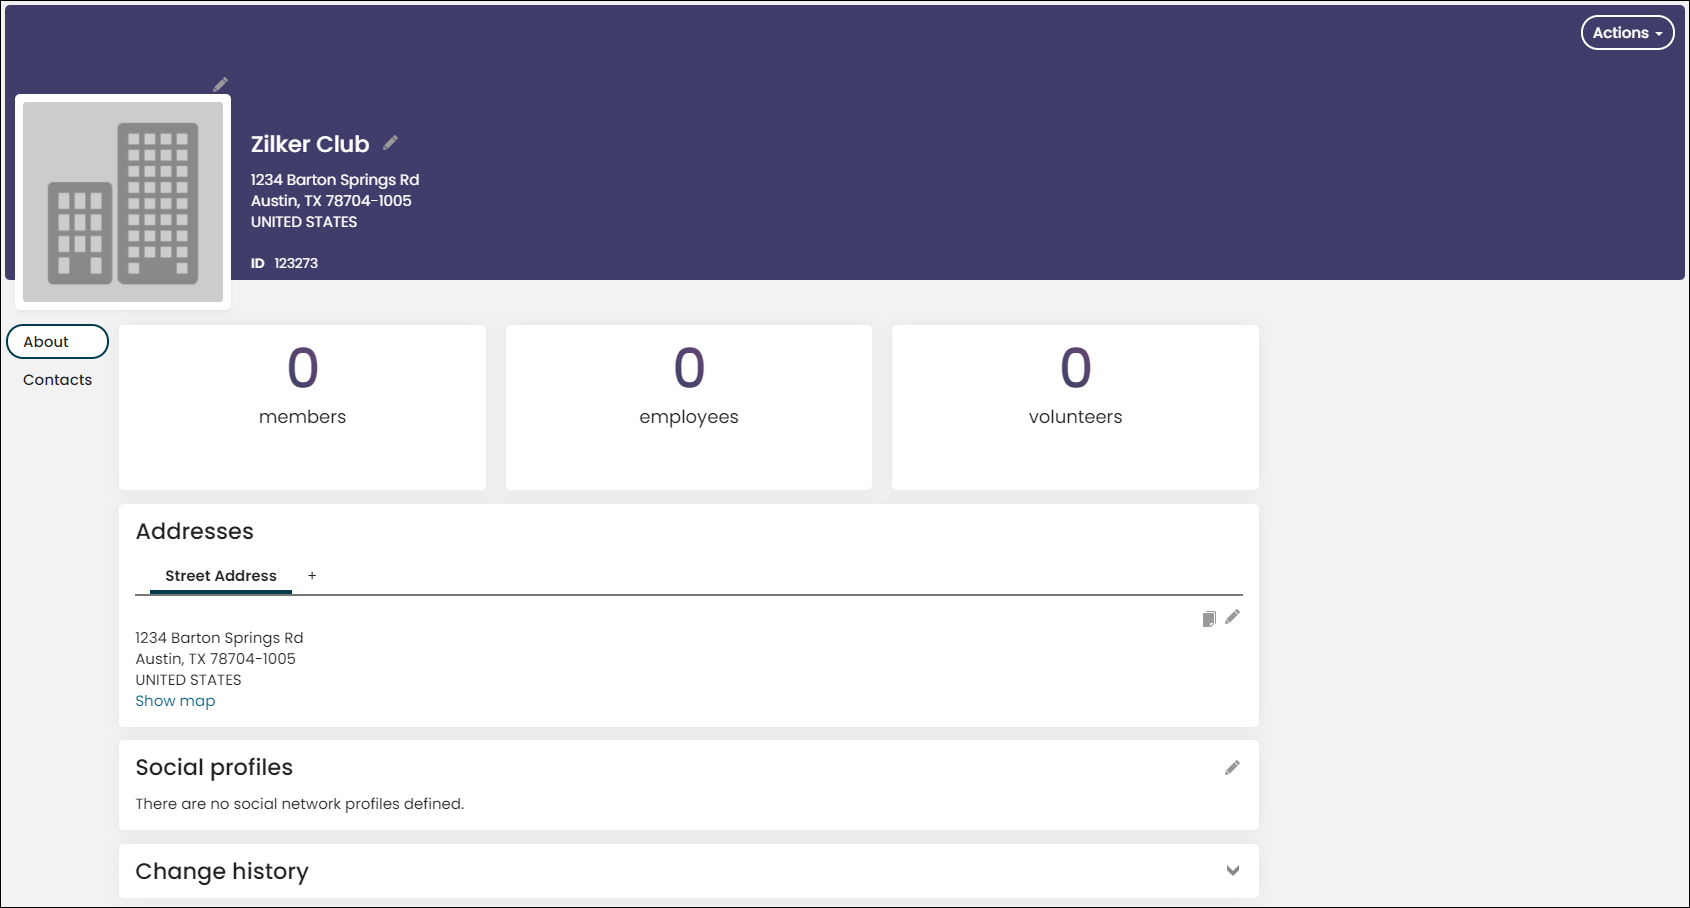
- Click Save. You can add additional club information on the resulting club profile page.
Editing a club
Do the following to edit existing clubs:
- From the Staff site, go to Community > Find contacts.
- Select the Organizations tab.
- Search for the club in the Name contains field.
- Once you find the club, you can change the record by clicking on the club name and editing the information on the resulting club profile page.
Filtering to a single club
The Club Staff site is intended for use within a single club organization. You can choose which club you are working with within the site navigation. Checking contacts in and out of the club, as well as data shown in the site, applies to the club that was selected.
After you have added a club, do the following:
- Navigate to the Club Staff site.
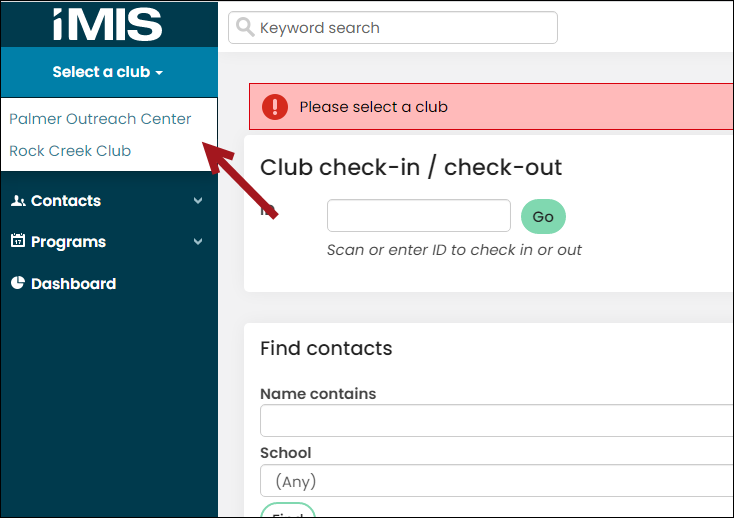
- From the Select a club drop-down, choose a club.
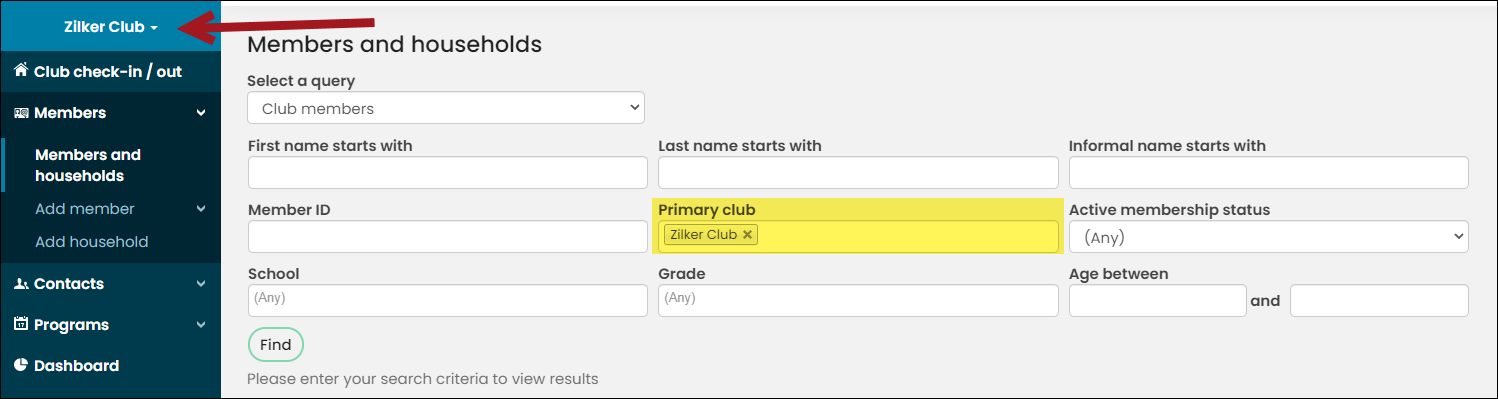
- That club name will automatically appear in the Primary club field. You still have the option to change the club name in this field regardless of the club selected in the drop-down. You can also select multiple clubs at once in the Primary club field.
📘 Note
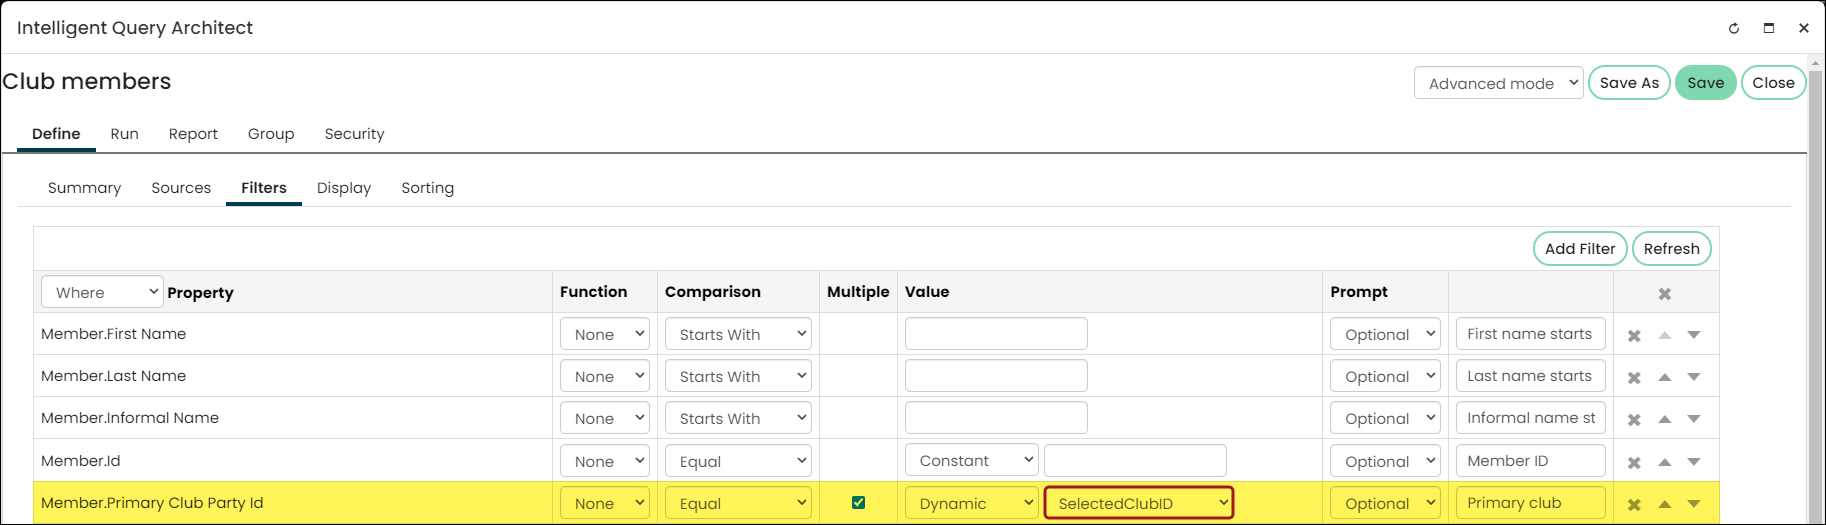
The query located at $/Clubs/Queries/Find members/Club member must have a filter with the property Member.Primary Club Party ID = SelectedClubID for the selected club to automatically appear in the Primary club field on this specific page.
Only a staff user can filter the content and work with members of that specific club. The club you select in the drop-down will remain the selected club until you select a different club. You can log out of your account and upon logging back in, the club you had selected prior to logging out will remain the selected club.
Removing a club
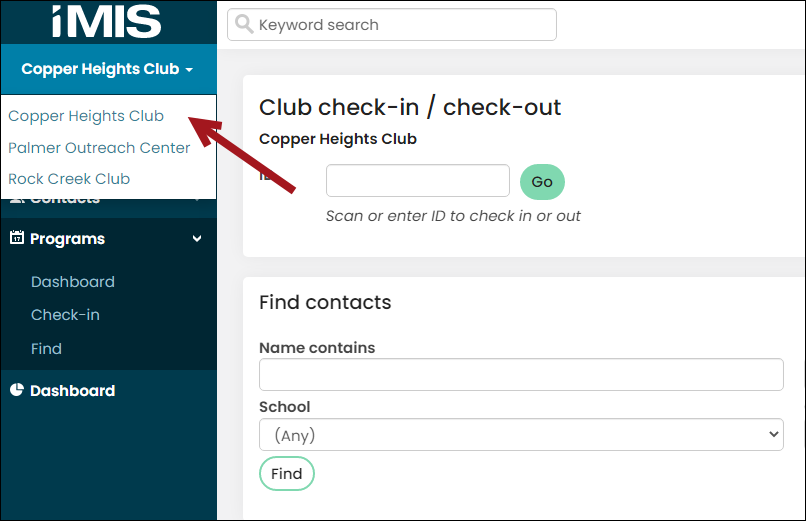
To remove a club from the Select a club drop-down, do the following:
- Go to Community > Find contacts.
- Select the Organizations tab.
- Search for the club in the Name contains field.
- Select the club.
- Next to the club name, click the edit icon.
- From the Status drop-down, select Delete.
- Click Save & Close.
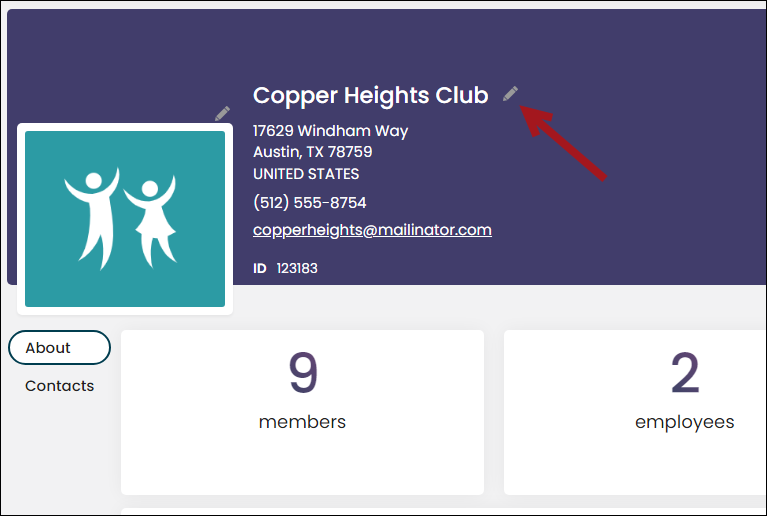
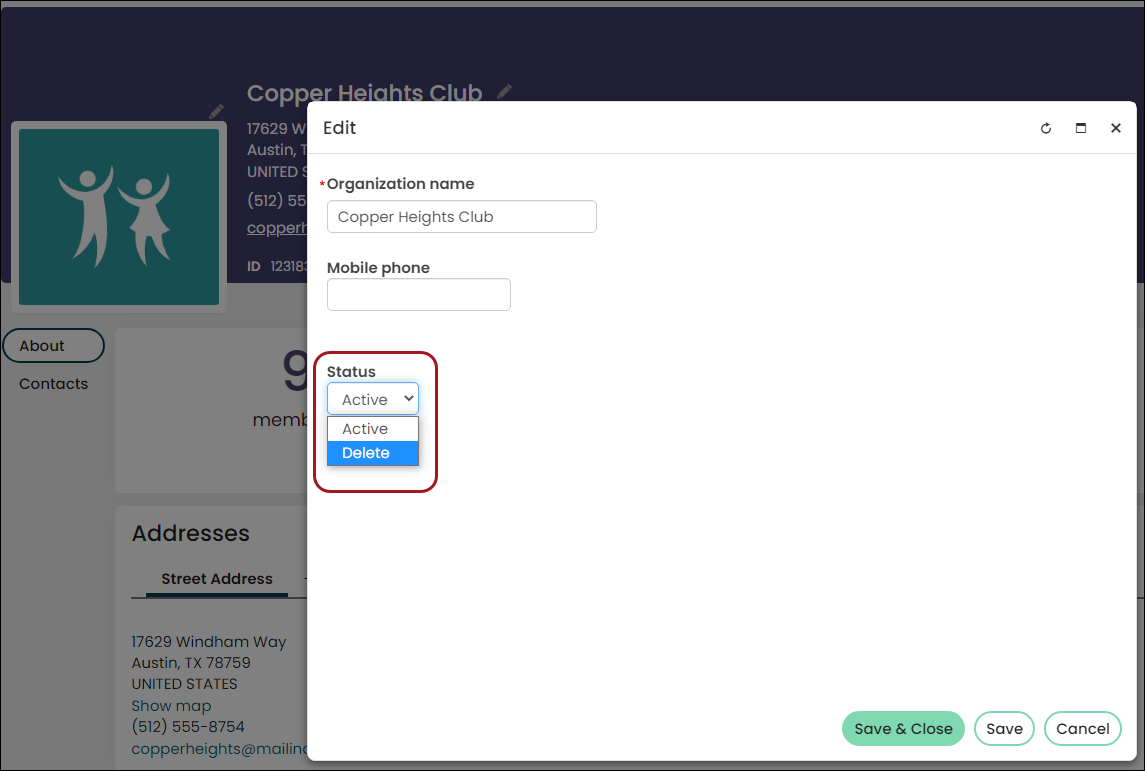
The club no longer appears in the Select a club drop-down in the Club Staff site.
Households
Adding a household
Do the following to add a household:
- From the Club Staff site, go to Members > Add household.
- Enter all the required fields. The Role in the household for the contact will be the Primary contact of the household by default. To change the configuration options, please see the Contact Account Creator documentation.
- Click Next.
- Enter all the required fields for the Member details tab. These fields can easily be edited from the Staff site.
- Click Next.
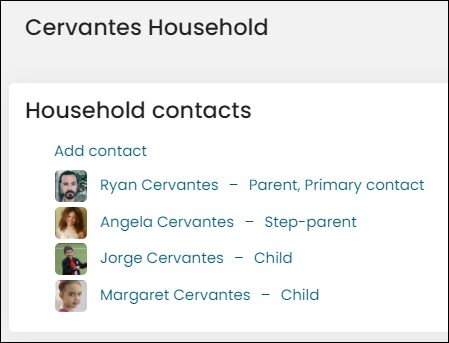
- The Household information tab will display the newly created household with the option to add a contact.
- Click Finish. You will be directed to the group landing page where you can add additional contacts to the household and manage the household roles and membership dates.
📘 Note
To update the content that displays on each tab, copy the out-of-the-box content and update the associated shortcut. The shortcut associated with this navigation item, Members > Add household, is AddHousehold. See Managing shortcuts for more information.
Adding a new member to a new household
📘 Note
To edit or add options to the membership wizard, see Modifying the available demographic options.
Do the following to add a new member to a new household:
- From the Club Staff site, go to Members > Add member > New household. Enter all the required fields for the Primary contact. By default, the Role in the household is the Primary contact of the Household. To change the configuration options, see Contact Account Creator.
- Click Next.
- Select the appropriate options on the Military status tab, then click Next.
- The Household tab automatically creates the household with the contact information you entered on the first tab. Add additional household members by selecting Add contact.
- Click Next.
- Enter the required fields for the Create member tab. The member will be part of the Household with the contact information from the first tab as their primary contact. The selected club will automatically be selected as the Primary club. Select a different club from the drop-down in the Primary club field if you don't wish to have the selected club as your primary club.
- Click Next.
- Enter the required fields for the Member details page and click Next.
- (optional) Click Add emergency contact to add an emergency contact. Add a new contact or search for an existing contact. After you have created a new contact or selected an existing one, choose Emergency contact as the person's role. Choosing a Reciprocal Role is optional. Click Save and Close.
- Click Next.
- (optional) From the Releases tab, select any Permissions and upload any additional Documents.
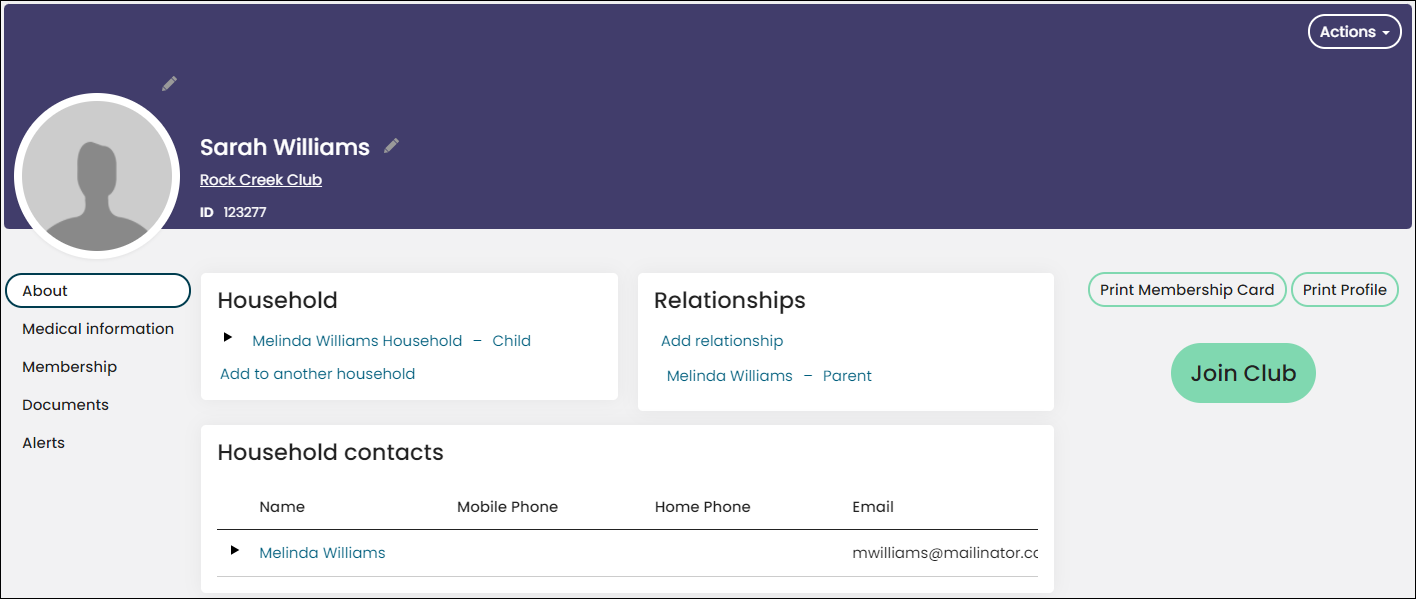
- You will be taken to the member's account page. Their primary contact will be listed as well as their household.
- To complete the membership join, click Join Club on the member's account page and choose the membership join product. The contact will not be considered a member until the checkout is complete.
📘 Note
To designate the parent as the Bill to contact, see Users who can bill to their household for more information.
📘 Note
To update the content that displays on each tab, copy the out-of-the-box content and update the associated shortcut. The shortcut associated with this navigation item, Members > Add member > New household, is AddMemberHousehold. See Managing shortcuts for more information.
Adding new roles for a household
Do the following to create a new role for a household:
- Go to Settings > Groups > Types.
- From the Group types list, locate and select Household.
- Click the Roles tab.
- Select Add:
- Role - Household member
- Default Member Status - Active or Inactive
- Continue with the remaining optional details.
- Click Save & Close.
📘 Note
Out-of-the-box household roles may be edited to change which role is reference; however, deleting a role is not permanent and the role is added back to iMIS after the next upgrade.
Members, volunteers, and employees
Adding a new member only
📘 Note
To edit or add options to the membership wizard, see Modifying the available demographic options.
Do the following to add a member:
- From the Club Staff site, go to Members > Add member > Member only.
- Enter all the required fields for the Create member tab. The selected club will automatically be selected as the Primary club. Select a different club from the drop-down in the Primary club field if you don't wish to have the selected club as your primary club.
- Click Next.
- Enter the required fields for the Member details tab, then click Next.
- (optional) Click Add emergency contact to add an emergency contact. Add a new contact or search for an existing contact. After you have created a new contact or selected an existing one, choose Emergency contact as the person's role. Choosing a Reciprocal Role is optional. Click Save and Close.
- (optional) From the Releases tab, select any Permissions and upload any additional Documents.
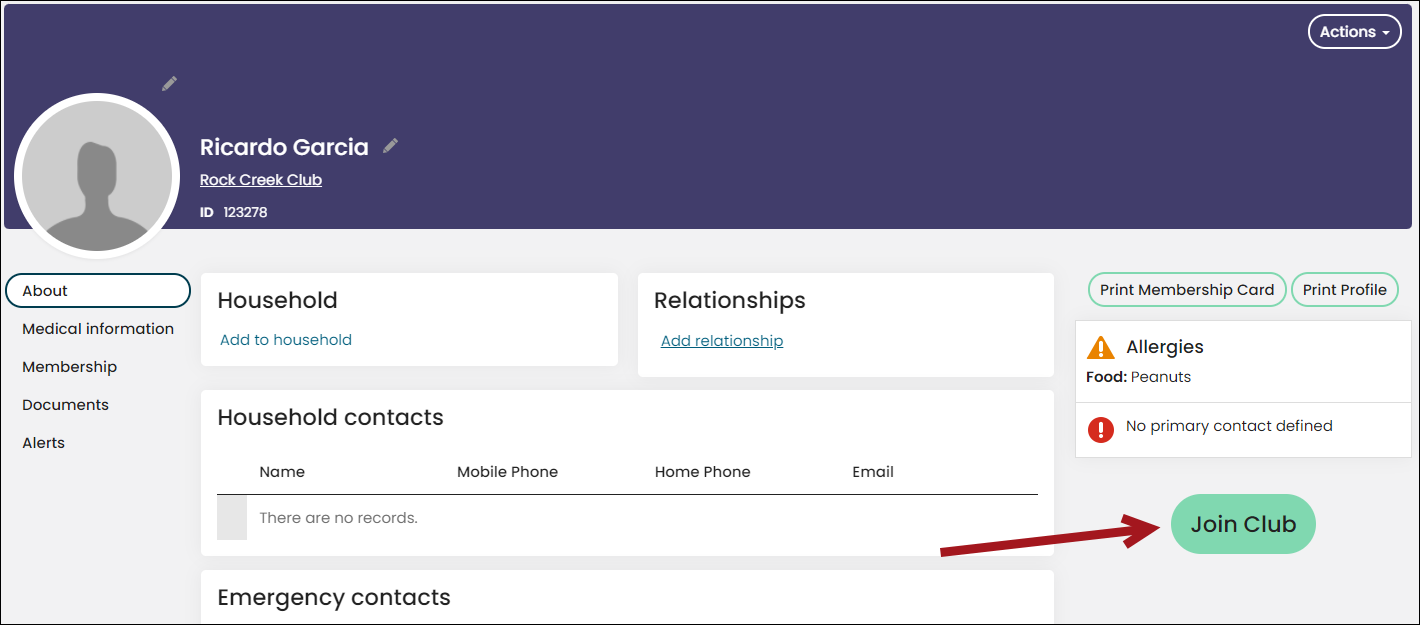
- Click Finish. You can add additional member information on the resulting member profile page including adding them to a new or existing household if needed.
- To complete the membership join, click Join Club on the member's account page and choose the correct membership product. The contact will not be considered a member until the checkout is complete.
📘 Note
To update the content that displays on each tab, copy the out-of-the-box content and update the associated shortcut. The shortcut associated with this navigation item, Members > Add member > Member only, is AddMember. See Managing shortcuts for more information.
Adding contacts to a club
Contacts in a club roster can include club employees, volunteers, and club members. A contact is added to a club when it is selected as their primary club. See Identifying a member's primary club documentation for more information.
Do the following to add contacts to a club:
- From the Club Staff site, go to Contacts > All contacts.
- Select the Organizations tab.
- Search for the specific club in the Name contains field and select the club name link.
- Select the Contacts tab. From this tab, you can see all the current contacts in the club and you can add a contact.
- Select Add contact.
- Search for an existing contact or add a new one.
- After you have added a new contact or selected an existing one, select the edit icon to make any changes to the contacts role and begin and end dates for their term.
- Save your changes.
📘 Note
Adding a member to the club roster does not mark that individual as member in the system. In order to become a member, a contact must be added to a group flagged as "Is Member"; for example a group of the type "Club Membership". See Setting up Join Now and Adding a new member only for more information.
Adding a new contact
Do the following to add a new contact:
- From the Club Staff site, go to Contacts > Add contact.
- Enter all the required fields and click Save. Contacts are not automatically added to the selected club.
You can add additional information about the contact including specifying them as a volunteer, adding them to a household, or joining them as a member.
Updated 5 months ago