

Setting up event pricing groups
Create pricing groups for event registration options and program items. Pricing groups can have regular, early, and late prices if pricing cut-off dates are defined for the event. When you create a pricing group, it can be reused for other events or for additional registration options and program items in the same event.
NoteIf the registrant has an active company (parent) organization and Use parent organization pricing (Settings > Contacts > System options) is enabled, then the registrant's pricing rule is based on the parent organization instead of the contact's pricing group.
Real-time pricing for dynamic group members
Dynamic groups, when used as pricing groups, update automatically to include new contacts who meet the group criteria. Groups update in real-time, independent of the refresh schedule defined in the IQA query, which could be Daily, Weekly, or Monthly. As a result, any contact that newly qualifies for a dynamic group is immediately eligible for the group's special pricing.
iMIS continually monitors for changes in contact details, ensuring that once a contact meets the dynamic group requirements, the contact can immediately see the special prices defined for the group.
For more information on creating dynamic groups, see Creating a Group.
Creating an event pricing group
Do the following to create an event pricing group:
-
Create a new event or select an event and edit.
-
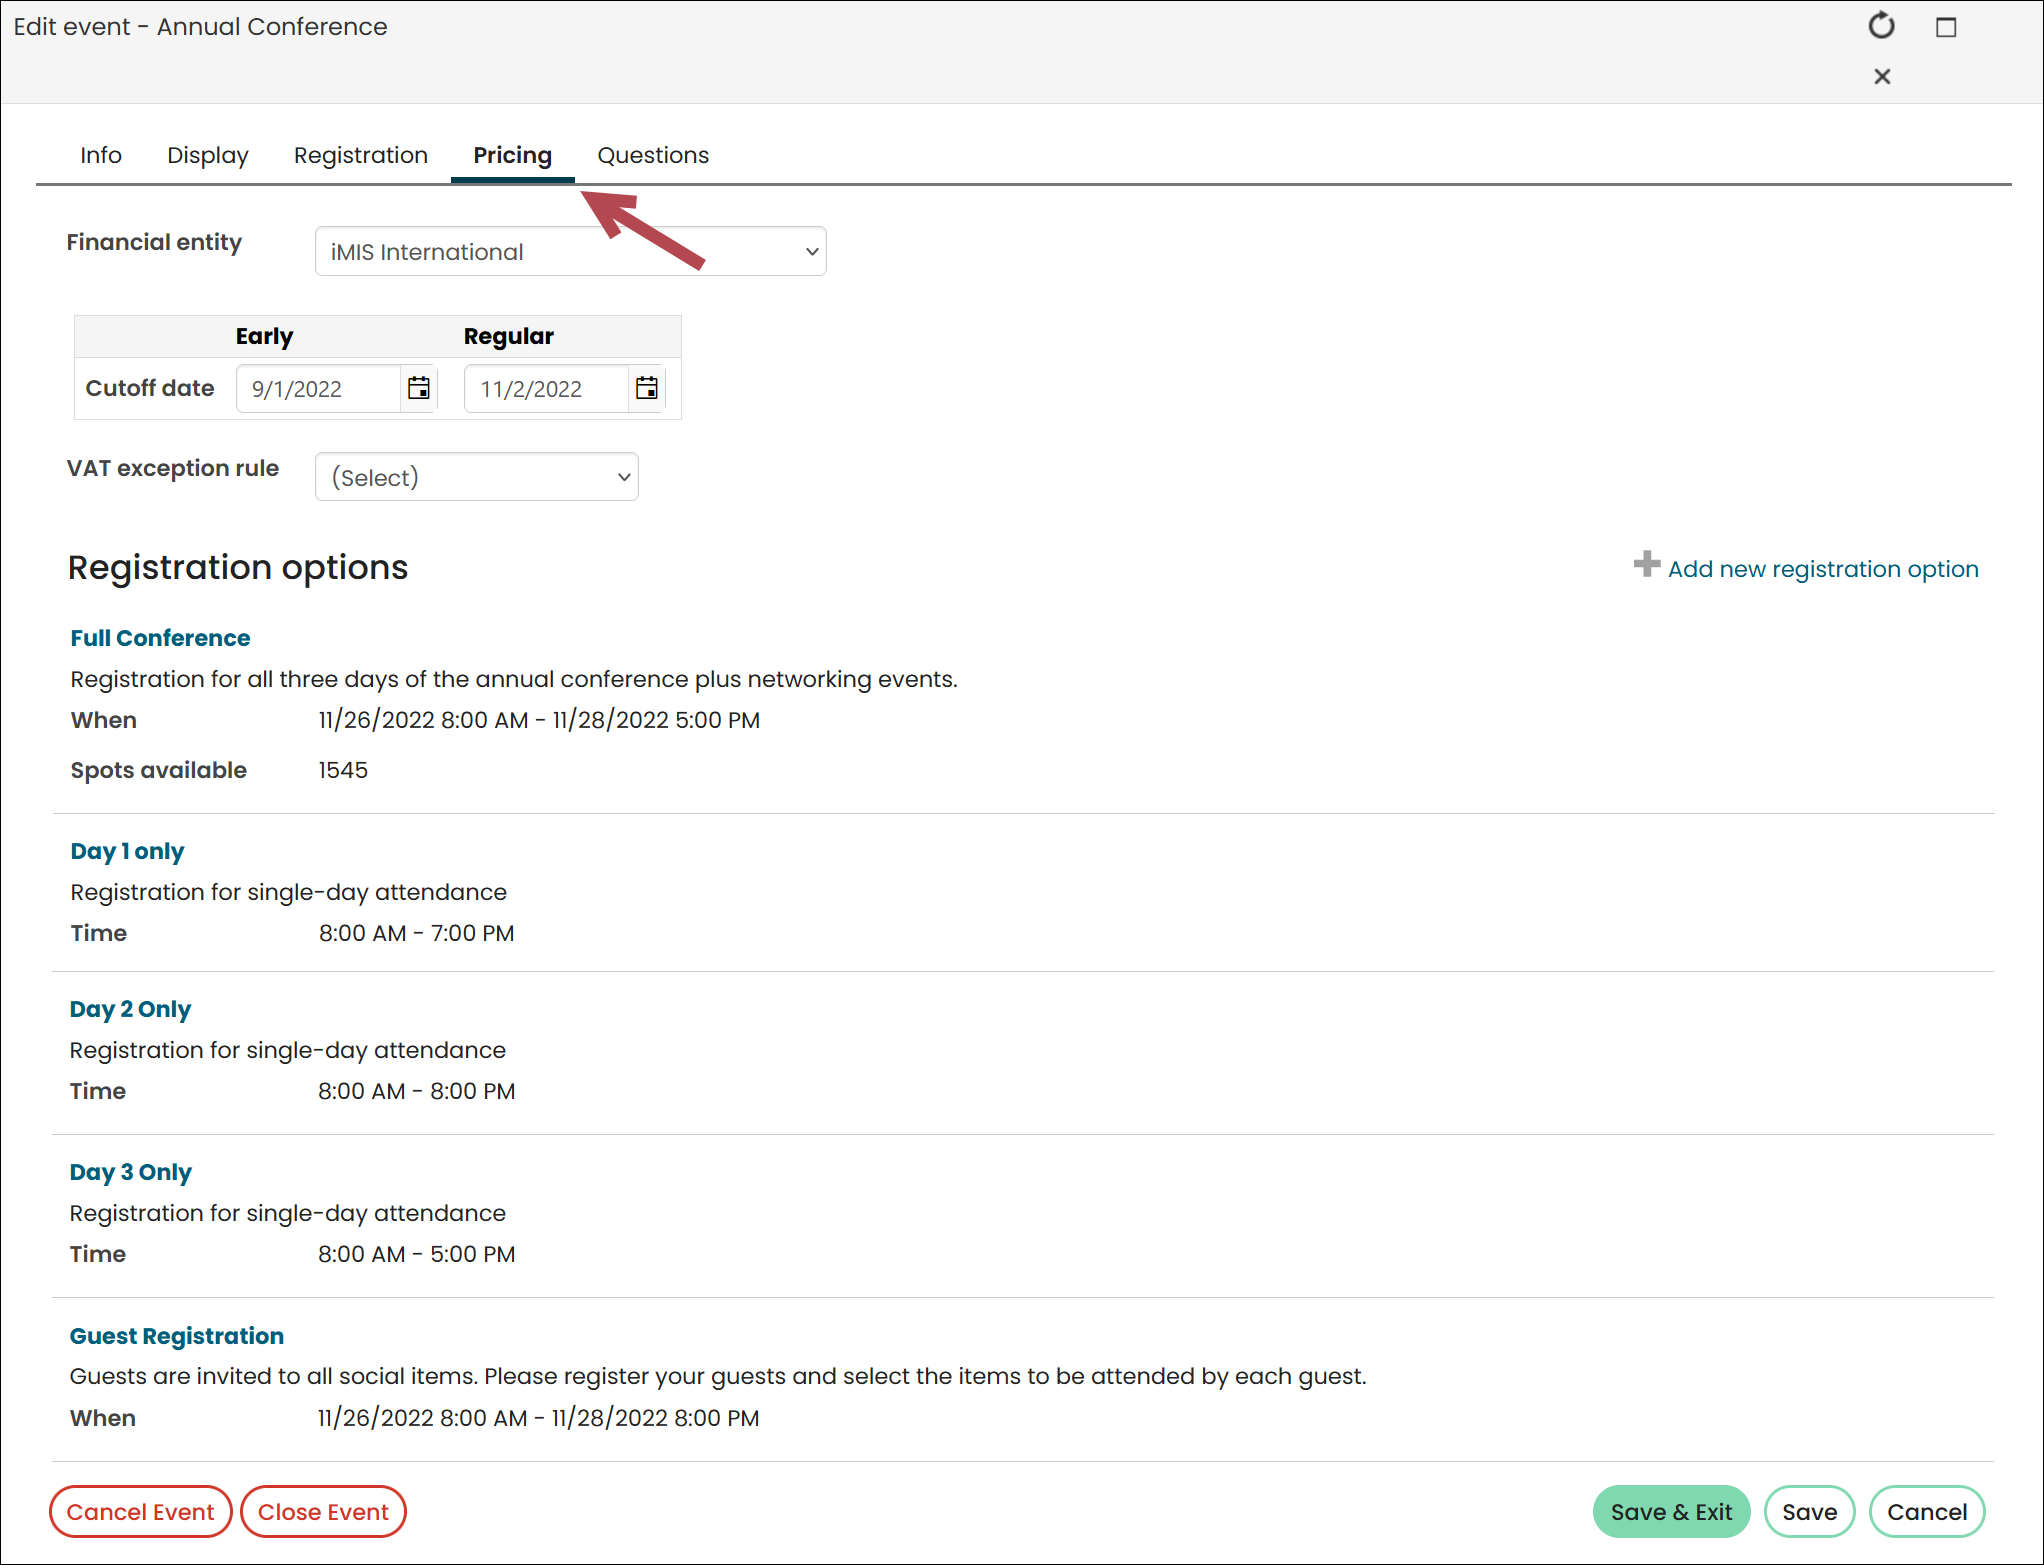
Navigate to the event Pricing tab.
-
Add a new registration option or edit an existing registration option.
-
Navigate to the registration option Pricing tab.
NoteYou can also add pricing groups for program items. Find and open the event, and in the Program area, click Add or open an existing program item. To add a pricing group, select the Pricing tab and follow the directions below.
-
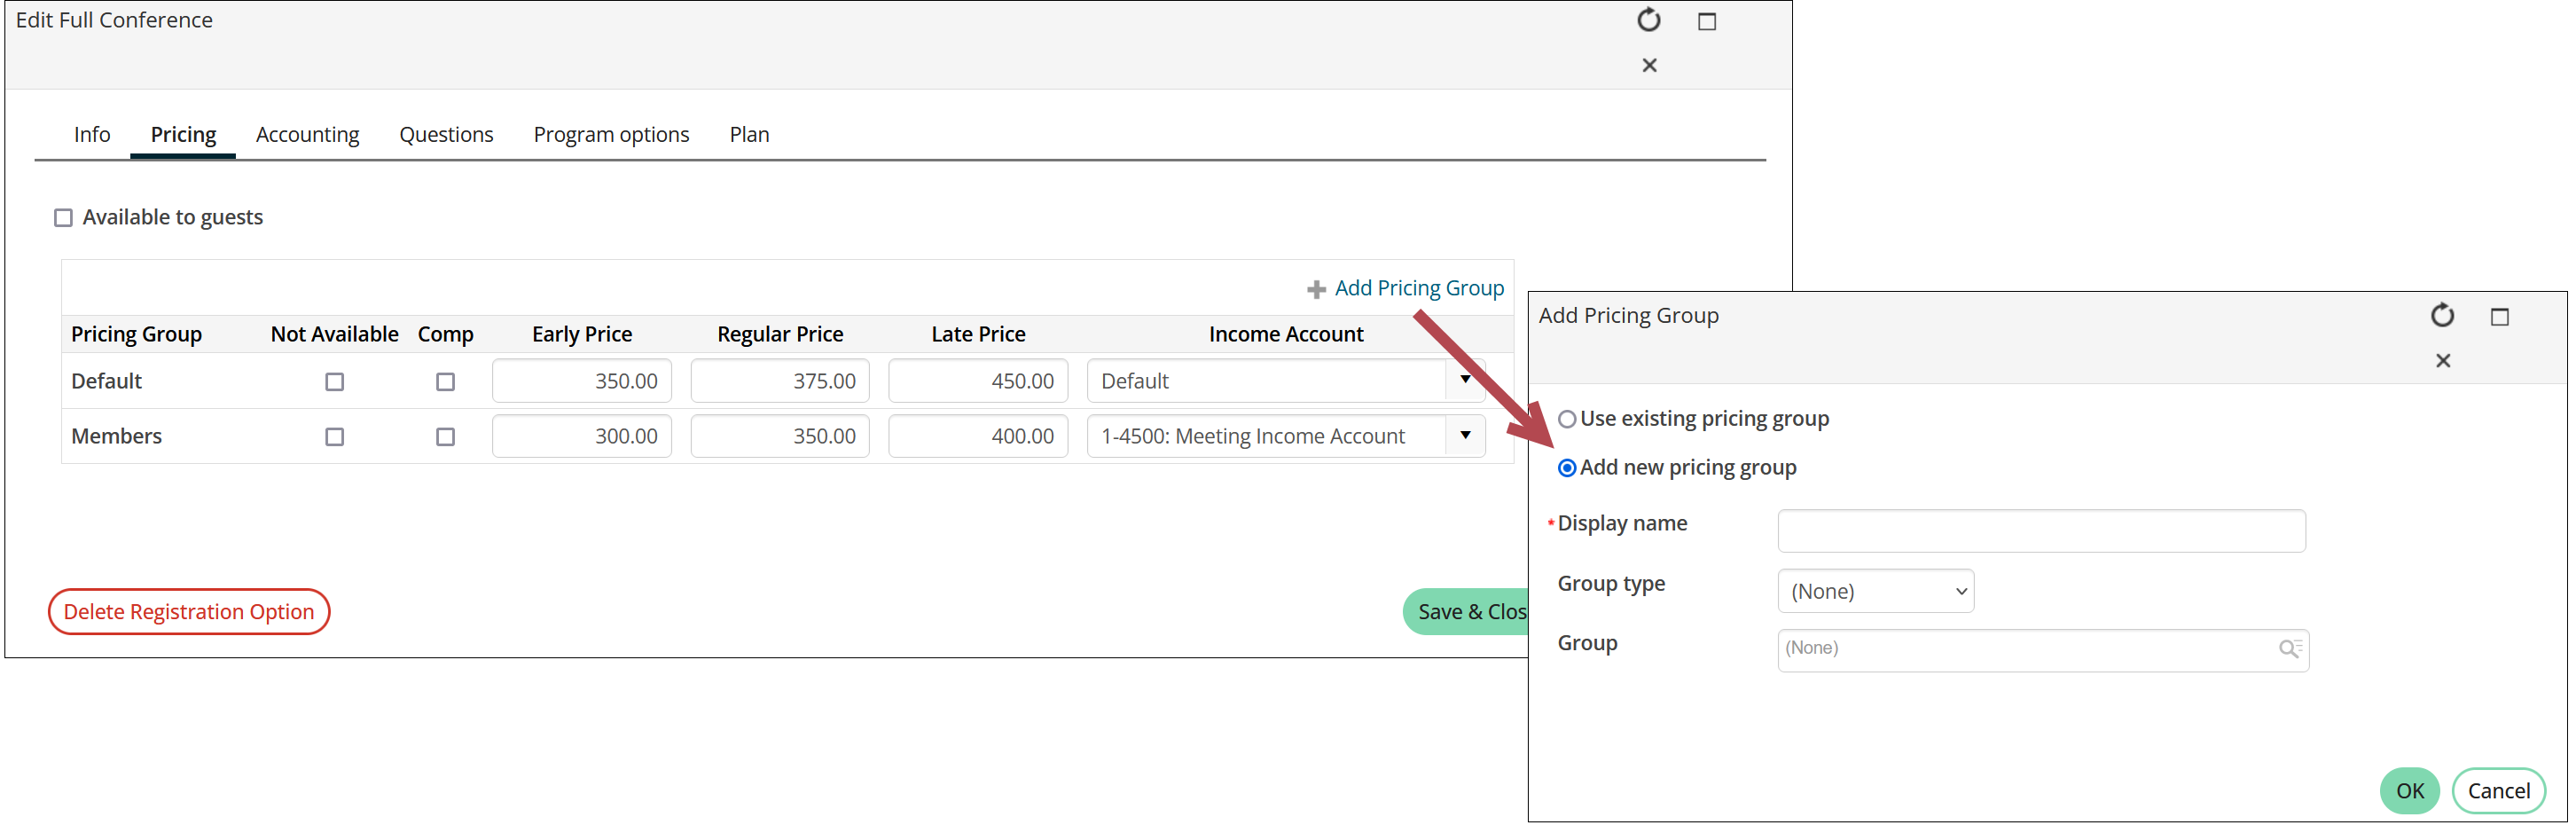
Select Add Pricing Group.
 Note
NoteTo enable Add Pricing Group, you must save the registration option or program item.
-
Pick one:
-
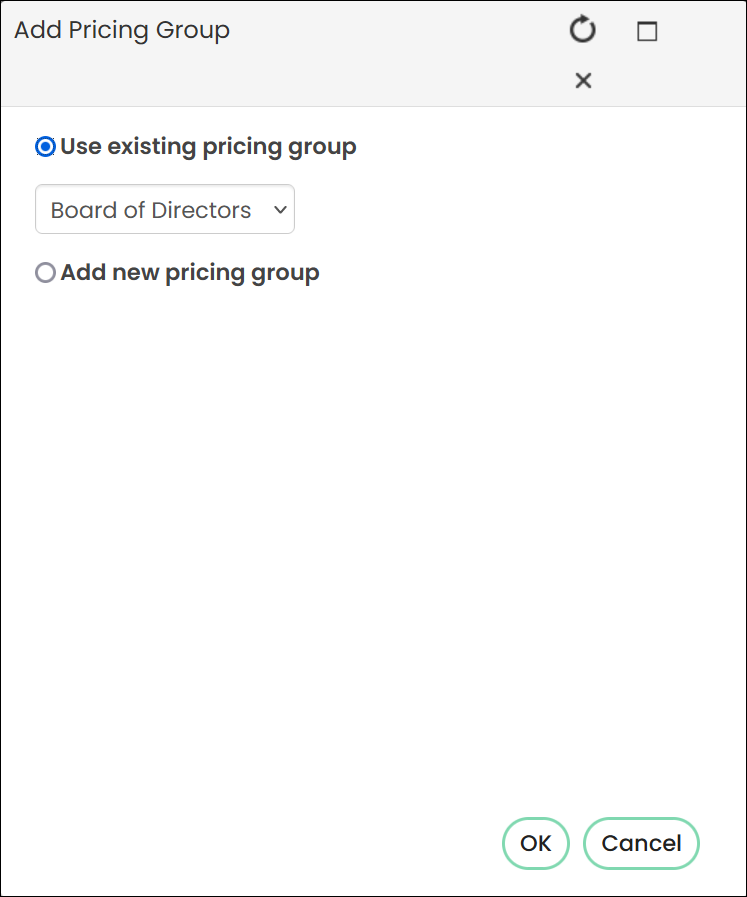
Use existing pricing group
NoteThe Use existing pricing group option is only available if you have previously defined at least one pricing group.
-
Choose a pricing group from the drop-down.
-
Click OK.- Add new pricing group
-
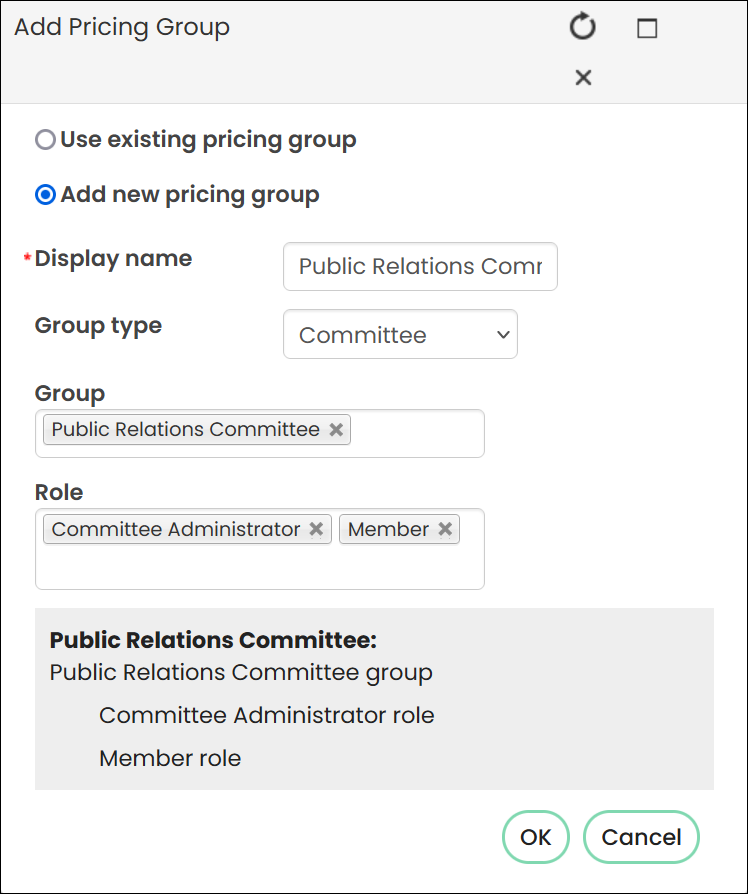
Enter a Display name for your new pricing group.
NoteEnter a name that is descriptive of the pricing group and can be reused (for example, Board of Directors).
-
Choose a Group type.
-
Choose a Group. You can select multiple Groups.
-
If you specify a Group type or Group, you can also choose a group member Role. You can select multiple Roles.
NoteYou must select at least one of the options available (at least one Group type or Group) to create a pricing group. The options filter down to create a pricing option for a specific group or role. For instance, if you select a Group type, the groups available will reflect only that Group type. If you do not select a Group type, all groups will be available to select.
-
View your selections in the preview area.
- Click OK.
-
-
View your new pricing group in the registration option or program item Pricing tab.
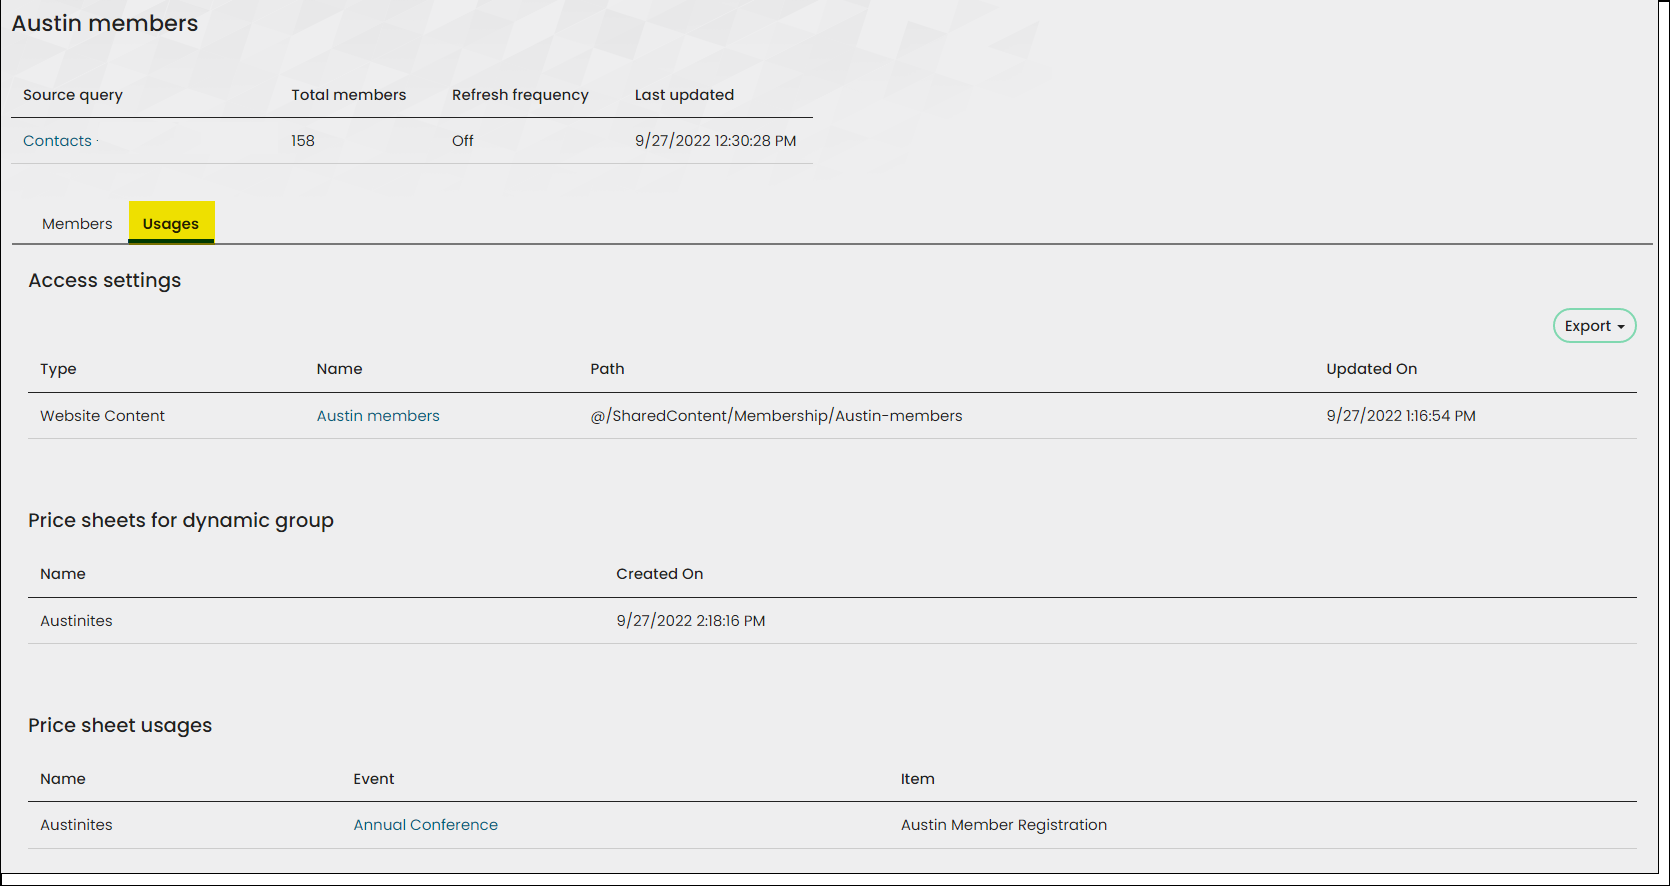
Viewing where event pricing groups are being used
View where dynamic groups are being used by doing the following:
-
Go to Community > Find Groups.
-
In the Name contains field, enter the group name.
-
Set System group to Yes.
-
Set Auto-generated to Yes.
-
Click Find.
-
Select the Group name.
-
Click the Usages tab.
Updated 5 months ago